Leather is a versatile and durable material used in a variety of products, from clothing to furniture to accessories. Forming leather into your desired shape can be challenging, but with proper techniques and tools, it can be an enjoyable and rewarding experience. In this beginner’s guide, we’ll explore the steps of how to form leather and provide tips for achieving professional-looking results.

Can You Form the Leather?
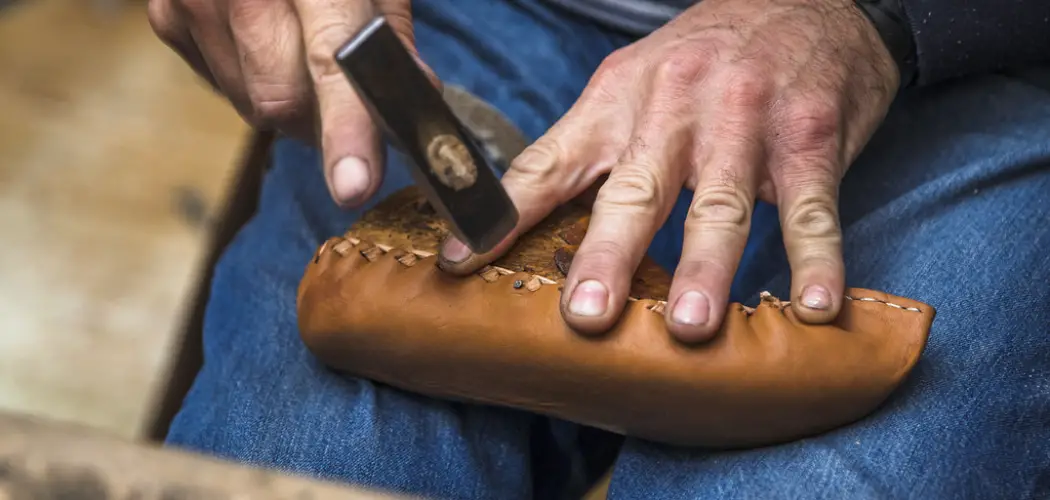
Leather is one of the most versatile and fascinating materials around. It’s used for everything from jackets to shoes and never seems to go out of fashion. But have you ever stopped to wonder how leather is made? It all starts with animal hides that are carefully treated and transformed through a complex process. One of the most critical steps involves forming the leather into the desired shape.
This can be accomplished through stretching, pressing, and molding the leather until it reaches the perfect consistency and texture. The result? A beautiful, durable material that is built to last and make a statement. So if you’re someone who loves the look and feel of leather, you have a newfound appreciation for the hard work and artistry that goes into making it into something truly special.
Why Should You Form the Leather?
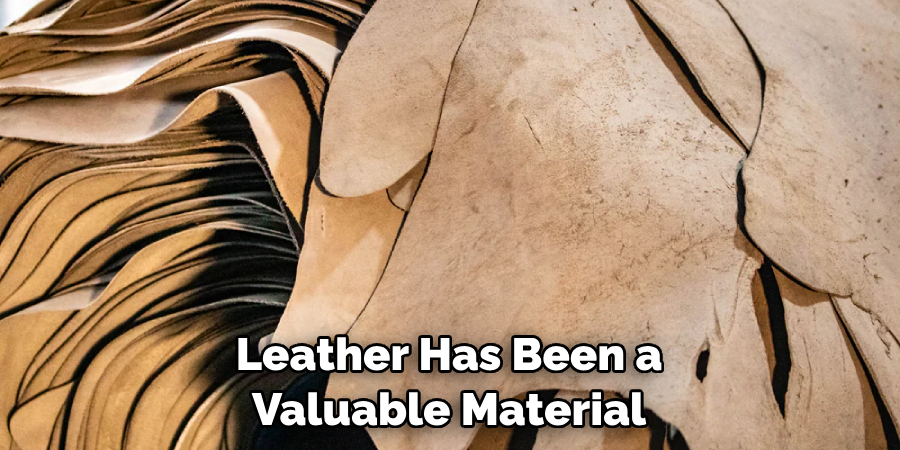
Leather has been a valuable material for centuries, and it’s no surprise that it is still a highly sought-after material today. However, if you are planning on using leather for any project, it’s essential to understand why you should form it. Forming the leather allows you to mold and shape it to meet your specific needs.
Whether creating leather crafts, designing furniture, or making a wallet or purse, leather forming will allow you to achieve the precise look and feel you’re after. By forming the leather, you give yourself creative control over the material, allowing you to create unique and custom pieces that stand out from the crowd. So, if you want to take your leather projects to the next level, learning how to form leather is essential.
How to Form Leather: A Beginner’s Guide
Step 1: Choose the Right Leather
Choosing the right leather is key to forming leather successfully. You’ll want to select a supple and flexible piece, as stiffer leather can be more challenging to shape. Look for leather that is at least 1/16 inch thick, which will provide enough support for the shape you’re creating. For beginners, it’s best to start with vegetable-tanned leather, as it’s easy to work with and can be molded into shapes when moistened.
Step 2: Prepare the Leather
Before you begin shaping leather, it’s critical to prepare it adequately. Start by cleaning the leather with a damp cloth to remove any dirt or debris. If the leather is dry and stiff, you’ll need to moisten it with water to make it more pliable. You can do this by dipping the leather in water or using a spray bottle to mist the leather surface lightly. Make sure to avoid soaking the leather, as this can cause damage.
Step 3: Create a Pattern
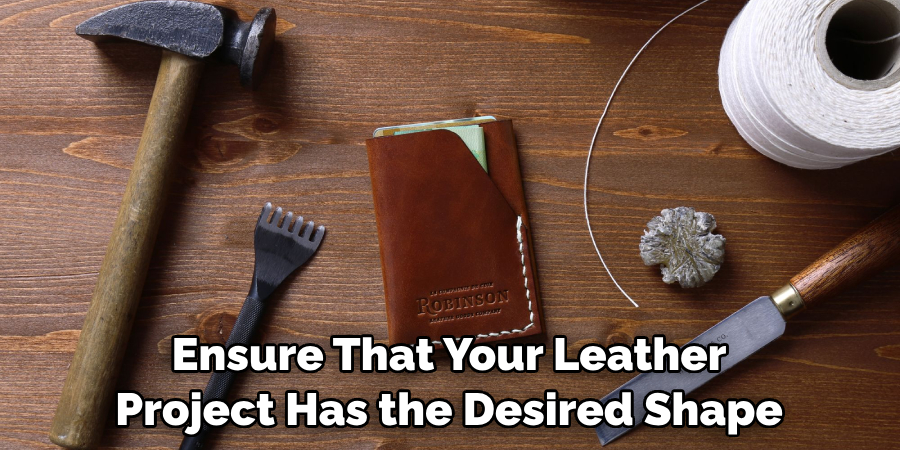
To ensure that your leather project has the desired shape, you’ll need to create a pattern first. This can be done by sketching your design on paper or using a template. Once you have your pattern, transfer it onto the leather using a pencil or marker. Make sure to trace the pattern accurately, as any mistakes will impact the final result.
Step 4: Form the Leather
The next step is to form the leather. You’ll need to stretch and shape the leather according to your pattern to do this. This can be done using various tools, including a wooden mallet, a block of wood, and a leather-stretching clamp.
Start by stretching the leather over the block of wood, hitting it lightly with the mallet to help form the shape. You can then use the clamp to hold the leather in place while it dries. Alternatively, you may choose to use a heat gun to dry the leather more quickly.
Step 5: Secure the Leather
Once the leather is in its desired shape, you’ll need to secure it. To do this, use a hammer and nails or rivets to attach the leather to a base material such as wood or metal. Make sure to pre-drill holes for the nails or rivets first to prevent splitting the leather. If you’re using rivets, you’ll need to set them with a hammer and anvil.
Step 6: Finishing Touches
After the leather is secured, it’s time to add some finishing touches. You can do this by sanding down any rough or uneven edges, adding dyes or other colorants, or treating the leather with preservatives. The type of finishing touches you choose will depend on the look you’re trying to achieve.
Step 7: Enjoy Your Creation
Once your leather project is complete, sit back and enjoy your masterpiece! With some patience and practice, forming leather can be a rewarding and creative experience. The leather pieces you create can be used to make a variety of items, from wallets and purses to furniture and other crafts. So go ahead and start forming leather today!
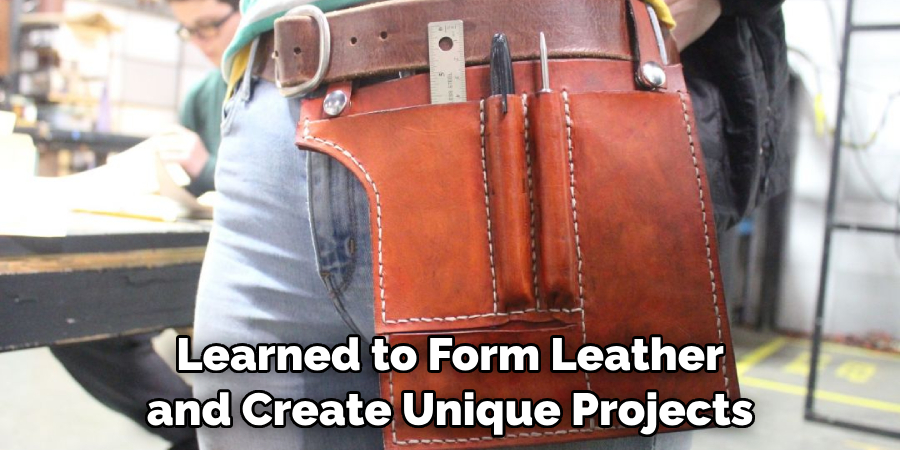
That’s it! You’ve now learned to form leather and create unique projects that will stand out from the crowd. Whether you’re making a custom bag, shoe, or piece of furniture, mastering this skill can help you take your creative endeavors to the next level. So get out there and start creating!
5 Considerations Things When You Need to Form the Leather
1. The Type of Leather
When choosing leather for your project, you will need to consider the type of leather. There are three main types of leather: full-grain, top-grain, and split-grain. Full-grain leather is the highest quality and most durable type of leather. It is made from the entire thickness of the hide and has not been sanded or buffed to remove imperfections.
Top-grain leather is also made from the entire thickness of the hide but has been sanded or buffed to remove imperfections. Split-grain leather is made from the lower part of the hide and is not as durable as full-grain or top-grain leather.
2. The Weight of the Leather
Another consideration when choosing leather is the weight of the leather. Leather is typically sold in ounces, with one ounce being equal to 1/64 of an inch. The heavier the weight, the thicker and more durable the leather will be. However, you will also need to consider how easy the leather will be to work with based on its thickness.
3. The Color of the Leather
Leather comes in a wide range of colors, so you will need to choose a color that works well with your project. You may want to choose a natural color, such as brown or black, or you may want to choose a dyed color, such as red or blue. Remember that dyed colors may fade over time if exposed to direct sunlight or other harsh conditions.
4. The Texture of the Leather
Leather also comes in a variety of textures, so you will need to choose a texture that works well with your project. Smooth textures are best for projects that require detailed work, such as carving or tooling. Rough textures are best for projects that do not require detailed work, such as upholstery or belts.
5. The Price of the Leather
Finally, you will need to consider the price of the leather when choosing it for your project. Leather can be quite expensive, so you will need to make sure that you choose a type and quality that is within your budget. You can find good deals on leather by shopping around at different stores or online retailers.
By considering these five factors when selecting leather for your project, you can ensure that you choose the right type of leather and get the best quality at an affordable price. With the right type of leather, you can create a stunning finished product that will last for years.
Benefits of Form the Leather
Forming leather is a technique used by leather craftsmen that involves molding the material into specific shapes or designs. The art of forming leather has been practiced for centuries and has many benefits.
For starters, forming leather allows craftsmen to create unique products that are not available in the marketplace. From handmade leather belts to custom leather jackets, formed leather items are one-of-a-kind and can showcase the creativity and skill of the craftsman.
Additionally, the shaping process often makes formed leather products more durable and long-lasting than other leather items. Some craftsmen even use forming techniques to create leather products that are ergonomically designed to fit the user’s body perfectly, enhancing comfort and functionality.
Overall, forming leather is a remarkable art form that produces high-quality leather goods with impressive craftsmanship and durability.
Some Common Mistakes People Make When Trying to Form the Leather
Leather, a highly regarded material for its durability, texture, and sophistication, has been used in the fashion industry for centuries. Whether it be a beautiful leather jacket or a chic pair of leather shoes, forming leather into the perfect fit requires practice, skill, and patience. While the process may seem straightforward, there are several mistakes that people often make when trying to form leather.
Some of these common mistakes include using too much force, failing to measure accurately, and not allowing enough drying time between stages of the formation process. However, with proper care and attention to detail, anyone can master the art of forming leather and create stunning pieces that will last a lifetime.
Conclusion
Forming leather is an art form that requires patience, skill, and attention to detail. By following the steps outlined in this beginner’s guide, you can create professional-looking leather products that are both functional and aesthetically pleasing. Remember to choose the right leather, prepare it correctly, create a pattern, form the leather, and finish the project.
With practice and perseverance, you can become proficient in forming leather and create beautiful leather products you’ll be proud to show off! Thanks for reading our post about how to form leather.