Are you feeling overwhelmed with the task of learning how to shade leather? Don’t worry, it’s much easier than it looks! Working with leather can be intimidating for even experienced crafters, but shading is a great way to add unique details and otherwise impossible textures.
Whether you’re looking to lighten up an old pair of boots or darken a new leather bag, it’s important to understand the basics before you get started.
In this blog post, we will provide detailed step-by-step instructions on how to master this important artistry. From tools to colors and techniques – by the end of this article, you’ll have all the knowledge needed to make your leather creations look stunning! So let’s get started – buckle up because you’re in for an interesting ride!

What Will You Need?
Before we get into the nitty-gritty of leather shading, it’s important to ensure you have all the necessary tools. Here’s a quick list:
- Leather of Your Choice: Whether you plan on working with suede or faux leather, ensure you have enough material for your project!
- Leather Dyes: The type of dye you will need will depend on the look you’re aiming for. Generally speaking, most shades can be achieved with three basic colors – a light color (often white or cream), a mid tone (brown, yellow, etc.), and a dark shade (black).
- Gloves: It’s always important to wear gloves when working with leather, as dyes can easily stain your hands!
- Brushes: You’ll need a variety of small brushes for the shading process. Ensure they’re soft and won’t leave any marks on the leather.
- Sponge: A damp sponge will help you blend colors and create an even look.
- Water: You’ll need a bowl of water to help keep your leather damp and easier to work with.
- Paper Towels: Having paper towels on hand is always a good idea! They will help you clean up any spills or accidental dye transfers.
Now that we have the list out of the way let’s move on to the real fun part.
10 Easy Steps on How to Shade Leather
Step 1: Clean the Leather:
The first and foremost step in the process involves cleaning your leather workpiece. You must ensure your leather is free from any dirt, dust, or grease that could interfere with the dye application. Use a damp cloth or sponge to wipe across the surface gently. While doing so, be careful not to soak the material, as over-saturation could lead to water spots and uneven coloration. Once the surface is clean, pat it dry gently using a paper towel and let it dry completely.
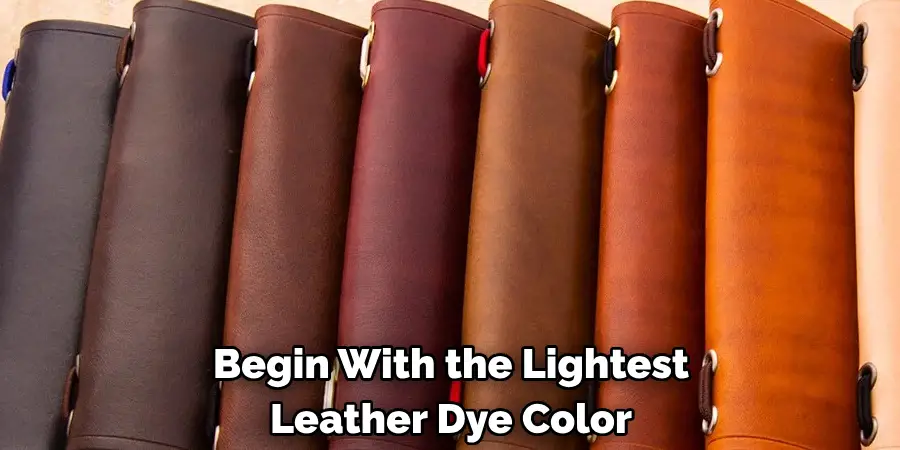
Step 2: Apply the Light Dye:
Once your leather is clean and completely dry, it’s time to start the shading process. Begin with the lightest leather dye color. Dip your brush into the dye and apply a thin, even layer over the entire leather surface. This initial layer will serve as your base color and help the darker shades stand out. Use vertical and horizontal brush strokes to ensure an even dye distribution. Once you’ve covered the surface, let the leather dry completely before moving on to the next step.
Step 3: Apply the Mid-tone Dye:
With the base color dry, move on to applying the mid-tone dye. This will start creating the gradient effect and give your leather piece some depth. Use a slightly smaller brush for this step, and dip it into the mid-tone dye. Apply the dye in the areas where you want to create shadows or contours. This usually means along your leather piece’s edges, folds, or textured details. Don’t worry if it could be better.
Step 4: Apply the Dark Dye:
Now it’s time to apply the darkest dye to your leather. This step will further enhance the depth of your leather piece and make the details pop. Choose a smaller brush for this step to ensure precision. Dip the brush into the dark dye and apply it to the areas of your leather where you want the deepest shadows or most prominent details. This could be the corners, creases, or any textured details on your leather.
Step 5: Blend the Shades:
Once all your dye layers are dehydrated, it’s time to blend them to achieve a smooth gradient effect. This is where your damp sponge comes into play. Lightly moisten your sponge with water and gently pat it over the dyed areas, particularly where the shades meet. This helps to soften the transitions between colors and meld them together for a more natural, shaded look.
Step 6: Let It Dry:
After you’ve blended all the colors to your satisfaction, it’s important to let the leather dry completely. This allows the dyes to penetrate the leather fully and ensures your colors won’t bleed or smudge during the next steps. Depending on the type and thickness of your leather and the humidity in your workspace, this could take a few hours to a full day. It’s always better to err on caution and give your piece ample time to dry.
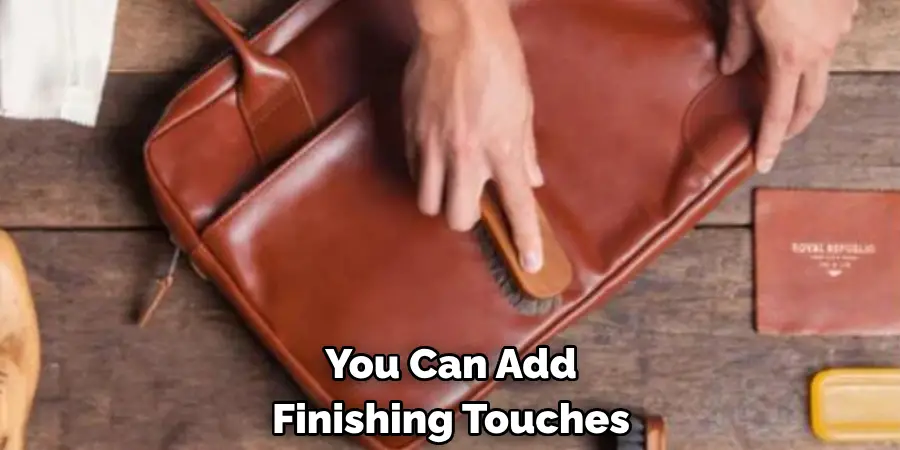
Step 7: Add Finishing Touches:
Now that your piece is dry, you can add finishing touches to enhance its overall look. Using a small brush, you can add highlights using a lighter dye or metallic leather paint for a flashy effect. Similarly, if needed, you can deepen some shadows with a little more dark dye.
Step 8: Seal the Leather:
Let the leather dry completely once you’re happy with your shading and finishing touches. Now, it’s time to seal the leather to protect your work. You’ll need a leather finisher, a clear coat designed to seal in color and prevent it from scratching or staining. Pour a small amount of finisher onto a clean, dry sponge and apply it over the surface of the leather in a thin, even layer, making sure not to oversaturate it. Let it dry fully.
Step 9: Buff the Leather:
Once the sealant is fully dried, your leather piece is almost ready, but there’s one final step left: buffing. Buffing the leather not only helps to enhance your piece’s shine, but it also smoothens the surface and removes any excess finisher. To do this, you’ll need a soft cloth or a specialist leather buffing tool. Gently rub the cloth or tool over the surface of the leather in circular motions, applying a little pressure.
Step 10: Maintenance and Care:
To ensure the longevity and vibrancy of your shaded leather piece, regular maintenance, and proper care are imperative. Avoid exposing your leather product to extreme temperature or moisture, as it can fade the shading and damage the material. Periodically, use a quality leather conditioner to keep the leather supple and prevent it from drying out.
By following these ten steps, you can easily shade your leather and create beautiful enhancements. From subtle gradients to bold color combinations, the possibilities are endless!
5 Additional Tips and Tricks
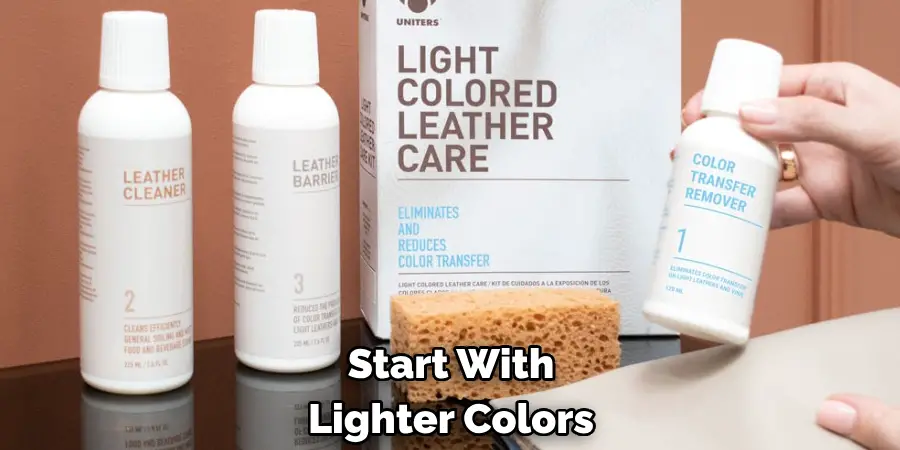
- Start with lighter colors: When shading leather, it’s always best, to begin with the lightest color and gradually build up to darker shades. This helps ensure an even dye distribution and prevents smudging or streaking in later steps.
- Test a scrap piece first: To make sure you are happy with your color combinations before applying them to your final piece, you can first practice on a scrap piece of leather.
- Use multiple brushes: Having a few different brush sizes is useful when shading leather. Larger brushes are great for the initial application, while smaller ones will come in handy for detailing and blending work.
- Buy quality dyes: To get the best results, it’s important to use good quality leather dyes. These are specifically formulated to ensure a better hold and a longer-lasting finish.
- Take your time: As with any project, it’s important to take your time with leather shading and avoid rushing through the process. Taking it slow helps ensure you get the best results possible and that each layer of dye is properly applied and dried before moving on to the next step.
With careful preparation, patience, and a bit of practice, you can easily achieve stunning results with leather shading!
5 Things You Should Avoid
- Don’t use too much dye: Applying too much dye can lead to poor results and make it difficult to blend the colors. Be mindful when applying each dye layer, ensuring you don’t oversaturate your leather piece.
- Don’t forget about heat setting: Heat setting helps lock in the dyes and prevents them from smudging. Use a leather-safe heat tool such as a hairdryer or hot iron to set the colors properly.
- Don’t rush the drying process: Drying is an important step, so it’s important not to rush it! Make sure each dye layer is dehydrated before proceeding with the next step.
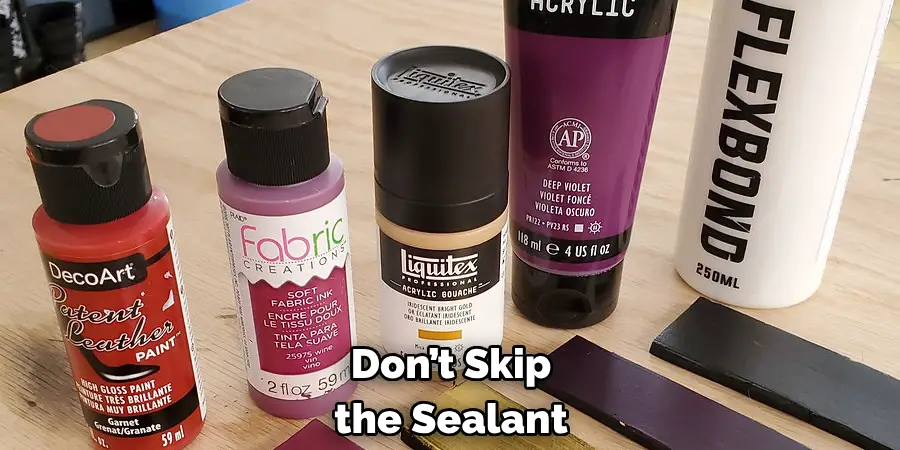
- Don’t skip the sealant: Sealing your leather helps protect it from scratches and stains, so make sure not to forget this step!
- Don’t use household cleaners or detergents: Avoid harsh chemical-based cleaning products as they can damage the leather. Stick to specialized leather conditioners and always test any product on a scrap piece first.
By following these tips and avoiding the pitfalls, you can achieve amazing results with leather shading! and some
Conclusion
How to shade leather can be daunting; it’s not as intimidating as you might think! Take time to practice occasionally, and you can shade leather like a pro. Remember that for heavier leather pieces, such as belts, larger swatches of color are best, so take your time when applying the color.
Softening the edges of your shading with a cloth or finger is also an important step in creating beautiful shades along your workpiece. Don’t worry if you make mistakes; just keep practicing. And last but certainly not least – enjoy your result!
With patience and practice, you can turn even the most basic project into something special.