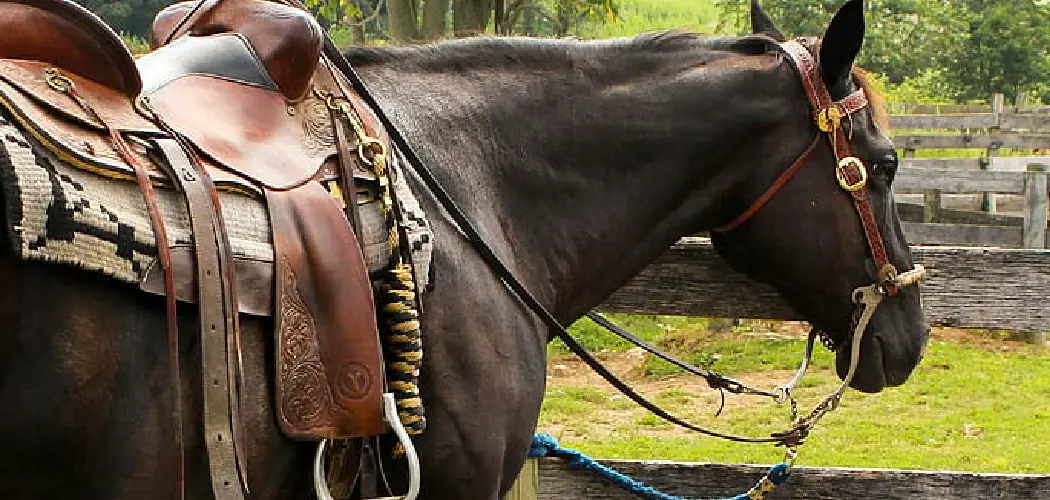
Properly attaching stirrups to a saddle is a crucial aspect of equestrian preparation that directly impacts rider comfort, stability, and safety. The placement and secure attachment of stirrups not only ensure a balanced riding experience but also influence effective communication with the horse. Whether you’re a beginner or an experienced rider, mastering the art of putting stirrups on a saddle is an essential skill.
In this article, we delve into the step-by-step process of how to put stirrups on a saddle, exploring the significance of proper length, alignment, and safety considerations. By understanding the intricacies of this process, riders can enhance their riding experience while promoting a harmonious connection between themselves and their equine partners.
Importance of Properly Fitted Stirrups
Riding safely requires having the proper fitting stirrups. Having the right sized stirrup leathers is necessary to ensure your safety and comfort while you ride. Stirrup bars that are too long or too short can cause you to lose balance, which can lead to dangerous situations. It’s also important to keep your stirrups even on both sides, so that you don’t lean to one side when riding.
When attaching stirrups to your saddle, make sure that they are the correct size and fit for your height. It’s important to also adjust the angle of your stirrups so that there is no tension in the leathers when you’re sitting in the saddle. If your stirrup leathers are too tight, it can cause pain and discomfort in your feet while riding.
Once you have the right sized stirrups for your saddle, make sure to properly secure them before getting into the saddle. Tighten the leathers securely so that they won’t slip out of adjustment during your ride. It’s also important to check the buckle and rivets to make sure they are secure.
Role of Stirrups in Rider’s Balance and Control
Stirrups are an essential part of the saddle and provides a great deal of balance and control for the rider. Stirrups offer stability when riding, as well as enabling riders to use their feet in order to adjust balance and weight while on horseback. They also give riders the proper leverage necessary for mounting, dismounting, making turns, as well as providing support for the horse and rider when jumping. It is important to make sure that stirrups are properly attached to the saddle in order to ensure your safety, comfort, and performance while riding.
When attaching stirrups to a saddle, it is important to find the correct length for each side. Stirrup lengths should be such that they come up just below the rider’s ankle bone when seated in the saddle. It is also important to check that the stirrup leathers are even on both sides as an uneven length can cause discomfort and affect your balance while riding.
Once you have determined the correct stirrup length, it is time to attach them to the saddle. To do this, make sure the angle of the stirrup leathers match the angle of the saddle’s rigging dees. Then, pass the stirrup leathers through the slots in each dee and pull them tight. It is important to make sure that the stirrups are securely attached to ensure they don’t come loose while riding.
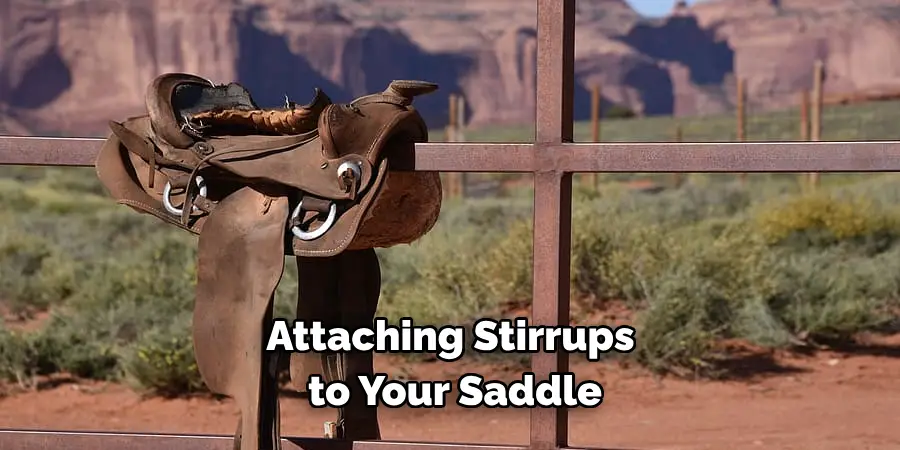
10 Steps How to Put Stirrups on a Saddle
1. Gather Your Equipment:
Begin by collecting all the necessary equipment. Make sure you have a well-maintained saddle, a pair of appropriate stirrups, stirrup leathers, and a saddle pad. Ensuring the equipment is in good condition is crucial for both rider safety and the well-being of the horse.
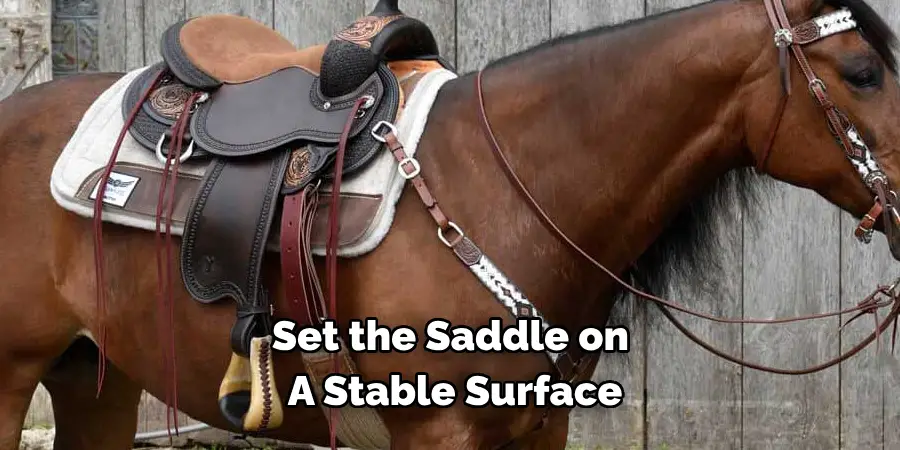
2. Position the Saddle:
Set the saddle on a stable surface, such as a saddle rack or stand, ensuring that it’s level and balanced. A proper saddle placement not only facilitates easy access to attaching the stirrups but also contributes to the overall comfort and fit of the saddle on the horse’s back.
3. Select the Right Stirrup Length:
Determining the appropriate stirrup length is a pivotal step in achieving rider comfort and maintaining proper riding form. While mounted, your stirrup iron should ideally align with your ankle bone. However, it’s essential to consider personal preference and riding discipline when setting the length.
4. Thread the Stirrup Leathers:
Pass one end of the stirrup leather through the eye of the stirrup iron. Ensure the smooth side of the leather is facing inward, against the rider’s leg, while the rough side faces outward.
5. Secure the Stirrup Leather:
Loop the threaded end of the stirrup leather through the saddle’s stirrup bar or dee ring. The attachment point varies depending on the saddle’s design; it may be situated on the flap or underneath it. Regardless, make sure the leather is secure and properly positioned.
6. Even Out the Stirrup Lengths:
Check that both stirrup leathers are of equal length. Balanced stirrup lengths contribute to the rider’s overall symmetry and help maintain an even distribution of weight while riding.
7. Check the Angle of the Stirrups:
Confirm that the stirrups are hanging straight down from the saddle without twisting or angling. Proper alignment ensures that the rider’s foot can easily slide into the stirrup when mounting and dismounting.
8. Adjust Stirrup Length as Needed:
If the stirrups are not yet at the desired length, use the stirrup buckle to make adjustments. Maintain a clear, even length on both sides to prevent uneven pressure or discomfort.
9. Buckle the Stirrup Leather:
Once the correct stirrup length is achieved, buckle the stirrup leather securely. If your saddle features a T-bar or hook, thread the leather through it before fastening the buckle.
10. Repeat for the Other Side:
Complete the same procedure for the opposite stirrup, ensuring that both sides are adjusted symmetrically. Consistency between the two sides promotes the rider’s balance and prevents discomfort.
Additional Tips
- If attaching stirrups while the saddle is on a horse, have a handler hold the horse to ensure safety and minimize movement.
- Regularly inspect stirrup leathers for signs of wear, cracking, or fraying. Damaged leather should be replaced promptly to prevent accidents.
- If using stirrups with a safety release mechanism, ensure the elastic band or rubber ring is correctly attached to the lower section of the stirrup leather. This feature promotes safe release in case of a fall.
- After riding, wipe down the stirrups with a damp cloth to remove dirt and sweat buildup. This will help preserve the leathers and prevent rusting of metal components.
- Store stirrup leathers properly between uses to avoid unnecessary wear or tangling. Place them flatly in a saddle bag or hang them up on a hook to maintain their shape.
- To personalize your ride, consider adding customized stirrup treads or pommels. Doing so can add a fun and unique touch to your saddle setup!
By following these easy steps, you’ll be able to securely attach stirrups to a saddle in no time. With this knowledge, you’ll be ready for the best riding experience possible. Have fun and enjoy the ride!
Some Common Mistakes When Puttinf Stirrups on a Saddle
Putting the stirrups on a saddle can be tricky, and it’s easy to make some of the most common mistakes. Here are some of the key things to avoid in order to ensure your stirrups are secure and safe:
- Don’t Use Too Much Pressure: when tightening or loosening the screws. Too much tension can cause them to strip or break.
- Don’t Over tighten: Make sure you don’t over-tighten the screws, as this can cause them to wear out quickly or even prevent the stirrups from moving freely when riding.
- Don’t Put Them on Upside Down: It’s easy to forget that the stirrups should be pointing downwards so that they are comfortable and safe for the rider. If you put them on upside down, it can be dangerous and could lead to injury.
- Don’t Put Them Too High or Too Low: Stirrups should be adjusted so that your heel is just below the stirrup leathers when riding. This will ensure a comfortable ride as well as safety.

Conclusion
Putting stirrups on a saddle is not as difficult as it may seem. With proper technique and patience, you can have them securely attached in no time. Don’t be scared to ask for help if needed, or even watch a few tutorials online. If you take your time and follow these steps carefully, you’ll be putting stirrups on saddles like a pro!
Once the stirrups are in place, go ahead and step into them and adjust the length to find the right fit for you. Taking the time to properly attach your own stirrups is an essential step before heading out for a ride. Learning how to put stirrups on a saddle will save you some money and give you confidence to make any adjustments as needed. So spend some quality time with your gear and get familiar with your equipment! You’ll be glad that you did when it comes time to hit the trail!