There’s nothing like the smell of fresh leather. It’s a nice reminder of the good old days when everything was made by hand. But, if you’ve ever tried to work with veg tan leather, you know it can be stiff and challenging to soften. In this article, we will show you how to soften veg tan leather using some common household ingredients. Stay tuned!

Many people like to work with veg tan leather because of its durability and affordability. It is an ideal choice for belts, wallets, and other leather goods that will be subjected to lots of wear and tear. Veg tan leather can also be dyed in various colors, making it customizable for any project you may have in mind. Unfortunately, working with veg-tan leather is not easy at all. This type of leather is very coarse and stiff when it’s new.
What is Veg Tan Leather?
If you’re interested in the vegan lifestyle, you may want to consider veg tan leather and incorporate it into your wardrobe. Veg tan leather is a type of blend that consists of both synthetic and natural substances, which are also animal friendly.
For those that are plant-based or aspire to live an eco-friendly lifestyle, this presents a fantastic alternative for people who would like to take the necessary steps towards making compassionate choices. Veg tan Leather is just one of the many alternatives that exist.
What Makes Leather Stiff?
Leather is stiffened through a process of tanning and conditioning. Tanning involves soaking the leather in tannic acid, which causes the collagen fibers in the hide to bind together and form a strong, solid material. This process helps preserve the leather and make it more durable over time. After tanning is complete, leather is then typically conditioned with natural oils and waxes to further strengthen it, help prevent cracking, and give it a supple feel.
Why Veg Tan Leather Is Preferred?
People prefer veg tan leather because it is more malleable than other types of leather, making it easier to form into desired shapes. In addition, Veg Tan Leather can keep its shape better than different types of leathers – especially when wet. This means you can use water to control creases in the leather and make small folds without fear of ruining the look or feel of the product.
Vegetable-tanned leather does not become sticky with age, unlike other sorts. Instead, they develop a fine patina over time which some people prefer the original finish on some types of new animal hides.
A significant advantage of using vegetable-tanned leather is that some dyes work directly veg-tan, while most modern leather dyes will not work on chrome-tanned leather. As a result, an adequately colored veg-tan product can be dyed to an exact color and shade without fearing it looking off down the road.
As the product ages, you will notice that the area touched most often takes on a natural patina (the part of the hide or skin stained by dirt and oil), making your wallet uniquely yours over time.
Tools and Materials
- Veg Tan Leather
- Vegetable Tanned Leather Dye (Mink Oil)
- Hairdryer or Heat Gun
- Water Spray Bottle
- Soap or Lotion for Hands
- Soft Bristled Brush
How to Soften Veg Tan Leather Step by Step Instructions
Step 1: Determine How Much Leather You’ll Be Working With
You can work with the entire piece of leather, or you can cut it into smaller pieces for easier handling. The larger the piece, the more difficult it will be to soften and dye as a whole.
Step 2: Prepare Your Work Area and Leather
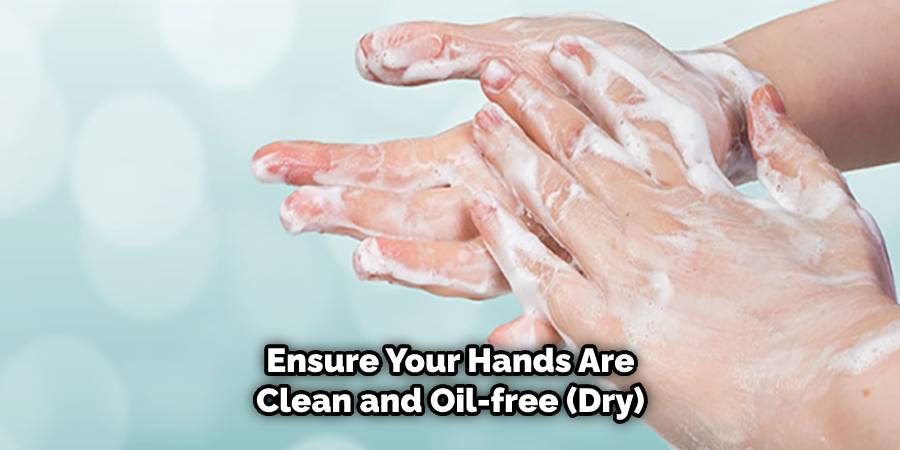
Ensure that your working area is well ventilated and free from anything that might get dyed (fabric, carpet). Place newspapers under your work area and layout plastic to catch excess dye. Make sure your hands are clean and oil-free (dry). If there’s dirt on the surface of the leather, wipe it off before proceeding; otherwise, you’ll end up pushing it down into the leather, which makes removing later once soft much more difficult.
Step 3: Pick a Good Dye Color
It’s essential to pick a good dye color because the leather that has been dyed too light will be much harder to soften, as the dye acts as a lubricant-like barrier between the fibers of your leather and the materials being used to soften it. Mink oil dyes give super-rich colors, but they tend to be very dark, so I’d recommend going with something more medium or even light if possible unless you want an incredibly dark tone.
Step 4: Apply Dye
With a brush, paint on dye until at least 1/4″ of it covers all sides of the material. Next, build up layers by allowing each layer to dry thoroughly before applying another. How many layers you use is your discretion, but I usually stop once the dye stops sinking into the leather.
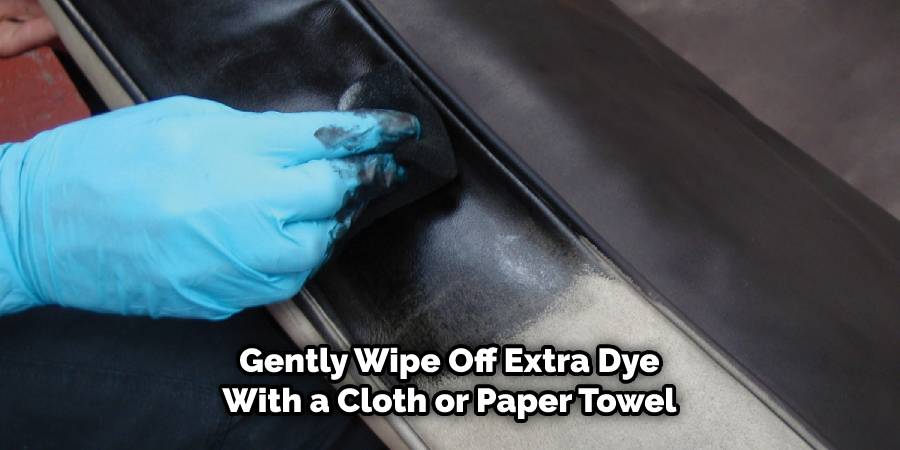
Step 5: Wipe Off Excess Dye
Take a cloth or paper towel and gently wipe off areas with too much dye on them. You continue to wipe until no more dye comes off, then let it dry for a few minutes before moving on. If necessary, repeat this step until the desired level of darkness is achieved.
Step 6: Apply Mink Oil
Once you’re happy with how dark/light, your leather is, take a brush and coat the entire surface of the material until it’s shiny from all of the oil penetrating through to the other side and coated evenly from top to bottom. How much oil you use will depend on the size of your piece. Tip: This is when it’s a good idea to wear gloves or foundation/lipstick on your hands because this stuff will stain everything!
Step 7: Let Oil Fully Penetrate Leather
Once applied, let the oil sit and absorb fully (usually around 15-20 minutes). If leather is dyed very dark, it may take longer for all of the oil to absorb; keep an eye on it and reapply more. How often you need to do this depends on how deep the dye is. Once done with step 8, continue onto step 9.
Step 8: Apply Warm Water
If the level of darkness isn’t satisfactory after letting mink oil penetrate leather for a while, you will need to reapply dye so that it soaks into the leather again. Once reapplied, let this layer dry completely (overnight is best).
Once done with step 8, continue onto step 9.
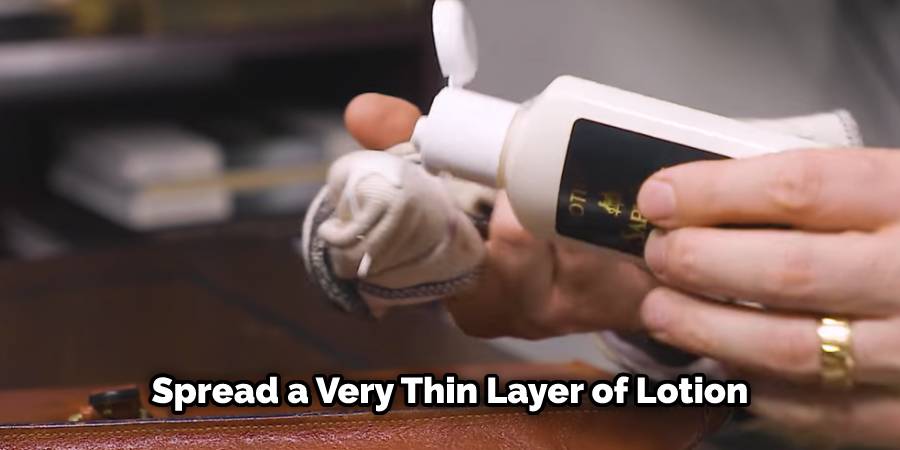
Step 9: Apply Lotion or Soap
Begin to evenly spread a very thin layer of soap or lotion (not too much) over the leather in circular motions using your fingers. How long you apply this is up to your discretion, but it’s usually best not to do more than 5-10 minutes so that you don’t melt away any oils that have penetrated already. How much soap/lotion you use will depend on how large your piece is and how deep the dye is.
Tip: If working with a more significant piece, it’s beneficial to mix what oil and water you’ll need into separate bowls and then dip your brush into each one separately before painting each area. This helps control precisely how much oil vs. water gets applied and cuts down on waste.
Step 10: Clean Up & Dry Off
Once you’re finished wiping off excess water/oil, let the leather dry (usually overnight). How long it takes is up to your discretion; I typically do around 2-3 hours per coat. If using an oil dye for this step, you can try using a blow dryer on its lowest setting to speed things up but be careful not to melt anything! These steps will help in How to Soften Veg Tan Leather.
Caring for Your Vegetable-tanned Leather
Vegetable-tanned leather is the best quality natural leather you will find – it’s thick, heavy, durable, and very stiff. Some people love this feeling of “raw” leather, but it can be challenging to use if you are new to working with leather. Like any new material, vegetable-tanned leather requires breaking in. I don’t recommend buying new products made of vegetable tanned leather because they’re often already broken in, making them appear stiffer than necessary, making them harder to break in yourself.
The first step of breaking in your vegetable-tanned leather goods is softening them up by applying a conditioner or moisturizer that allows the fibers to become more pliable and malleable. The color on vegetable-tanned leather is an outside treatment that harsh or abrasive products can remove. There are many conditioners with varying effects, so experiment to find the best fit for you.
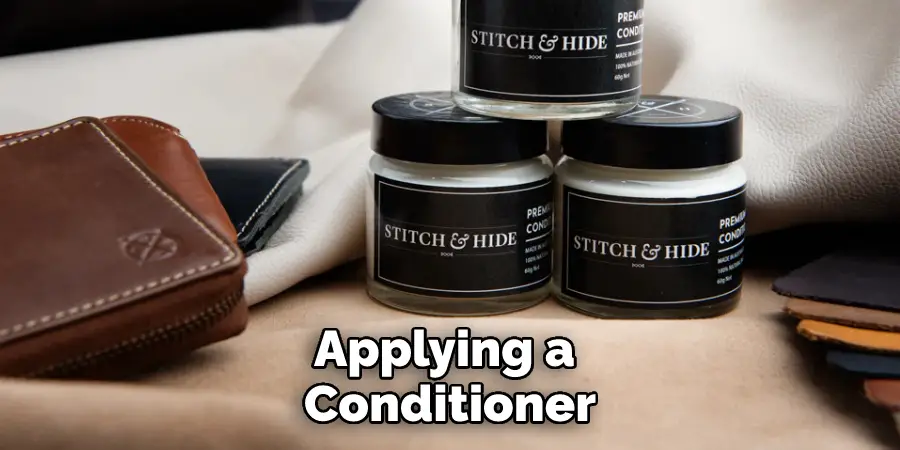
Conditioner Options
There are three different conditioners you can use on vegetable-tanned leather: oil, glycerin, and wax. Each one will leave a slightly different finish, so it’s important to know what look you want before applying your conditioner.
Oil Conditioner – Vegetable-tanned leather absorbs oils faster than other types but won’t leave your leather feeling oily since most oils evaporate after application. Oiling gives a nice glossy sheen while conditioning the leather fibers, making them pliable. After the oil has been absorbed, wipe excess with a clean cloth to remove any excess shine. Oiling vegetable-tanned leather darkens the color slightly but enhances it by removing leftover dye particles, making colors look dull or faded.
Glycerin Conditioner – Glycerin conditioners are similar to oil but work like a solvent removing impurities trapped in the fibers of your leather before evaporating, leaving behind a clean matte finish. This process lightens your leather while taking out some of the original colors. Hence, I recommend using lighter colors that have already been softened up during their lifetime, not new pieces that are more likely to be stiffer and dryer.
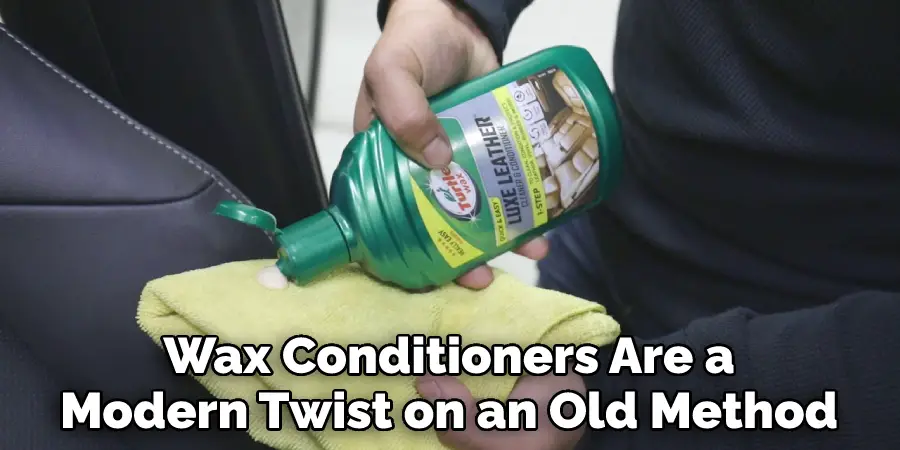
Wax Conditioner – Wax conditioners are a modern twist on an old method. To apply, rub a small amount into your leather with a clean cloth and sit for about 5 minutes or until dry to touch. After the wax has been absorbed, buff excess with a polishing cloth to add sheen while making the leather feel buttery smooth. This is my favorite type of conditioner because it’s easy to use, predictable in its results, and leaves a nice satin finish.
Frequently Asked Questions
Is Vegetable Tanned Leather Stiff?
Different tanners will produce different results. Some vegetable-tanned leathers are quite stiff, while others are more pliable. It really depends on the type of vegetable tanning used, the type of leather, and the climate where the leather is produced. So, it’s tough to give a definitive answer.
Can Vegetable Tanned Leather Get Wet?
Yes, vegetable-tanned leather can get wet. However, it is important to keep in mind that the oils and tanning agents used in this process are water-resistant. This means that while your leather may get a little damp when it rains or you spill something on it, it will eventually dry out again.
Does vegetable tanned leather scratch easily?
Because it requires a higher degree of treatment than other types, vegetable-tanned leather is tanned using a process that involves treating the skin with several substances, including oils, waxes, and agents that break down the skin’s oil molecules. This resulted in much richer color and heightened texture compared to other types of leather.
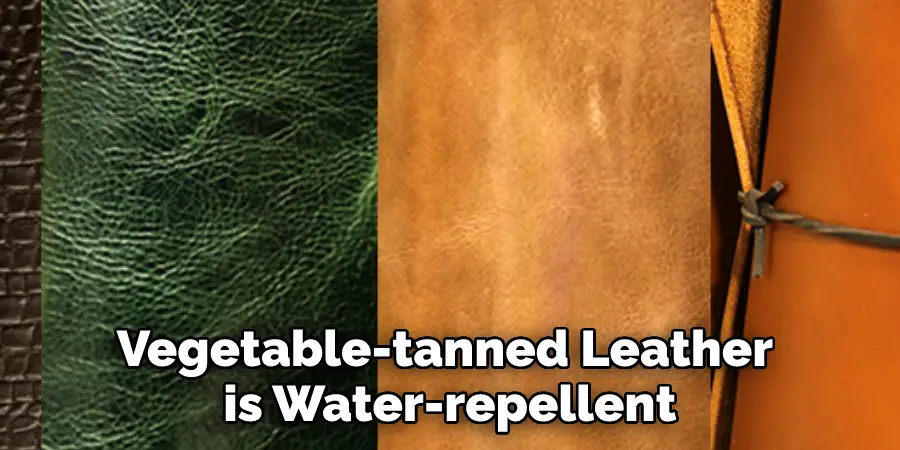
Additionally, vegetable-tanned Leather is water-repellent which makes it perfect for use in hot climates or environments where moisture exposure can be harmful. It also has good resistance to mold and mildew growth. Nevertheless, like all natural materials, there are some limitations associated with this type of tannage – namely, its costliness relative to synthetic alternatives.
Conclusion
Now that you know how to soften veg tan leather, it’s time to put your new skills into practice. Experiment with different methods and find the one that works best for you. Soon, you’ll be able to create beautiful pieces of leathercraft that will last a lifetime.
You may also like – How to remove stains from faux leather.
