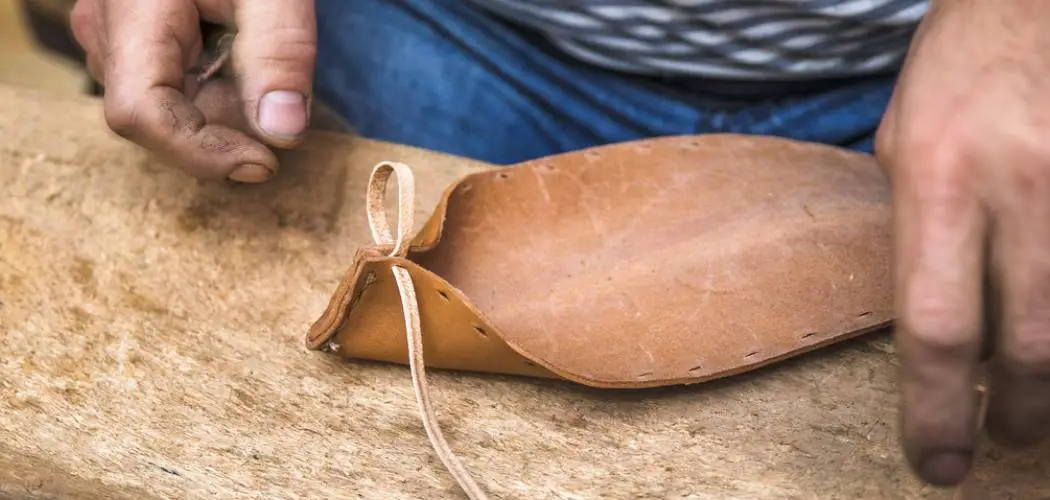
At some point, you may need to make leather thinner. Whether you’re short on material or trying to create a specific effect, this article will show you how to do it. Keep in mind that while making leather thinner is possible, it’s not always recommended – so be sure to weigh your options carefully before getting started. However, thinning leather can be an easy task with the right tools and techniques. In this article, we’ll walk through how to make leather thinner. Let’s get started!

Leather is often used in all kinds of different projects. From boots to belts, leather has a fantastic versatility that helps it stand up to pretty harsh conditions. It’s tough, versatile, and beautiful – which is why so many people are obsessed with it! But unfortunately, not everyone has access to big chunks of high-quality leather whenever they need it.
3 Methods on How to Make Leather Thinner
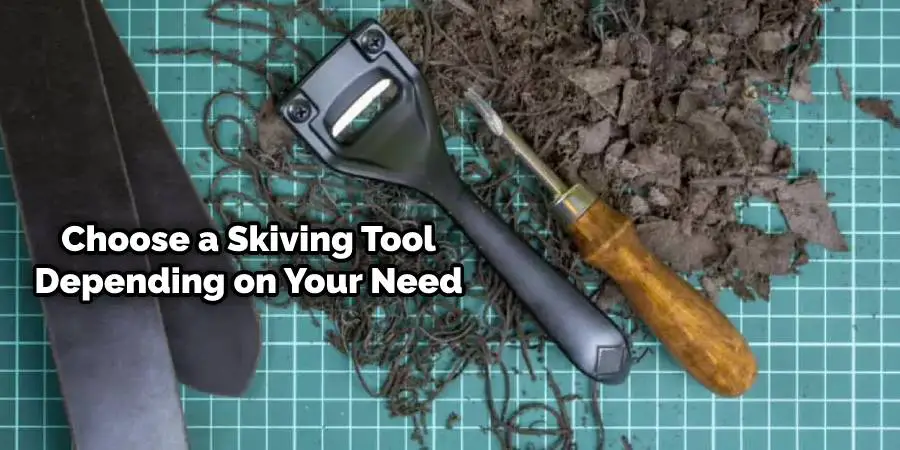
Method 1: Using Skiver
Skiving is nothing but thinning leather by shaving off a few layers from its surface to make the final product thinner with better quality. This process involves using a skiver, a thinning knife plus machine, or manually. If your leatherwork demands an excess quantity of leather, then this method can reduce thickness without wasting any part of hiding.
It does not affect leather surfaces’ strength, suppleness, or finish. Skiving machines are generally designed to expose the flesh side of hides after tanning processes for further processing & producing different types of leather goods.
Skivers are thinning knives, also known as thinners, used to cut out different layers on the surface of tanned leathers. It allows you to remove excess thickness from your hides and save them for future use without discarding any part of it. These days skivers are primarily used in tanneries, shoe-making units, furniture & upholstery shops, etc. But there are manual skivers available in the market too.
Step 1: Select Skiver
The skivers ( thinning knives ) come in different shapes and sizes, with the most common one being an irregular shape. Choose a skiving tool depending on the layers you need to thin out from your hide. It is recommended not to use a multi-blade skiving machine for only thinning purposes because it will cause a loss in production time, money, and leather quality. Also, if you want a faster rate, then use hand tools.
Step 2: Use Skiver
Ensure that the leather you will thin out is placed inside a press or between two boards for support, as shown in the image.
Now hold your skiving tool with one hand and maintain proper pressure on it. If done incorrectly, the skiver will slice through the leather instead of shaving off a few layers from its surface, which may result in tearing or hiding if too much force is applied during the cutting process. To avoid slits being cut into your material, ensure that your skiving tool is kept at an angle of 10 -30° against the leatherworking surface.
If you have a multi-blade skiver, then start by thinly slicing off the first two layers from one end and gradually go on to the next ones. If using a hand skiving tool, start by pulling it towards you with pressure. Next, go over your material again to shave away the thinner top layer, which is usually dark-colored in color, as shown in the image. This helps give better results once completed after the dyeing process is done later on.
Before you start skiving, make sure to moisten your leather surface with water because it helps in giving cleaner cuts. Also, it is recommended not to remove all the layers of a hide using a skiver because it may affect the strength of its material after the dyeing process. This is a crucial step in how to make leather thinner.
Method 2: Using Exacto Knife to Thin Leather
Using an exacto knife is another way to thin leathers. An Exacto Knife typically has a fixed blade made of steel and comes in various shapes, with the most common one being T-shaped. These knives are usually manufactured for industrial purposes like cutting or slicing through materials like rubber, plastics, paper, etc. Still, it works the same on different surfaces when used correctly.
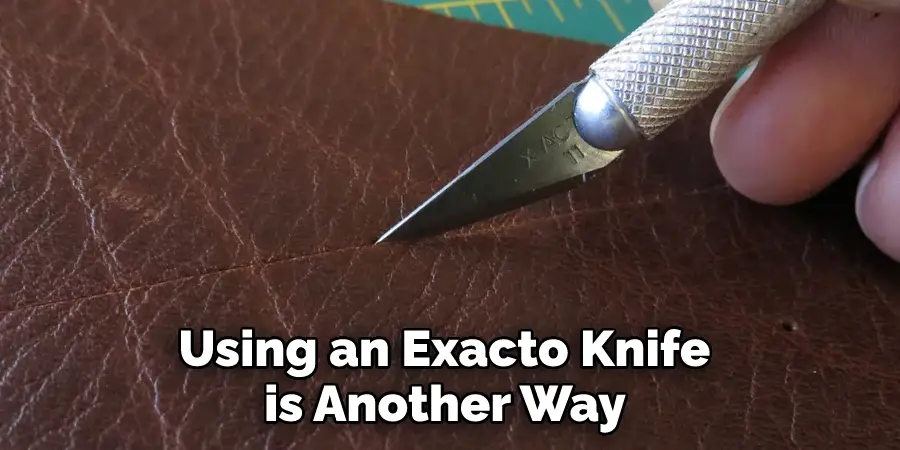
To make this process easier, you can place your leatherworking surface between two boards/boards for support, as shown in the image below. In addition, it helps to avoid excessive cuts or damage by keeping your working area steady while using an Exacto Knife.
Step 1: Cut the Leather
Lay your leather on a flat surface and place a ruler underneath it. It helps to have a ruler with inches marked and millimeters for better precision. If you find that your leather is too thick, it is best to cut it into two or more pieces where you will work with one at a time, keeping others aside.
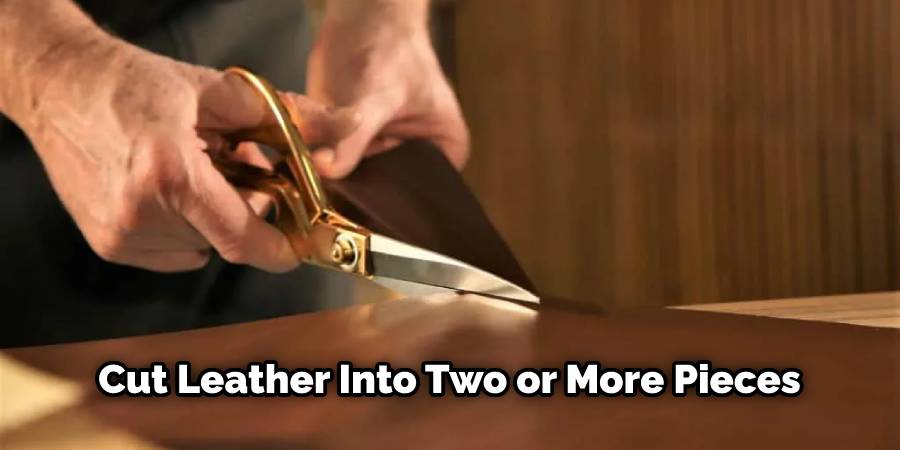
Also, remember that this method will only work best on thin/smaller-sized scrap pieces of leather or any unwanted laces available within your workshop or home. On more extensive surfaces, it will be difficult to control the Exacto Knife efficiently because of its size, so you can leave them out if they are broken in half lengthwise before trying this method.
Step 2: Position Yourself Over the Leather
Now, lay the tip of your Exacto Knife on your leather surface just about 2mm to 5mm at an angle of 45 degrees. It won’t be easy to position yourself properly without any support so use a ruler or some boards as shown in the previous step. Make sure that you are comfortable because this process requires a steady hand and may take some time for better results.
Step 3: Draw/ Cut the Line Slowly
Once you have done positioning yourself over the leather, it is time to start cutting/drawing out a design using an Exacto knife. To make your drawing easier, remember that you need to keep it within the range of length from 8 inches to 10 inches; anything beyond these dimensions will prove challenging to cut with an Exacto Knife because it becomes harder to hold and control. Also, keep in mind that you should not apply too much pressure over the blade because it may break or ruin the tip of the knife, which is why you should use a steady hand without making sudden jerks. This is a vital step in how to make leather thinner.
Step 4: Repeat These Steps
Repeat Steps 1-3 for every line you want to make on your leather surface until everything looks clean and clear, as shown below. Remember not to draw out lines beside each other because one must be thinner than another (thickness under consideration). You can choose between different designs like smooth curves, straight lines, zigzag patterns, etc., but make sure whatever design you decide must maintain a thin thickness.
Step 5: Finishing Touches
Once you have finished making all the lines on your leather surface, it is time to remove any excess materials around its outline to look clean and smooth, as shown below. Use a razor blade or cutting edge of an Exacto Knife to avoid any damage or cuts near the outlines.
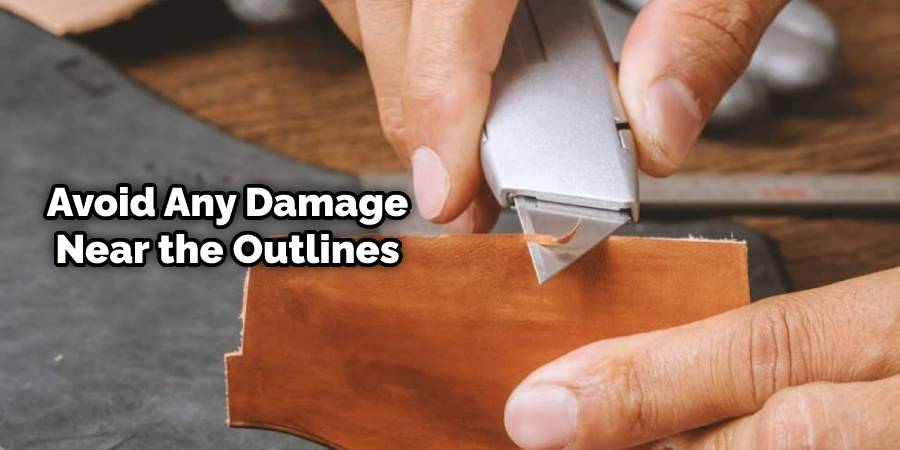
You can also use sanding paper to finish the edges, but make sure not to overdo this step because if any marks are left behind, it can be challenging to cover them up after everything has dried out completely. Also, take care while doing this step because there may be blades trapped underneath leather surfaces, so take necessary precautions before removing them by flattening them out and then cutting them off carefully.
Step 6: Cutting the Design Apart
It is time to cut your leather surface out, starting from one side of its outline, as shown below. Once you have cut off all the excess materials from this particular part, flatten it so that both surfaces are equal on top and bottom parts. Don’t press too hard over the knife because it may snap up into pieces ruining everything you have worked for during the above steps.
Step 7: Cutting the Second Piece of Leather
You will need another small piece of leather with a uniform thickness and a ruler for this step which will be used as a cover or a backing material for making a patch of your design later on after everything has dried out completely. Again, you can use leather pieces of different sizes but make sure that you are using a smaller piece for this step because anything more significant than this surface will be difficult to work upon, leading to spoiling things for you.
Step 8: Positioning the Design on Top of Your Backing Leather
Now, place the Exacto Knife over your leather surface just about 2mm below its outline so that it is correctly attached to another side, as shown in the prior photo. Then, slowly start making cuts across the line by moving the knife rapidly back and forth until both sides have been separated, as shown below. Make sure not to press too hard over the blade because if you do so, then there is a high chance that your leather surface may get damaged or cut through.
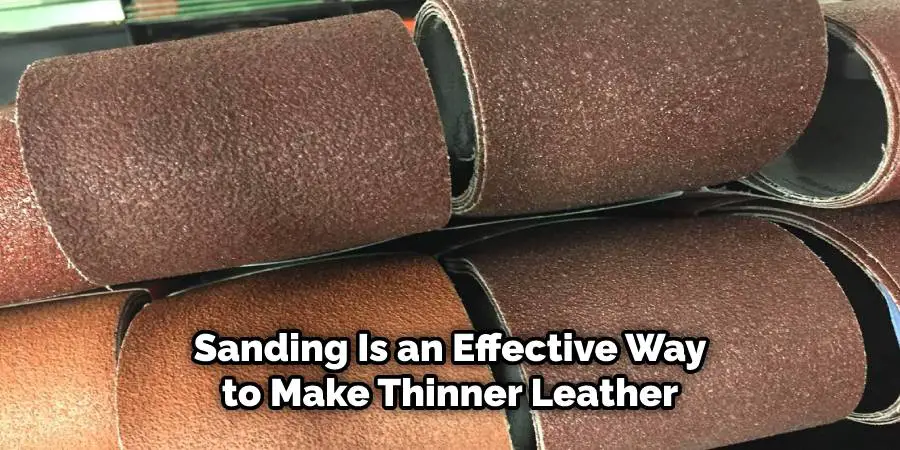
Method 3: Using Sandpaper
Sandpaper is another effective way to make any leather surface thinner compared to other materials because it uses a rough texture by removing some extra material from its top and bottom surfaces. To do this effectively, you need to take a piece of sandpaper and then rub your leather in round motions until the required thickness has been achieved once both sides have been flattened out. This is a crucial method in how to make leather thinner.
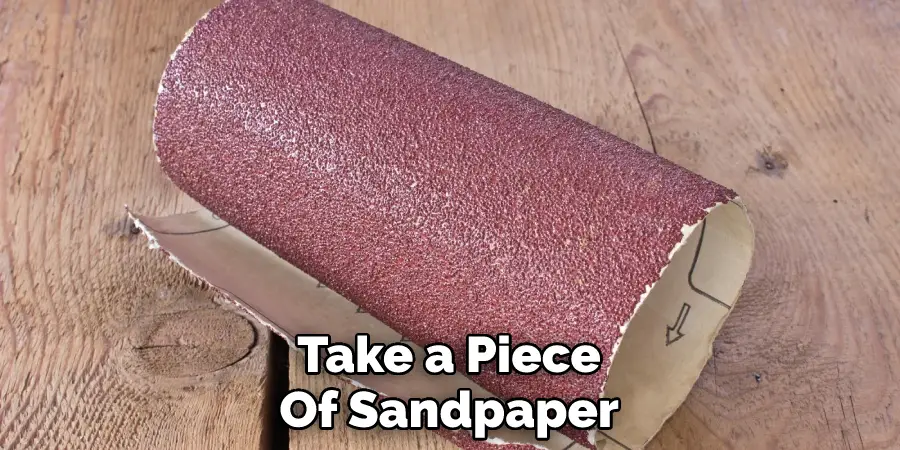
Step 1: Sandpaper Selection
There are three types of sandpapers available in the market which you can choose from, namely:
- 80 Grit (coarse)
- 150 Grit (medium-coarse)
- 220 Grit (medium-fine)
These three levels of grittiness will be used for different purposes and depending on what type of leather surface is being thinned out. For instance, if you want to create a smooth and shiny finish on your leather, it is best to use either an 80 or 150 grit sandpaper because it will provide a better result than using a lower number such as 100 or 200. However, if you want to get more of an aggressive look with cracks and crevices all over the place, you should go for a 220 grit sandpaper because it will provide the maximum level of grittiness that you can get from all three types.
Step 2: Sanding the Leather Surface
Take a piece of sandpaper and then tape it down to a flat surface before placing your leather on it. In this step, you need to rub the rough side of your sandpaper back and forth over both sides until they have been evenly worn down. Take caution while doing this because if you press too hard, then there is a high chance that your leather may get damaged or cut through, which will not allow any level of thinning to be done onto its surface. Furthermore, make sure that the grittiness has been covered across all areas by making round motions, as shown below. No part remains hidden from being thinned out after everything has dried out completely.
Step 3: Sanding the Other Side
Once you are finished sanding the top surface of your leather, it is time to sand off the back or bottom part, which has now been exposed by removing its top layer. So, flip your leather around and then place it onto a flat piece of sandpaper before repeating the same process for this other side.
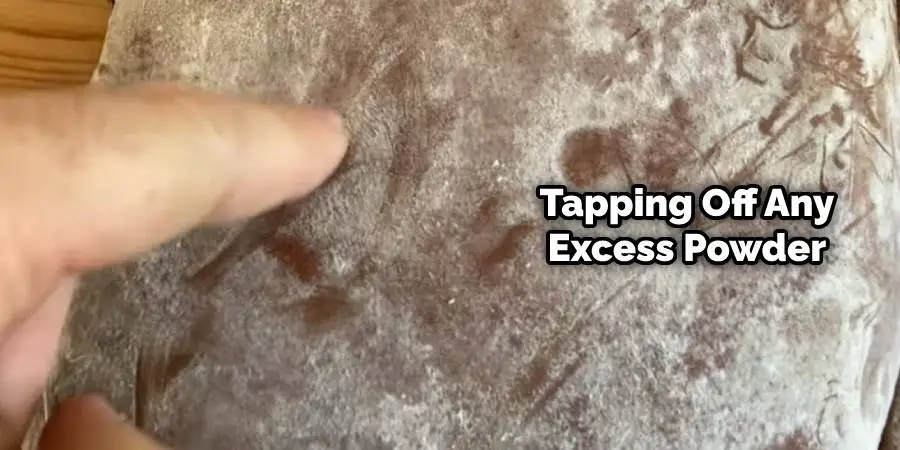
Step 4: Applying Baby Powder Onto Your Leather
You will need to use some baby powder at this step because it contains cornstarch which allows things such as glue to dry faster than usual once applied all over the leather’s surface. You may think that using baby powder will dirty up the entire look of your leather. Still, since its purpose is merely functional rather than aesthetic, you can easily clean up the powder afterward by simply tapping it off with a dry cloth. So, sprinkle some baby powder onto your leather surface, and then use a brush to spread the powder evenly across all areas until you have reached the desired thinness level.
Step 5: Letting It Sit Overnight
Let your leather sit overnight before continuing with anything else to ensure that you give enough time for everything to settle down in order. This waiting period is required because when working with leathers, there is always a certain amount of drying, which will allow any form of adhesion or bond within its surface to strengthen up much further over time. If left unattended for too long, then this process will be delayed even longer than expected because there is a high chance that the glue will dry out completely if left unattended for several days or even weeks at a time.
Step 6: Removing the Baby Powder and Sanding Off the Extra Bits
After allowing your leather to dry for a good eight hours or even more after applying the baby powder, you can then remove all traces of it from its surface by tapping off any excess powder that may remain. Note that if you do not remove this excess baby powder, it will cause your glue to become very stiff and lumpy over time because there is too much cornstarch reacting with it. So make sure to carefully brush off all of the powder to thin down your leather properly without worrying about anything else afterward.
Step 7: Applying Contact Cement Onto Both Sides
Once you have finished removing all residue from your leather, it is time to apply a fresh coat of contact cement onto both sides. Again, make sure that you use as little glue as possible and that its total thickness is no more than 0.3mm because anything thicker will not allow it to dry out properly and may even cause damage to your leather surface instead.
Step 8: Letting It Dry for Several Hours
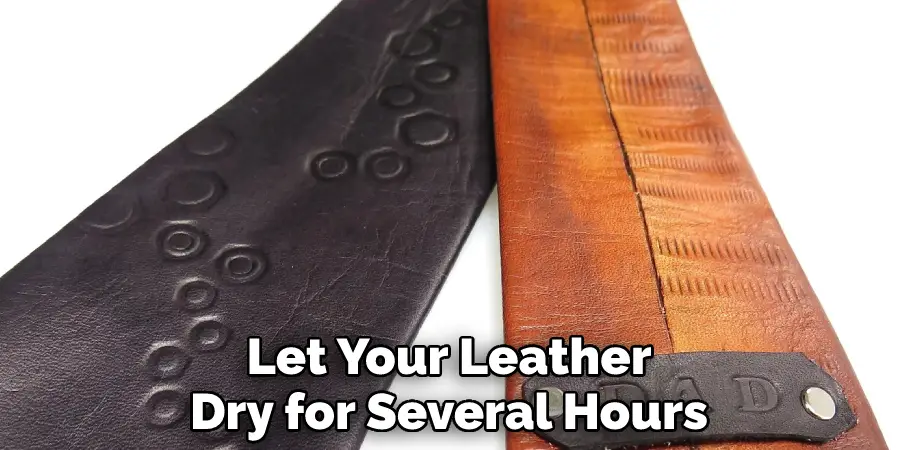
Once you have applied the correct amount of contact cement which remains between 0.3mm and 0.5mm thick, let everything sit for several hours before continuing with any other forms of thinning on top of this level so that the glue has enough time to dry through entirely without having anything else done over or around it at any given time afterward. Furthermore, during this step, you need to make sure that both pieces of leather are kept perfectly flat on top of one another so that they will not become misshapen in any way, shape, or form over time because this means that you will need to use something heavy to keep them down for an extended period.
Step 9: Sanding the Entire Surface Evenly
After letting your leather dry for several hours, it is time to sand off all of the excess glue that seeped through the gaps within its main layer. So, apply some light pressure while moving your fingers across each area where there is a high concentration of glue until you have finished sanding the entire surface evenly with fine grain sandpaper. This process removes any traces of extra glue that may remain on the leather’s main surface so that the whole area becomes completely smooth and flat before moving on with any other forms of thinning.
Frequently Asked Questions
Can You Shave Leather?
Yes, there is a growing market for people who shave leather products. Shaving leather can be a great way to protect your skin from the harsh chemicals and other materials used in traditional leather tanning. It also allows you to create a unique piece of jewelry or clothing that you can wear with confidence.
If you’re interested in shaving leather, there are a few things that you will need before you start:
1. A quality shaver – You’ll need a quality shaver if you want to get the best results. Make sure to get one that is designed specifically for shaving leather.
2. Leather cream or soap – Once you’ve got your shaver ready, it’s time to start shaving! You will need some leather cream or soap to help lubricate the skin and protect it from irritation.
3. A tanning solution – To create the perfect shade of brown, you will need a tanning solution that is designed specifically for leather. Many tanning solutions are available online or at specialty stores.
4. An iron – After you’ve finished shaving, it’s time to apply your tanning solution and iron the leather pieces together. Make sure to apply enough pressure so that the tan forms evenly on both sides of the piece of clothing or jewelry.
5. Time – As with anything else in life, patience is key when it comes to shaving leather products. It may take a few tries before you get the perfect result, but it’s definitely worth it in the end!
How Do You Flatten Thick Leather?
There are a few different ways that you can flatten thick leather, but the most common is to use a machine called an industrial press. This machine exerts significant pressure and forces the liquid leather through small holes to reduce its thickness. You may also be able to use hot water or steam to soften the leather and make it more pliable.
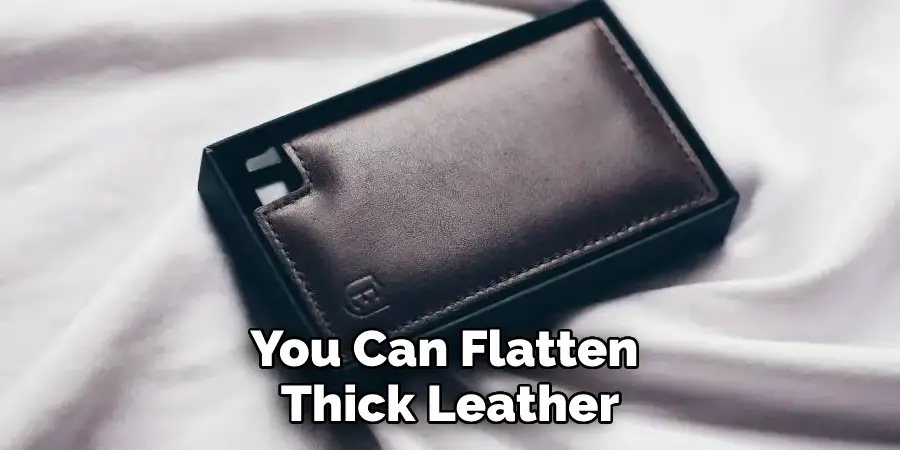
If all of these methods fail, then you could try soaking your leather in cool water for prolonged periods of time or using a horner’s hammer (a tool used for striking coins). If none of these options work, then it might be necessary to cut down on the amount of padding used in your saddlebags orleather goods.
What is the Thinnest Type of Leather?
Full-grain leather is the thinnest type of leather and it offers a high degree of craftsmanship. Its main advantage over other types of leather is its durability. Full-grain Leather does not contain any additives, which means that it retains its texture, color, and smell better than other types of leathers. This also makes it more resistant to wear and tear.
Another benefit of full-grain Leather is that it’s environmentally friendly since there are minimal environmental costs associated with production.
Conclusion
Leather is a natural material that has been used for clothing, accessories, and furniture for centuries. While it is often thought of as a heavy and durable material, leather can also be thinned to create various textures and finishes. This article outlined how to make leather thinner using three simple methods.