
Leather is a classic and stylish material that’s perfect for making personalized home décor. Are you looking to add creative flair to your space? If you’ve ever wondered how to add a special touch to your favorite leather jacket, briefcase, or any other piece of leatherwork, then stamping may be the perfect solution.
Not only can you customize your items with meaningful words and symbols, but using quality tools and techniques can ensure your results will last for years.
If so, stamping leather letters into the surface might be an ideal craft project for you! In this blog post on how to stamp leather letters, we’ll show you how to make beautiful leather letters with a minimum of tools and materials. We’ll also provide some fun ideas on how to use them in your crafts projects.
Read on if you’re interested in learning an interesting new skill or simply want some fresh art inspiration!
Choosing Leather for Stamping Letters
When it comes to stamping leather letters, the type of leather you use is as important as any other material. You’ll want to choose a high-quality vegetable-tanned leather such as full-grain or top-grain cowhide. This type of leather has an even and consistent surface that makes it easier to stamp clean lines into the leather.
You also want to make sure your leather is thick enough for your desired project. Generally speaking, you’ll need at least 4-5 oz of thickness if you plan on using a tool such as a hammer for stamping. Anything thinner may be too delicate for the process.
Preparing Your Leather
Once you’ve chosen your leather and cut it to the desired size, the next step is to prepare it for stamping. Prepping your leather allows you to ensure that the surface will be ready to accept whatever design or text you choose to create.
To do this, you’ll need to remove any dirt, dust, or debris from it using a damp cloth. This will help ensure your design stays sharp and clean when you’re done stamping.
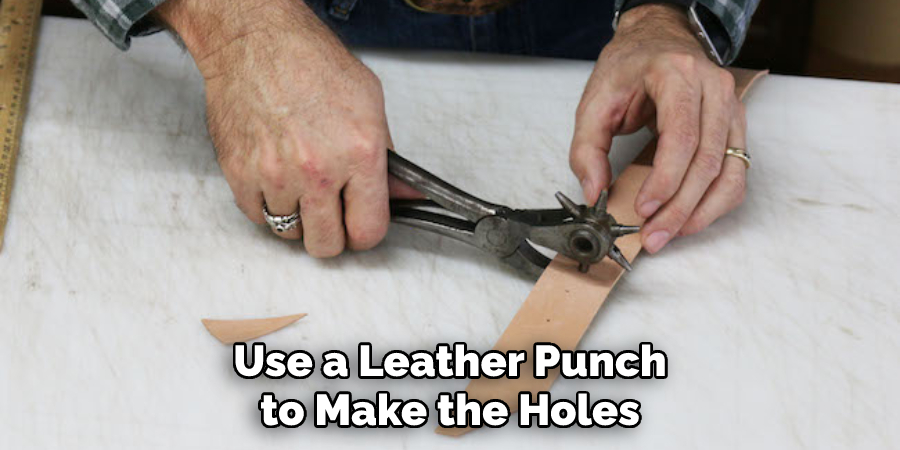
You’ll also want to use a leather punch to make the holes for each letter before you start stamping. Having these pre-drilled will make it much easier to get an even and consistent result with your tool of choice.
Required Items to Stamp Leather Letters
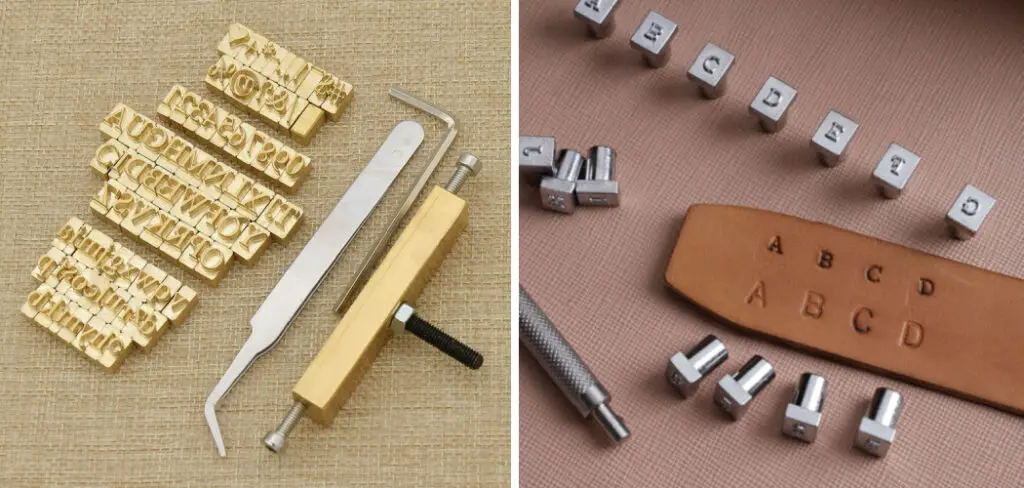
When it comes to stamping leather letters, there are a few items you’ll need to have ready before you start. These include:
- Quality leather
- A damp cloth
- Leather punch
- Hammer (or any other tool of your choice, such as an awl)
- Alphabet stamps
- Ink or dye (optional)
10 Tips on How to Stamp Leather Letters
1. Choose the Right Type of Leather
You’ll want to make sure that you’re using high-quality vegetable-tanned leather for your project. It will make it easier for you to get a clean and crisp stamped design. Also, make sure that it is thick enough for the desired project.
2. Pre-Drill Holes in Leather
Before you start stamping leather letters into the surface, it’s important to pre-drill the holes using a leather punch. This will ensure that your design comes out even and consistent when finished. The holes should be slightly larger than the size of your alphabet stamps.
3. Practice Before You Stamp
It’s always a good idea to practice before you start stamping leather letters into your project. This will help ensure that you get the desired result and keep mistakes to a minimum. If you don’t have any scrap leather, you can always use a piece of paper instead.
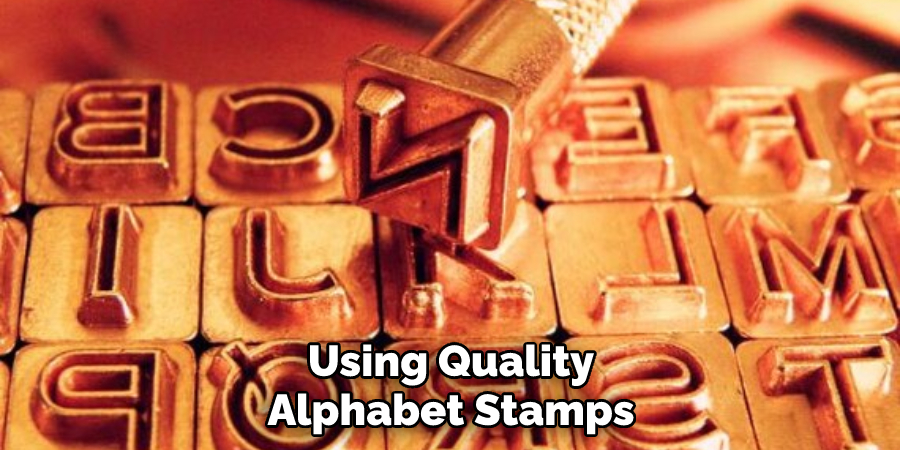
4. Use Quality Stamps and Tools
Using quality alphabet stamps and a reliable tool such as a hammer will be paramount to getting the desired results. Make sure that your stamps are sharp and that your tools are in good condition before starting.
5. Use Ink or Dye (Optional)
Using quality ink or dye can help enhance the look and feel of your finished project. You’ll want to make sure that you use one specifically designed for leather, as regular inks and dyes may not stick correctly to the surface.
6. Stamp in One Direction
When stamping leather letters, it’s important to make sure that you move your tool in one direction. This will help ensure that your design is uniform and consistent when finished. Don’t try to go back and forth, or your design may come out looking distorted.
7. Apply Even Pressure
When stamping leather letters, it’s important to apply even pressure throughout the process. This will ensure that each letter is stamped in exactly the same way, giving you a clean and consistent result when finished.
8. Don’t Overdo It
When it comes to stamping leather letters, less is often more. Don’t overdo it by pressing too hard or you may end up damaging the design and your project. You have to be gentle to get the desired results.
9. Don’t Rush It
It can be tempting to rush through your project, but it’s important to take your time and make sure that each letter is stamped correctly. Rushing the process could result in messy and uneven designs.
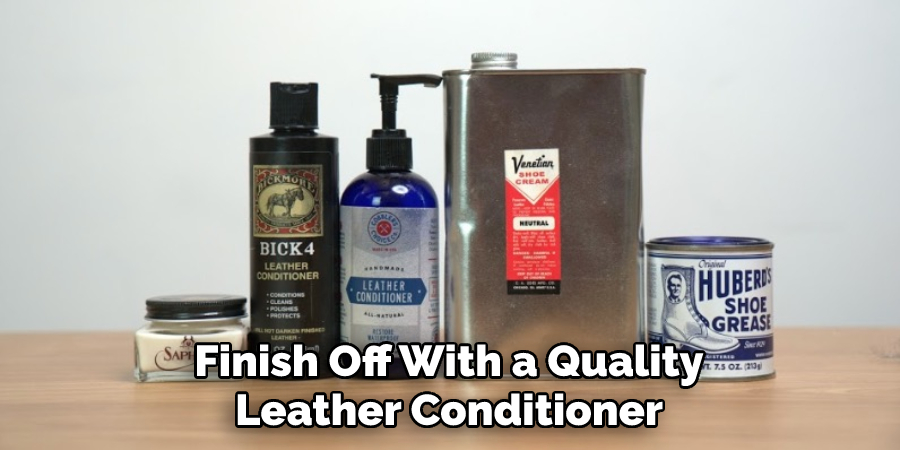
10. Finish with Leather Conditioner
Once you’ve stamped your leather letters, you should finish off with a quality leather conditioner. This will help to protect the surface from wear and tear, as well as provide it with some added shine.
By following these tips on how to stamp leather letters, you’ll be able to create beautiful and professional-looking projects that are sure to impress. Just remember to take your time and be patient with the process, and you’ll end up with beautiful results. Good luck!
8 Maintenance Tips for Stamp Leather Items
- Store stamps in a safe, dry place. Keep them away from direct sunlight or extreme temperatures. Sunlight may cause the leather to fade, and extreme temperatures can distort or damage the stamp.
- After each use, wipe down your stamps with a damp cloth to remove any dust or dirt. Then, apply a thin layer of leather conditioner or wax to keep them in good condition. Dirt and dust can damage the stamp over time.
- Keep your stamps away from moisture. Water can cause the leather to warp and distort, so it’s important to store them in a dry place. Storing them in an airtight container can help to keep moisture out.
- Be sure to always use the same type of leather when stamping leather items. Different types of leather have different thicknesses and densities, which may affect the outcome of your stamped item.
- Always test stamp on a scrap piece of leather before attempting to stamp on the final product. This helps ensure that your design will be successful and that no mistakes are made.
- If you need to remove any excess ink or paint, use a soft cloth and rub alcohol instead of water. Water can cause the stamped image to become distorted or smudged. Excess ink can also be removed using a sharp blade.
- When not in use, cover your stamp with a protective cloth or paper. This will help to keep dust and dirt away from the stamp’s surface. Protective coverings also help to keep the stamp in good condition.
- Finally, it’s important to use a gentle hand when using your stamps. Applying too much pressure can cause distortion or damage to the leather and your stamped design. Be sure to always use light but consistent pressure while stamping leather items.
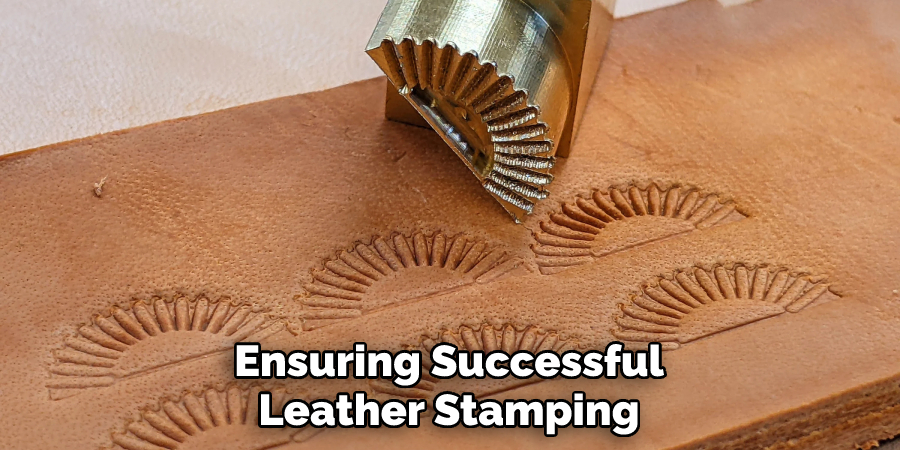
Following these simple steps will help you maintain your stamps in good condition, ensuring successful leather stamping results every time! With the right care and maintenance, you can create beautiful stamped items for years to come.
Frequently Asked Questions
Can You Paint Stamp Leather Letters?
Yes, you can paint leather letters with special stamping ink or paint. Be sure to always test the color on a scrap piece of leather before applying it to the final product. It will also help to apply a thin layer of leather conditioner or wax before and after stamping. This will protect the item from any excess paint or ink.
How Do You Protect Stamped Leather Letters?
Leather letters can be protected with a special sealant or coating, such as polyurethane. Sealants help to protect the letters from wear and tear, as well as dirt and moisture. It’s also important to store your stamped leather items in a safe, dry place away from direct sunlight or extreme temperatures.
Conclusion
When it comes to stamping leather letters, the possibilities are almost endless! Whether you choose a classic stamped look or something more stylized, this project can be adapted to fit any project, from simple keychains to full book covers.
With the correct supplies, careful handling, and practice with your hammering technique, you’ll be able to create beautiful results that you’ll enjoy for years.
Don’t forget to complete the letter-stamping process by conditioning and waterproofing the leather once you’ve finished – this will help protect your piece of art! With these tips on how to stamp leather letters in mind, it’s time to get out there and start creating some amazing pieces. Good luck, and have fun!