Stretching leather shoes can be a daunting task, especially if you don’t have the right equipment. Lucky for you, stretching your Dansko shoes has never been easier (or more affordable!). Whether you’re suffering from uncomfortably tight toes in your dapper oxfords or have extra room on the sides of your Wednesday work flats, this blog post is here to guide you through how to stretch dansko leather shoes effectively and safely.

With simple tips and tricks from experienced shoemakers, we’ll teach you that sometimes all it takes is common household items and a few small adjustments to achieve a comfortable fit for every step and stride!
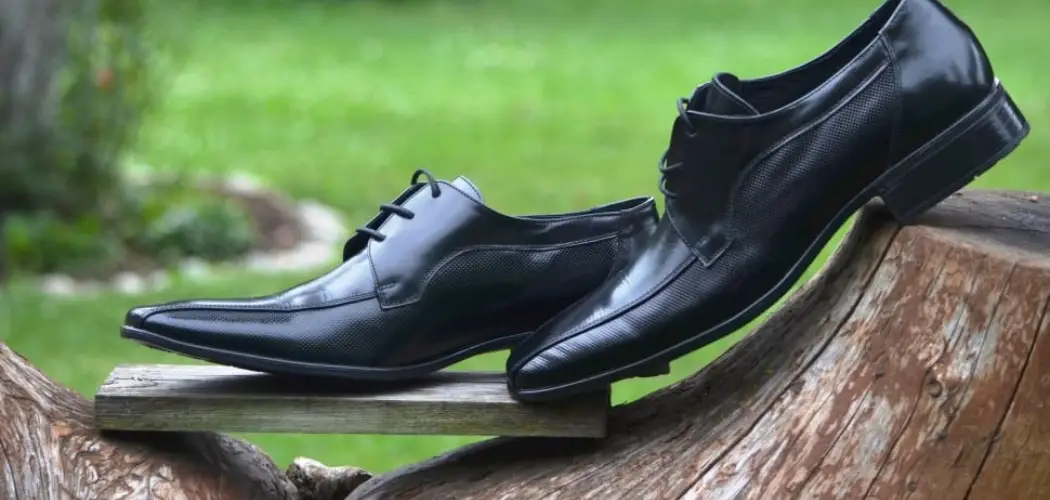
What is a Dansko Leather Shoe?
Dansko is a popular brand of shoes with a distinct look and feel. Manufactured from soft, full-grain leather, Dansko footwear typically offers an anatomically contoured footbed for all-day comfort and support. While these shoes are designed to fit snugly on your feet, they can sometimes feel too tight in certain areas. Stretching them is often the solution to relieving any discomfort and giving your feet a more comfortable fit.
Necessary Tools
To get started, you’ll need a few simple tools to help you stretch out your Dansko leather shoes. You’ll need:
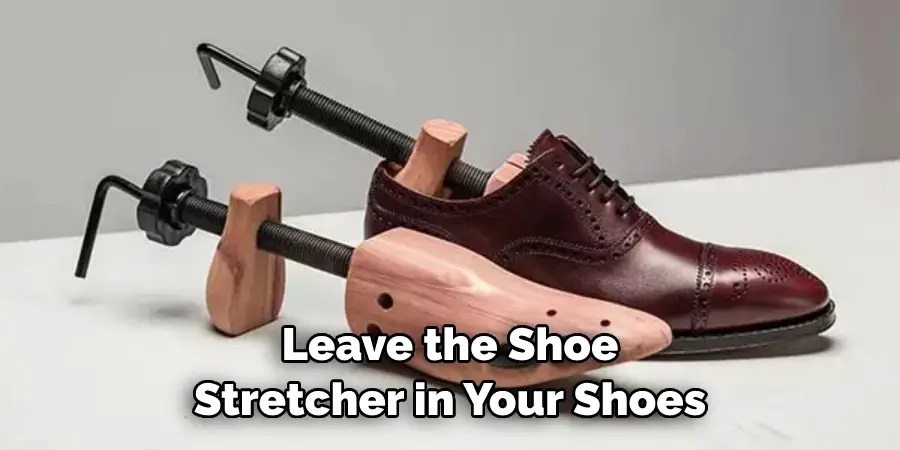
- A Shoe Stretcher (You Can Find One for Less Than $20 Online)
- Shoe Stretching Spray
- Rubber Mallet (or a Regular Hammer)
- A Damp Cloth for Cleaning
13 Step-by-step Process on How to Stretch Dansko Leather Shoes
Step 1: Remove the Shoe Laces
Before you get started, make sure to remove the shoe laces from your leather shoes. This will allow access to all of the areas where stretching needs to be done. If you have laces with eyelets, simply pull out each lace and set it aside.
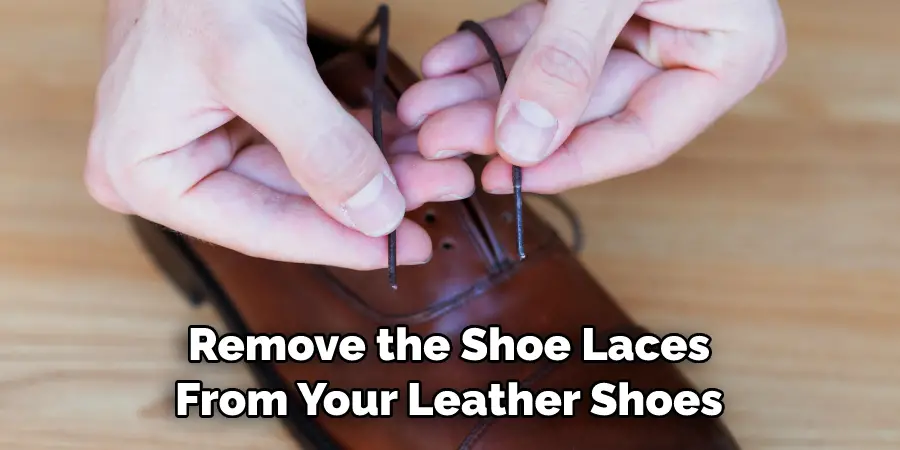
Remember to save your laces, as they will need to be reattached when you’re done stretching. But if you’ve got laces that wrap around each other, such as a tassel loafer, you may need to loosen the laces before taking them off.
Step 2: Clean the Shoes
Next, take a damp cloth and wipe away any dirt or dust that has accumulated on the surface of the shoe. Then, take a shoe stretching spray and spray it onto the areas where you need to make extra room. This will help soften the leather, making it easier to stretch. If you don’t have shoe stretching spray, you can also use a leather conditioner. That will do the trick as well. Make sure to spray the inside and outside of the shoe for the best results.
Step 3: Insert the Shoe Stretcher
Once your shoes are clean and prepped with stretching spray, insert the shoe stretcher into one of your shoes. Make sure that it is inserted securely so that it won’t move around while you’re stretching. Whether you’re stretching the left or right shoe, make sure to insert the stretcher so that it is facing forward. If you’re stretching the heel area, start with a smaller stretcher. And for toes, use a larger one.
Step 4: Adjust as Needed
Now it’s time to adjust and customize the stretcher according to your needs. First, use a rubber mallet (or a regular hammer) to gently tap the stretcher into place. Then, adjust the shoe stretcher’s tension screws to create more room in your shoes.
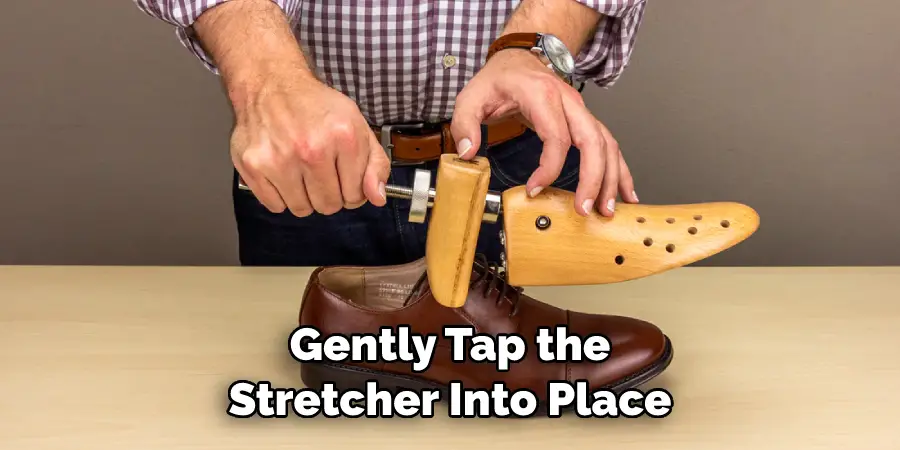
You can also add additional wads of leather or felt in the areas where you need extra stretching. But remember to take your time and go slowly. Otherwise, you may end up with a fit that’s too loose.
Step 5: Let it Sit
Now that you’ve inserted and adjusted the shoe stretcher to fit your needs, it’s time to let it sit for a few hours. This will give your shoes enough time to stretch out and take their new shape. It is also a good time to take advantage of the break and clean your shoes. This will help keep them looking their best. If you’re in a hurry, let the shoes sit overnight instead. You can also add extra stretching spray during this time.
Step 6: Check on Progress
After a few hours have passed, check up on how much your shoes have stretched. If they are still too tight, adjust the stretcher as needed and continue letting them sit. You can also add additional stretching spray if necessary. This may require more than one session, so don’t feel discouraged if they don’t fit perfectly the first time. Then, repeat the process on your other shoe.
Step 7: Remove the Stretcher
Once your shoes have reached a satisfactory level of comfort and you’re happy with the results, you can remove the shoe stretcher. To do this, simply twist it slightly to release it from its position in your shoe. If it was in there for a while, you may need to use the rubber mallet again to get it out.
Be gentle and take your time so that you don’t damage the leather. But if you’re having trouble, you can always consult a professional cobbler for help.
Step 8: Let Shoes Dry
After removing the stretcher, let your shoes sit for a few hours until they are completely dry. This will help ensure that any remaining stretching spray is absorbed into the leather and that no residue is left behind. Make sure that the shoes are completely dry before putting them on again.
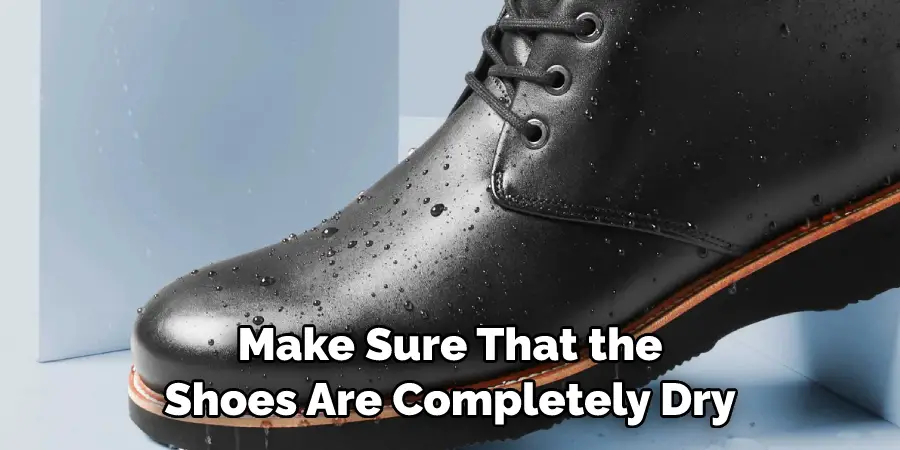
If you put them on too soon, you may end up with a fit that’s too loose. So it’s important to take your time and let them dry completely.
Step 9: Reattach the Laces
Once your shoes are dry, reattach the laces by putting them back into the eyelets. Or, if you had to loosen laces that wrap around each other, make sure to tie them up tightly once more. This will ensure that the shoes fit your feet perfectly. But don’t make them too tight, as that will undo all of your work. You want the shoes to be snug, but not too tight.
Step 10: Wear Shoes Around House
Now that your shoes are all stretched out and laced up, it’s time to take them for a test drive! Wear your shoes around the house for a few hours so that you can determine if they need any additional adjustments or stretching. It’s best to do this before going out in them, as it will give you an idea of how they feel on your feet and if any additional stretching is necessary.
Step 11: Continue Adjustments as Needed
If your shoes still feel too tight after walking around in them for a few hours, go ahead and make any necessary adjustments. You can add more stretching spray, adjust the tension screws on the shoe stretcher, or add additional wads of leather or felt to the areas where you need extra stretching. If necessary, go through the entire process again to achieve your desired fit.
Step 12: Allow Shoes to Dry Completely
Once you’ve made any necessary adjustments, let your shoes sit for a few hours so that they can fully dry. This will help ensure that all remaining stretching spray is absorbed into the leather and no residue is left behind.
Step 13: Enjoy Your New Shoes!
Tada! Now that your Dansko leather shoes are perfectly stretched out and comfortable, it’s time to enjoy your new kicks! Make sure to continue regularly cleaning them and taking care of them so that they stay in shape for years to come. Happy feet, happy life! Just remember, if you ever need to stretch them again, you have the knowledge and tools to do it. So go ahead, rock those shoes and show off your new look!
There you have it: a complete guide on how to stretch Dansko leather shoes! While the process may seem a bit daunting, it’s actually quite simple and straightforward. With just a few basic tools and supplies, you can easily and effectively stretch your shoes to get a perfect fit. So go ahead and give it a try – you’ll be pleasantly surprised at the results!
Good luck, and enjoy your new shoes!
Frequently Asked Questions
Q: How Long Do I Need to Leave the Shoe Stretcher in My Shoes?
A: It’s best to leave the shoe stretcher in your shoes for at least 24 hours to ensure that they are adequately stretched. But if you need more stretching, you can leave the shoe stretchers in for up to 48 hours.
Q: Do I Need a Special Product to Stretch Leather Shoes?
A: No, you don’t need special products or tools to stretch leather shoes. All you need is a shoe stretcher, which can be found at most shoe stores or online.
Q: Can I Stretch Shoes with Suede Uppers?
A: Yes, you can stretch shoes with suede uppers as well. However, it’s important to note that suede is a more delicate material than leather, so it’s best to take extra care when stretching them. It’s also important to make sure that you use the correct products for suede shoes cleaning and conditioning them.
Conclusion
It is so important to treat your Dansko leather shoes with the respect they deserve! Stretching them must become a routine if you want them to last and provide maximum comfort every day. Saturate the specific area that needs stretching with rubbing alcohol, and then use a shoe stretcher along with it for added success.
Also, remember to condition your leather shoes every month or so by using shoe cream. Staying vigilant will aid in keeping those Dansko leather shoes looking good and feeling great! As this guide has shown on how to stretch dansko leather shoes, there are several simple tricks for making sure that your Dansko leather shoes stay comfortable and beautiful for years to come.
So get out there and start stretching those dances today— you won’t regret it! Thanks for reading, and enjoy the comfort of your stylishly stretched Danskos!