
If you’re like me, you have a ton of sewing projects that you want to start but never seem to get around to because it seems too daunting. I’m here to show you how easy it can be to sew leather with a leather sewing awl! This is a great way to make custom-fit clothing and accessories, but it’s also an enjoyable project for any Leatherworking hobbyist.

In this article, I’ll walk you through the steps on how to use a leather sewing awl, as well as show you some of the best techniques for stitching leather together. Leather sewing awl is a great way to make custom leather clothing and accessories. Leather sewing awl is used on all types of leathers, including suede.
Summary: A leather sewing awl is a simple yet versatile tool that can be used to stitch thick and thin leather materials. It consists of an awl handle with a spike, a spool of line, and four different sizes of needles. To use the awl, start by threading the line through the eye of the needle and slide it down onto the spike of the handle. Push down firmly on the needle as you pull it along, piercing through both sides of your material for even stitches.
What Is a Leather Sewing Awl?
A leather sewing awl is a tool used to punch holes in two pieces of leather so that you can sew them together. This can be useful for repairing items or making something new entirely from the material. Most people familiar with stitching leather know how to use an awl, but there are some tips and tricks to consider when getting the best results.
There Are Four Different Parts of a Leather Sewing Awl
The first is the sharp end that makes the holes in the leather. The tip of this part can either be cone-shaped or shaped like a diamond. This end should not be sharp enough to pierce through your skin, but it should be able to puncture your leather easily, even if it has been tooled and treated.
The second part is called the shaft. This extends from the tip down to where you hold onto the sewing awl while punching through leather pieces. It always comes with grooves on either side to get purchased when twisting and turning your leather sewing awl while it’s inside an item of material.
Another critical aspect is called the head. This is the end of your leather sewing awl that can be placed inside an item to hold it open. Again, you do not stitch through this part, but you will need to move it around to help you see where you are putting your holes.
Last is called the handle. This holds everything together to have a smooth piece of equipment when working with leather items. The handle usually has either a metal or wooden grip so that you can hold on firmly while getting the job done.
How Does a Leather Awl Work?
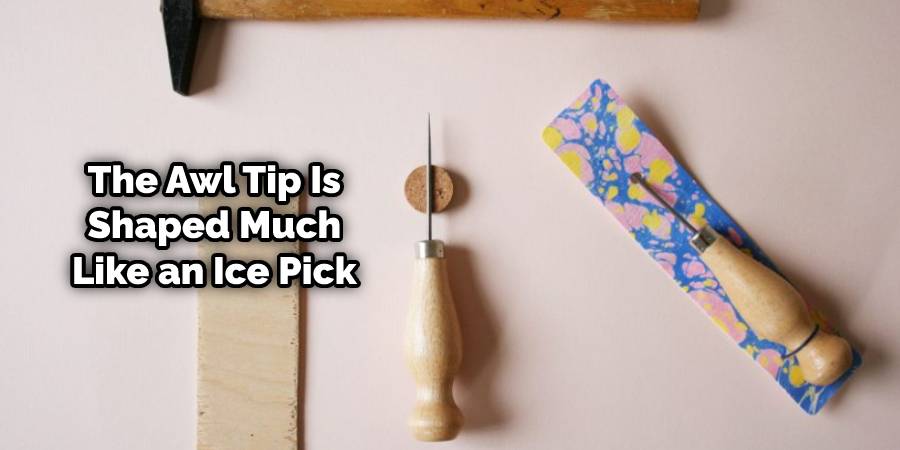
A leather sewing awl is used to make holes in tough materials like leather, sometimes bone. The awl tip is shaped much like an ice pick; when you strike the belt with your mallet, the pressure forces the steel rod down onto the belt.
As it goes down, it makes a small puncture in the leather. Then, as you pull up on it using either your hand or, more often, a pair of pliers, it pulls out a small “plug” from the hole created by turning itself around as it comes up and out of the permanently made hole. I’m not sure how much faster hand stitching you can do this way, but it’s quicker, and the stitches come out better.
The length of the awl is approximately 8 1/2″ (21.5 cm), with a 3″ (7.6cm) steel rod and a round wooden handle of about 5/8″. I use solid brass or stainless steel rods, like those in ice picks.
Required Tools and Materials
- Leather
- Sewing awl
- Thread, leather thimble, and needle
How to Use a Leather Sewing Awl Step by Step Instructions
Step 1: Prepare
Spread the leather out and place it on a hard surface. The hardcover will give your tools a flat and firm work area to work with (a table is preferable). Using either an X or a T-shaped hole at one end of the leather, make two holes in the center of it. How far apart you make these depends on how big you want them to be; standard distances for this size of leather are 5/8″ and 1″.
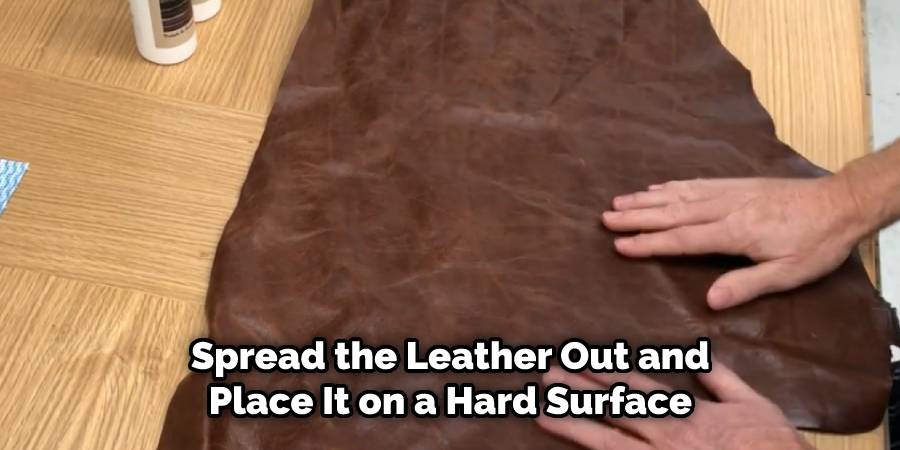
Use your awl (you might need to use some good force) to remove any bits of flesh around the holes you just made. This is very important as otherwise they can get pushed inside while working, making it difficult for other people to sew because the stitches won’t go through properly.
Step 2: How to Start
Thread your needle and then tie it off with a knot. You can do this by making a loop of thread and then sticking the end through the loop twice (this traps the end of the thread in there). Then, leaving an inch or so out, tighten it up. Cut off any excess thread once you’ve done that.
Take your leather thimble and slip it on over the two central fingers of your dominant hand. This is usually indicated by which finger you write with, and they’re needed for this technique because otherwise, they’ll hurt when using the awl too much later in this process.
Next, please take one of your needles and press it into the top of the thimble, so it’s secure. How far away from the opening you place the needle depends on how big your leather is and how far apart you made your holes in Step 1. Place it as close as possible without making the thread difficult to pull through later.
Step 3: Form a Loop
Now that you’ve got everything prepared, it’s time to start sewing! You’ll need both hands for this part, one with a leather thimble and a threaded needle and the other with a pair of pliers (or some other similar tool). Take hold of your thread with both hands and create a loop at one end of the thread by pulling back around two inches or so from where you tied off.
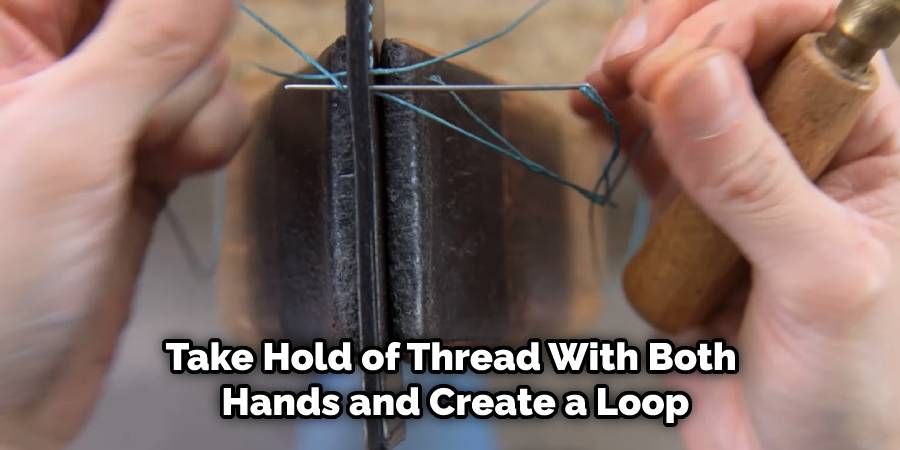
Make sure it’s big enough to fit the leather thimble inside it later easily. Once you have the loop, place it over your needle and hold onto it with your dominant hand, being careful not to damage the needle as this is very important. This is a crucial step in how to use a leather sewing awl.
Step 4: Sew a Stitch
Now that everything’s ready, all you need to do is push the needle through the holes in your leather from one side to the other. To do this without catching any of your fingers with either your thread or awl, put the pliers into the loop and then pull them out quickly (just like when tying a shoelace) before pushing them back down for another stab at those holes.
The spacing between these stitches depends on how you want your finished product to look; it can be anywhere between 2mm and 6mm, depending on what you’re looking for. How tightly spaced together they are also given another dimension of control over how your leather material looks when finished, so experimentation is key here.
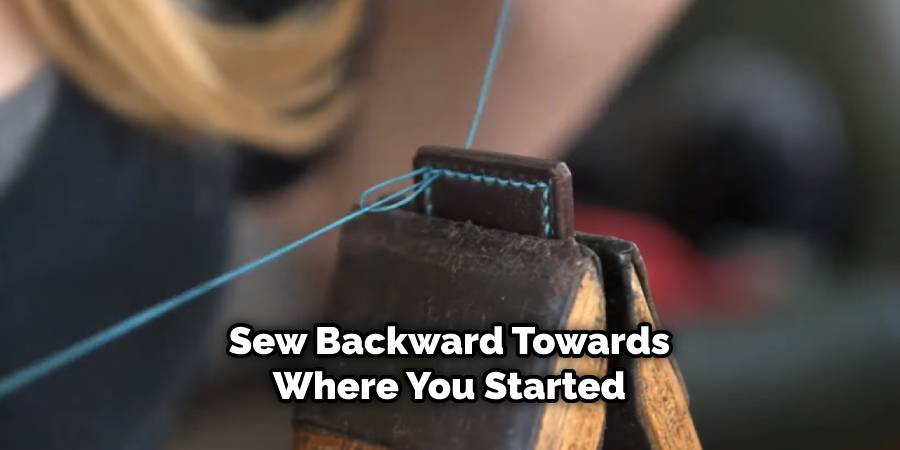
Step 5: End the Stitch
When you’ve reached the end of one stitch, push the needle through both holes in opposite directions (one up, one down) to ensure there’s no slack in the thread before pulling tight. This will keep everything nice and tidy when done correctly.
You then sew backward towards where you started by pushing upwards with the pliers in your opposite hand; alternatively, if that’s too difficult (and sometimes it can be depending on the type of leather), you can try pushing upwards with your pliers in your dominant hand instead.
Once that’s complete, hold the loop of thread tightly and pull it accordingly to remove any slack or excess before cutting off any remaining material. How long this extra thread is depends on how big you made the loop at the beginning; usually, somewhere between an inch and three inches will be fine.
The final step is to push the needle over onto itself, so it doesn’t come undone when moving onto the next section, weaving it around some of the existing stitches on your project. Most people start this by doing new independent rows of stitches, but if you’re good enough, you should be able to do it without having done that.
One way to do it is by moving your pliers upward while pushing the needle downward (so it’s poking through both holes) and then pulling upwards without tying everything together as you did at the end of the previous stitch because there’s no need for it this time around.
How many times you should repeat this process depends on how far apart each hole is; usually, only once or twice will suffice. Once that’s done, cut off any excess thread because you’re done!
Why Should You Use a Leather Sewing Awl?
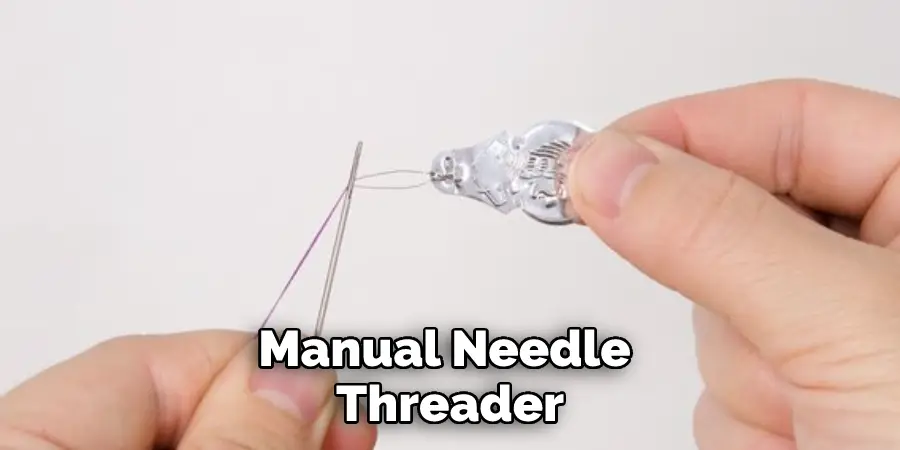
When you are working with leather, an awl is a tool that will help to make your life much easier. An awl is used to punch holes in leather sturdier than the thin needle that comes with your typical sewing kit. Yes, there are thin needles that go into an electric or manual needle threader, but if you want thicker holes so you can pass heavier threads through them without breaking them over time, then you need something more substantial.
The difference between using an awl and any other craft tool is the fact that it has a sharp point on one end of its metal body. This point puts little dents in the leather as it punctures it. These dents are practically impossible to see when the leather is finished, but they make it possible for you to pass your thread through them with ease.
Using an awl with holes in leather sewing is easier than using a thimble because it gives you more control over how deep you put the prick into the material at one time. If you have ever had to use something hard and thick like a needle or even a toothpick to push your thread back down through your fabric, then you understand what can happen if you prick yourself with one of these items. The problem with them is that once the sharp object entered your skin, there was no way for you to grab hold of your thread so that it could be pulled up again. That is where the awl really shines.
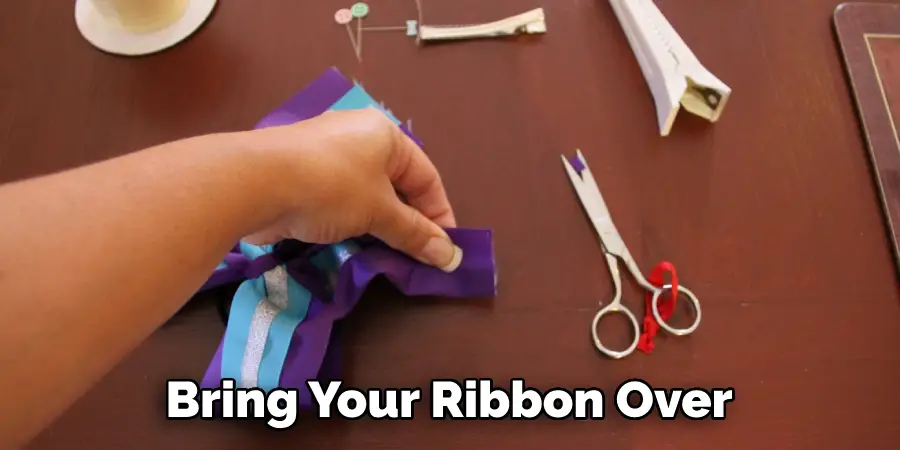
The sharp head of this tool makes it perfect for punching holes through leather and even through other materials as well. If you are working with paper, for example, and you want to put a string or ribbon around a book or between two pieces of material so that your book will stay shut, then an awl will help you do just that.
Put the point on one side of your project and press it into place before using your awl to create a hole on the other side. Bring your ribbon over and tie one end to each prong of the tool, making sure that one end goes inside and out through the opening at either end – voila – instant bookmark!
Frequently Asked Questions
Do You Need an Awl to Sew Leather?
No, an awl is not necessary to sew leather. However, it can be helpful for a few reasons. For one, an awl makes it easier to start a hole in the leather where you will be sewing. Secondly, an awl can help you move the needle more easily through the leather – this is especially beneficial if you are using a zigzag stitch. Lastly, an awl can be used to make tiny adjustments to your stitching if you need to.
Should an Awl Be Sharp?
It depends on your personal preferences. Some people feel that an awl should be sharp enough to easily pierce the skin, while others prefer a more blunt edge for ease of use. It is also important to consider how often you plan on using the awl and whether or not you want it accessible at all times. A dull or non-sharp awl may not allow you to pierce the skin accurately and safely.
What is the Difference Between an Awl and a Scratch Awl?
An awl is a type of hand tool that’s used for creating holes in different materials, such as wood, plastic, or metal. It has a pointed end and a shaft that is cylindrical in shape. Scratch awls typically have one sharpened point at the tip of the shaft and are designed to be used for light work with delicate materials like fabric.
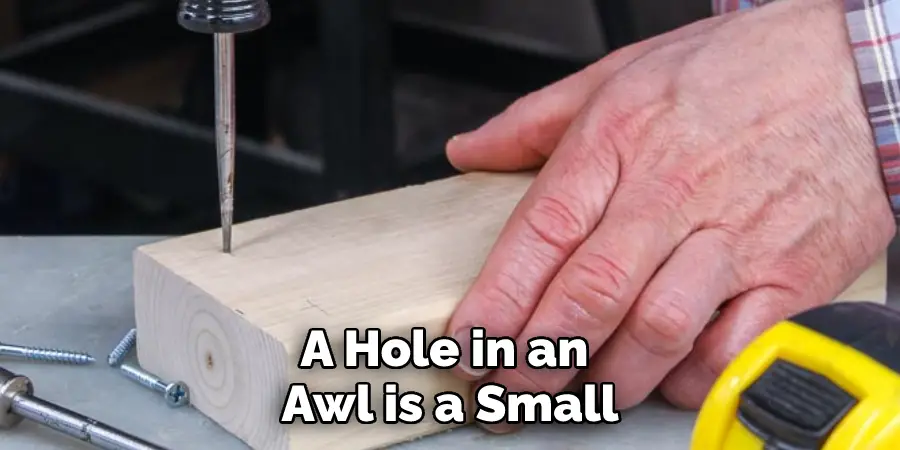
What is the Hole in an Awl for?
A hole in an awl is a small, cylindrical tool that is used to puncture or punch holes in paper. The function of the hole varies depending on the type of awl, but it generally allows easier insertion and removal of punches or needles. Awls come in a variety of shapes and sizes, so be sure to choose one that best suits your needs.
Conclusion
A leather sewing awl is a tool that can make your life easier when working with large material pieces. It’s also helpful for hand-sewing projects, so if you’re looking to work on something small and delicate, the leather sewing awl might not suit you. You’ll need an understanding of how it works to use it properly. With this article on how to use a leather sewing awl as your guide, we hope you have all the information needed about using a leather sewing awl!
You may also like – How to finish soft leather edges.