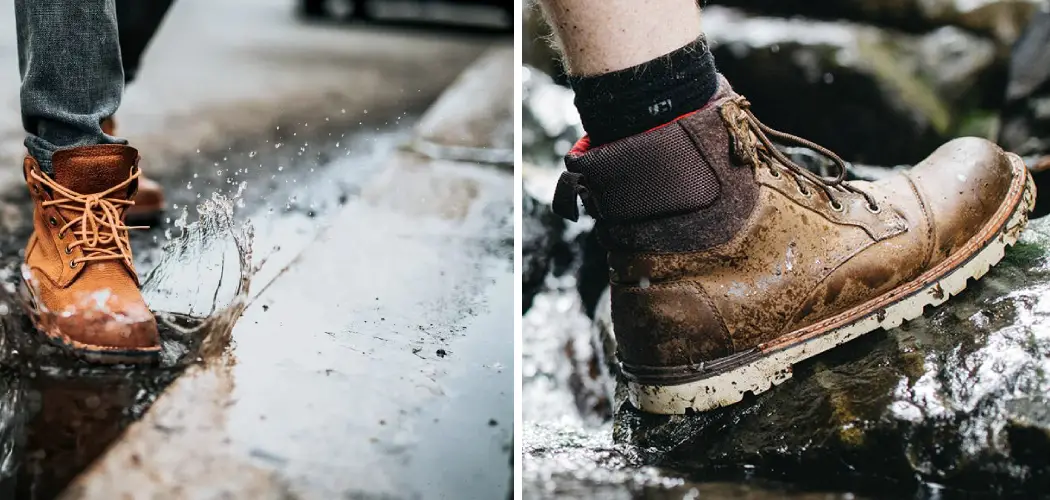
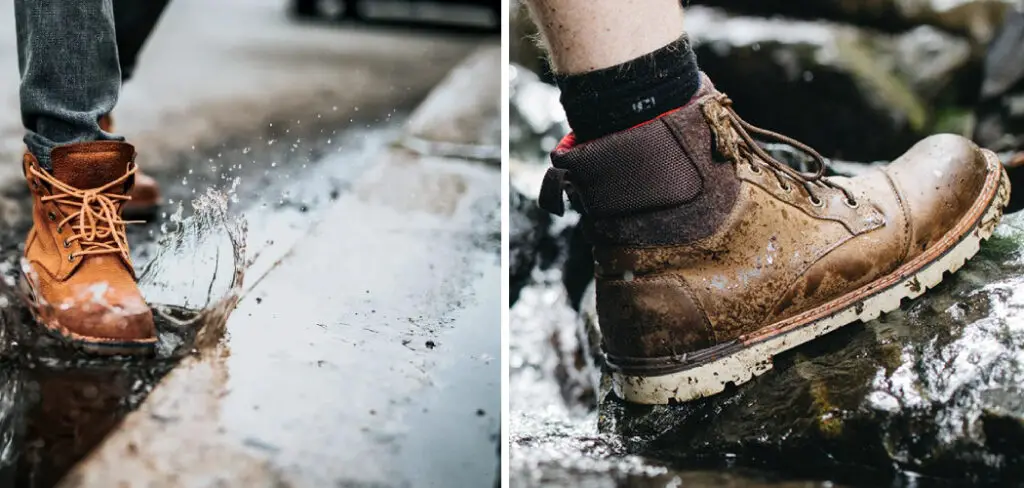
Are you tired of dealing with wet feet because your leather boots got soaked in the rain or snow?
If you’ve ever been searching for ways to keep your boots extra dry on a rainy day, waterproofing them can be the most effective way. It prevents water from seeping in and ruining your prized leather accessory. But if you’re after long-term protection without sacrificing style or color, learning how to waterproof leather boots correctly is key!
In this blog post on how to waterproof leather boots without changing color, we’ll go over some tips and tricks to help you keep your leather boots dry without affecting their original color. This means you can have both functionality and style in one go!
Why Waterproofing Leather Boots is Important
Leather naturally absorbs water, which makes it more susceptible to damage and discoloration. If your boots get wet regularly, it can weaken the leather fibers, causing them to stretch and lose shape over time. This results in cracks, creases, and even peeling of the leather. Water can also cause stains and discoloration on your leather boots, which can be challenging to remove.
Another factor to consider is that leather boots are often expensive investments, and you want them to last as long as possible. Waterproofing your leather boots can significantly extend their lifespan by protecting them from the elements, making it a practical and cost-effective solution.
What You Need to Waterproof Leather Boots Without Changing Color
- A clean rag or cloth
- Leather cleaner or mild soap and water
- Waterproofing spray or cream specifically made for leather
- Soft bristle brush (optional)
Once you have all the necessary materials, follow these steps to waterproof your leather boots without changing its color.
9 Easy Steps on How to Waterproof Leather Boots Without Changing Color
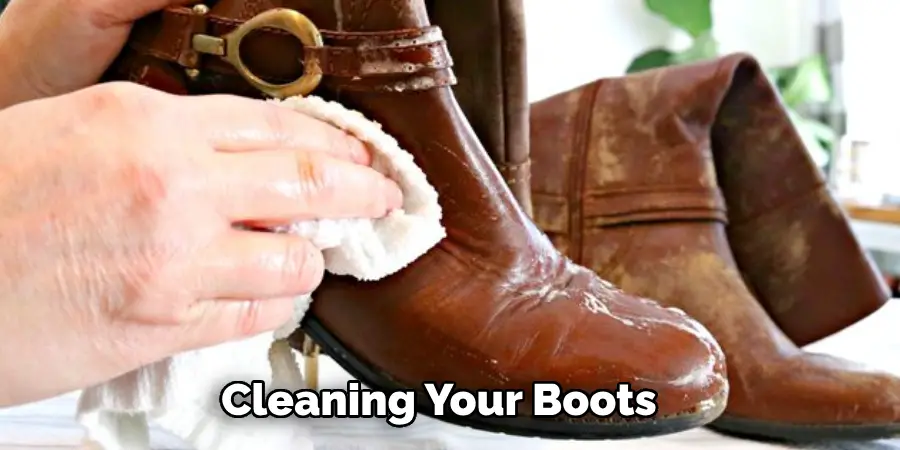
Step 1. Clean Your Boots:
Start by cleaning your boots using a clean rag or cloth. Use a leather cleaner or mild soap with warm water if there’s considerable dirt or grime. Be sure to clean off all the dirt, as it can interfere with waterproofing. If there are stubborn stains, you may use a soft bristle brush to scrub the affected area gently.
Step 2. Let the Boots Dry:
After you’ve cleaned your boots thoroughly, let them dry naturally. Avoid placing them near a heat source like a radiator or heater, as the sudden heat can damage the leather. Instead, leave them in an airy room or a shaded spot outdoors. Ensure they’re scorched before proceeding to the next step, as damp leather might not absorb the waterproofing agent properly.
Step 3. Apply the Waterproofing Agent:
Once your boots are completely dry, it’s time to apply the waterproofing agent. This could be a specialized spray or cream designed for leather. Follow the instructions on the packaging carefully. Typically, you’ll apply an even layer of the product over the entire surface of your boots using a cloth or directly with your hands. Be sure to cover all areas, including seams and stitches, as these are often where water can seep in.
It’s important to note that you should take your time with this process. Applying too much product at once can darken the leather, so it’s better to apply several lighter coats with drying time in between if necessary.
Step 4. Let the Boots Dry:
After applying the waterproofing agent, let your boots dry naturally. This step is crucial as it allows the waterproofing product to penetrate the leather and create a protective barrier. As with the earlier drying step, don’t resort to artificial heat sources to speed the process up.
Instead, leave the boots in a well-ventilated area away from direct sunlight. Depending on the product used, drying times may vary, so always refer to the instructions on the package.
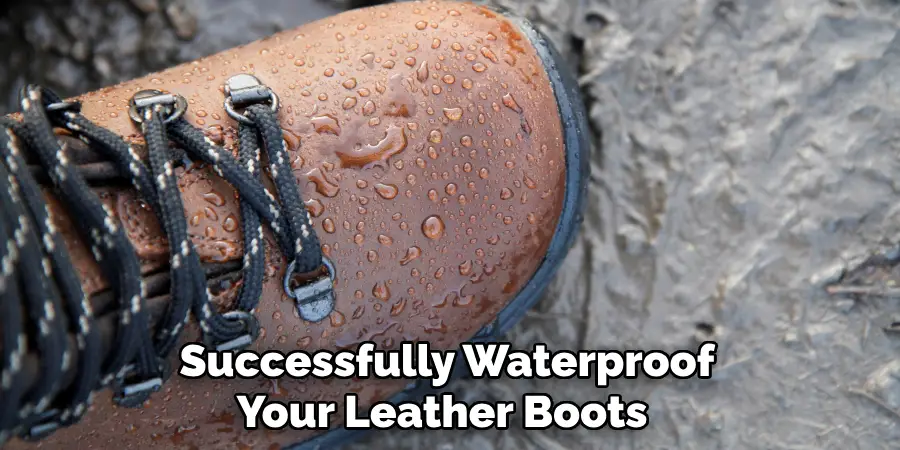
Step 5. Test the Boots:
After the boots have completely dried, it’s time to test them. Sprinkle a few drops of water on the surface of the boots. If the water beads up and rolls off, the waterproofing process has been successful. However, if the water seeps into the leather, you’ll need to apply another coat of the waterproofing agent.
Repeat the process until the water no longer penetrates the leather. Remember, it’s better to apply several thin coats rather than one thick one, as the former ensures even coverage without changing the color of the boots.
Step 6. Regular Maintenance:
Even after successfully waterproofing your leather boots, remember that regular maintenance is key to their longevity. Clean your boots after each use to remove dirt and grime. If the boots get wet, dry them slowly in a well-ventilated area instead of using artificial heat.

Reapply the waterproofing agent periodically based on the product’s instructions or when you notice the water no longer beads off the surface. This will ensure your boots remain waterproof and retain their original color, allowing you to enjoy them for years.
Step 7. Store Your Boots Properly:
After each wear, store your boots in a cool, dry place from direct sunlight. Sunlight can cause discoloration and drying of the leather over time. Use a shoe tree or stuff the boots with newspaper to help maintain their shape while they’re not being worn.
Avoid storing them in plastic bags or sealed containers, which can trap moisture and lead to mold or mildew growth. Proper storage maintains the color and form of your boots and increases their lifespan, making your waterproofing efforts more worthwhile.
Step 8. Conditioning the Boots:
After waterproofing, it is essential to condition the boots to maintain their suppleness and prevent them from drying out. Use a high-quality leather conditioner evenly across the boot’s surface using a clean cloth.
Again, avoid heat sources when drying and let them naturally dry in a well-ventilated, shaded area. Conditioning helps maintain the color of your leather boots and extends their lifespan by keeping the leather soft and preventing cracks.
Step 9. Avoidance of Harsh Conditions:
While your leather boots are now waterproofed, avoiding extremely harsh conditions, like deep puddles or heavy rain, is still advisable. Constant exposure to such elements can strain the waterproofing treatment and shorten the lifespan of your boots. If they get wet in extreme conditions, dry and reapply the waterproofing agent again.
While waterproof boots are designed to handle moisture, they’re not impervious or invincible. Therefore, caring for them in all conditions is crucial to maintaining their color and overall longevity.
Following these nine steps, you can successfully waterproof your leather boots without changing their color.
5 Additional Tips and Tricks
- Use a High-quality Waterproofing Agent: Purchase a waterproofing agent specially designed for leather boots. Ensure it is colorless to prevent any alteration in boot color.
- Clean the Boots Before Waterproofing: Dirt or grime on the boots may lock in moisture, defeating the waterproofing process. Always clean your boots thoroughly before applying any waterproofing products.
- Apply the Waterproofing Agent Evenly: Use a soft cloth or a sponge to apply the waterproofing solution evenly on the entire boot surface, ensuring that all areas are covered.
- Allow Boots to Dry Naturally: It’s important not to speed up the drying process with heat, as it can damage the leather. Instead, let the boots dry naturally in a well-ventilated area.
- Repeat the Process Regularly: Depending on how often you wear the boots and the conditions they are exposed to, you may need to repeat the waterproofing process periodically to maintain their resistance to water without changing the color.
With these additional tips and tricks, you can ensure your leather boots remain both waterproof and in their original color.
5 Things You Should Avoid
- Avoid Cheap Waterproofing Products: Inexpensive waterproofing products may not provide adequate protection and may change the color of your boots. Stick with reputable brands to ensure quality.
- Avoid Over-application: Applying too much waterproofing agent won’t make your boots more water-resistant. Over-application can lead to a sticky residue and darken your leather boots’ color.
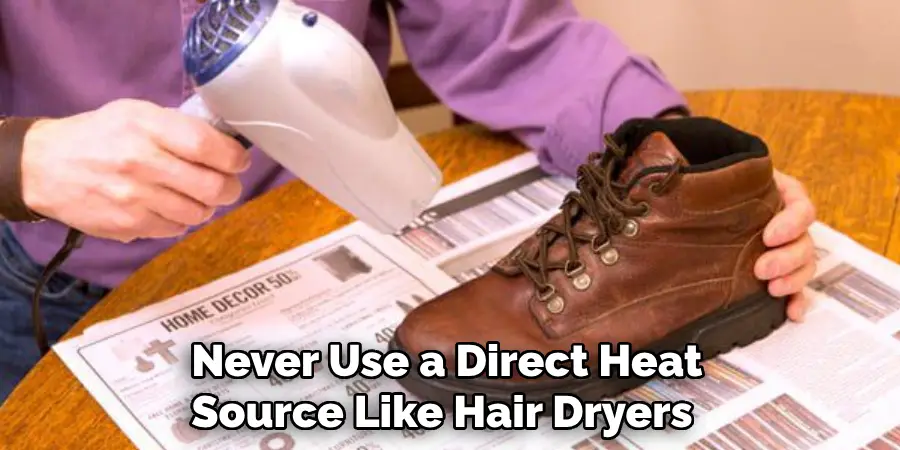
- Avoid Using Heat to Dry: Never use a direct heat source like hair dryers or radiators to speed up the drying process. This can warp the leather, causing it to dry out and crack.
- Avoid Using Colored Waterproofing Agents: Always use clear/neutral waterproofing agents to prevent color alterations to your boots.
- Avoid Ignoring Manufacturer’s Instructions: Always follow the product instructions for application and drying time. Ignoring these can lead to ineffective waterproofing and potential damage to your boots.
By following these tips, you can properly waterproof your leather boots without changing color and ensure they last for years.
Conclusion
To wrap it up, how to waterproof leather boots without changing color does not have to be a difficult task. However, if it is done incorrectly, you can easily ruin the look of your boots and even damage them over time.
Following the steps outlined in this post will ensure that your leather boots remain as good as new and protected from wear and tear for years to come. Whether you enjoy outdoor activities or simply need a pair of reliable everyday shoes, waterproofing your leather boots is an important step in protecting them from the elements.
So take action today and keep your beloved leather footwear sleek – they’ll thank you later!