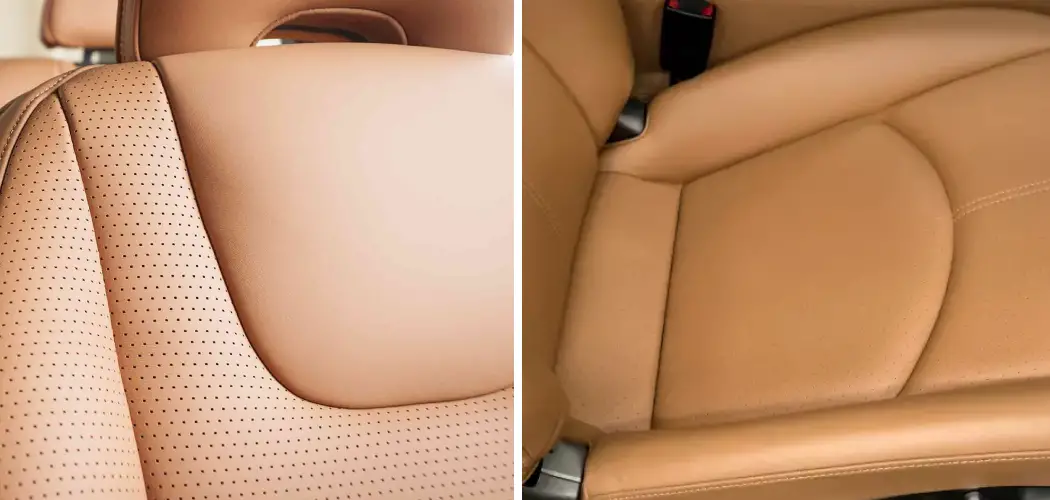
Are you considering swapping out those boring, stock car seats for a luxurious leather upgrade? Changing to leather car seats is a great way to immediately add an element of style and comfort to your drive. With the right equipment, some time, and patience, you can easily transform your interior from ordinary to extraordinary with new leather seating!
In this blog post on how to change my car seats to leather we’ll provide an in-depth look into how to change your car’s seating material from cloth or vinyl upholstery over to sumptuous leather covers. Keep reading if you’re intrigued by the idea of having soft, sleek luxury in the comfort of your own ride.
Necessary Tools and Materials
- Leather Seat Covers
- Upholstery Clips, Hog Rings, or Adhesive
- Needle-nose Pliers or Flathead Screwdriver (for Removing Old Upholstery)
- Scissors
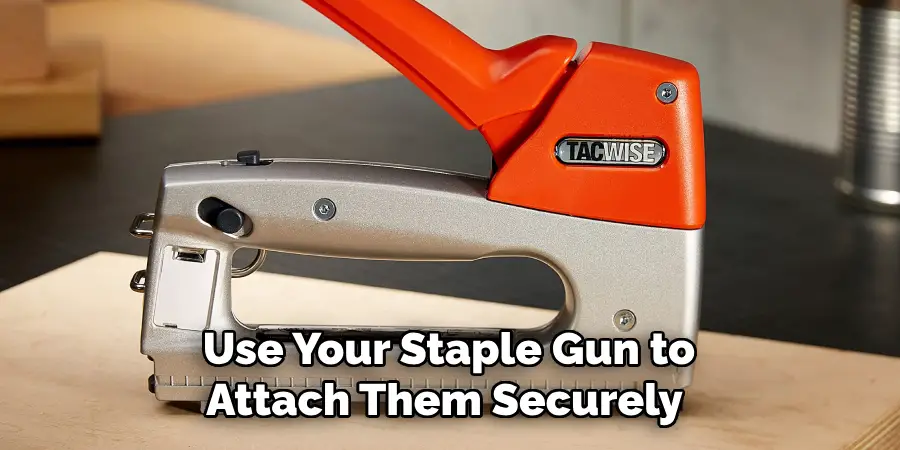
- A Staple Gun (to Apply Upholstery Clips) or Adhesive Spray
- An Assistant (if Possible)
11 Step-by-step Guidelines on How to Change My Car Seats to Leather
Step 1: Choose Your Leather Seat Covers
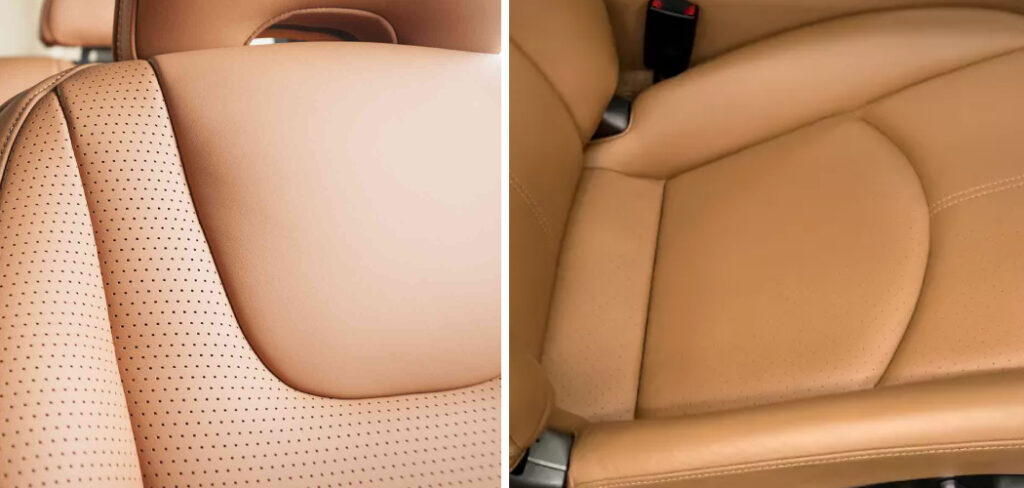
When you’re ready to change your car seats to leather, the first step is to select which seat covers to use. Depending on your budget and desired aesthetics, there are many options available for you to choose from. You can opt for genuine leather, faux leather, or even a leather-look vinyl material.
Keep in mind that genuine leather will be the most expensive option, but it also provides the most luxurious feel and appearance. It’s important to choose high-quality seat covers that will last for years and withstand the wear and tear of daily use.
Step 2: Gather Your Tools and Materials
Before beginning the installation process, make sure you have all the necessary tools and materials at hand. This includes your leather seat covers, upholstery clips or adhesive, needle-nose pliers or a flathead screwdriver, scissors, a staple gun or adhesive spray, and an assistant if possible.
But don’t worry, the process is simple and can be completed with basic tools. You can also purchase a pre-made upholstery kit that includes all the necessary tools and materials.
Step 3: Remove Old Seat Upholstery
The next step is to remove your old seat upholstery. Use needle-nose pliers or a flathead screwdriver to gently pry off any plastic clips or hog rings attaching the fabric to the seat frame.
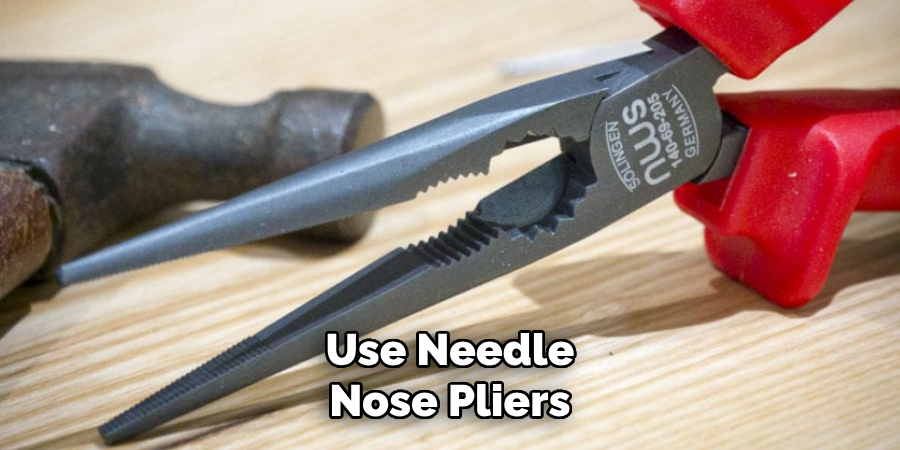
Be careful not to damage the frame or foam underneath. If your car has power seats, disconnect the wiring harness before fully removing the old upholstery. It’s helpful to take photos or make notes of how the old upholstery is attached for reference when installing the new leather seat covers.
Step 4: Prep Your New Leather Seat Covers
Once you have removed the old upholstery, lay out your new leather seat covers and prepare them for installation. Some kits may come with pre-cut holes for headrests or armrests, while others may require you to cut them yourself. Make sure to read the instructions carefully and double-check all measurements before cutting. Otherwise, you may end up with holes in the wrong places.
Step 5: Install Upholstery Clips or Apply Adhesive
Next, you’ll need to install your upholstery clips or apply adhesive. If using clips, attach them to the underside of the seat cover according to the manufacturer’s instructions. If using adhesive, spray it onto the seat frame and press the leather cover on top, making sure to smooth out any wrinkles or air bubbles. It may be helpful to have an assistant hold the cover in place while you work.
Step 6: Center the Seat Cover
Once your clips or adhesive are applied, it’s time to center the seat cover on the frame. This step is crucial as it ensures a neat and even fit for your new leather seats. It may take a few attempts to get the cover perfectly centered but take your time to get it just right. But don’t worry, leather covers are flexible and forgiving. You can easily adjust them as needed.
Step 7: Secure the Seat Cover
After centering the seat cover, it’s time to secure it in place. If using clips, use your staple gun to attach them securely to the frame. Start at one corner and work your way around, making sure the cover is taut but not too tight. If using adhesive, press down on the edges and corners to ensure a secure bond. You can also use a hairdryer on low heat to help the adhesive set faster.
Step 8: Repeat for Other Car Seats
Once you have successfully installed your first seat cover, repeat the process for the rest of your car seats. Depending on your vehicle’s make and model, this may vary in difficulty and require different steps. It’s always best to refer to your car’s manual or seek professional help if needed. It’s also helpful to have an assistant present to help with holding and centering the seat covers.
Step 9: Install Headrest and Armrest Covers
If your new leather seat covers did not come with pre-cut holes for headrests or armrests, you can now make them yourself. Use a sharp pair of scissors to carefully cut out the necessary holes while being mindful of the measurements. Then, simply install the headrest and armrest covers onto their respective frames using clips or adhesive. Although it may seem daunting, installing headrest and armrest covers is a quick and easy process.
Step 10: Reconnect Power Seat Wiring
If your car has power seats, now is the time to reconnect the wiring harness. Simply plug in the connectors according to their colors or reference your notes from earlier. Then carefully tuck away any excess wires under the seat before securing it back in place. Make sure to test the power seats to ensure they are still functioning properly. Otherwise, you may need to troubleshoot any issues before completing the installation.
Step 11: Enjoy Your New Leather Car Seats
Congratulations! You have successfully changed your car seats to leather. Take a moment to admire your new luxurious and stylish interior. But don’t forget to also take proper care of your leather seats by regularly cleaning and conditioning them. With proper maintenance, they can last for years and give your car a whole new look.

Enjoy the comfort, durability, and elegance that leather car seats provide. So why wait? Follow these simple steps on how to change my car seats to leather and experience the transformation of your car’s interior to luxurious leather. Happy driving!
Frequently Asked Questions
Q1: How Long Does It Take to Change Car Seats to Leather?
A1: The time it takes to change car seats to leather varies depending on the make and model of your vehicle, as well as your experience with upholstery work. It can take anywhere from a few hours to a full day. It’s always best to plan for extra time in case of any unexpected issues.
Q2: Do I Need Any Special Tools to Change Car Seats to Leather?
A2: No, you do not need any special tools to change car seats to leather. Basic hand tools such as pliers, screwdrivers, and scissors are sufficient for the job. However, having a staple gun or adhesive spray can make the process easier and faster.
Q3: Can I Install Leather Seat Covers on My Own or Do I Need Professional Help?
A3: It is possible to install leather seat covers on your own, but it can be a challenging and time-consuming process. It’s always best to refer to your car’s manual or seek professional help if you are unsure about any steps. This will ensure a proper and secure installation. It’s also helpful to have an assistant present to help with holding and centering the seat covers.
Q4: How Do I Care for My New Leather Car Seats?
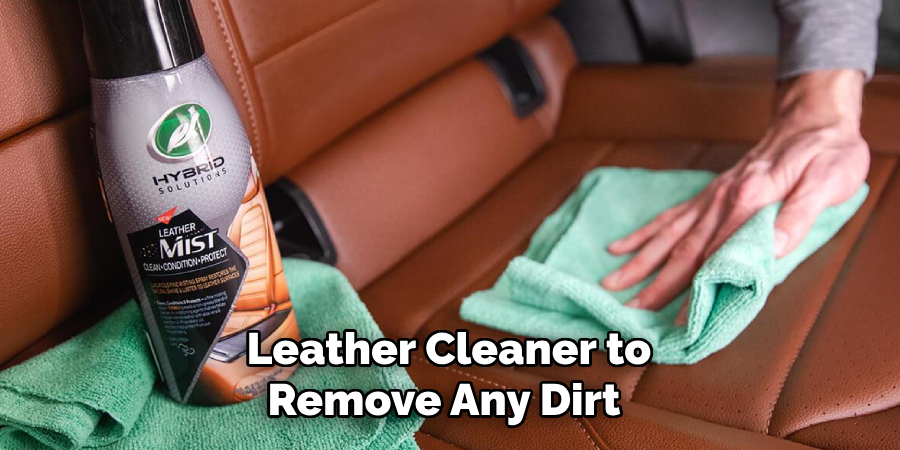
A4: To maintain your new leather car seats, it is essential to regularly clean and condition them. Use a mild soap or dedicated leather cleaner to remove any dirt or stains, and then condition them with a specialized leather conditioner.
Avoid using harsh chemicals or abrasive materials, as they can damage the leather. It’s also recommended to avoid leaving your car in direct sunlight for extended periods and to use sunshades when parked. With proper care, your leather seats can last for years and maintain their luxurious look and feel.
Conclusion
To wrap things up, if you are looking to upgrade your ride with luxurious leather car seats, there are many important factors to consider. From the type of leather and foam padding to detailed installation instructions, it is critical that you plan and research your purchase carefully in order to make an informed decision.
Whether you opt for a professional installer or decide to take on the project yourself, be sure that all of your supplies meet high-quality standards for longevity and style.
With careful shopping and diligent installation, you can enjoy the comfort and elegance of beautiful leather car seats for years to come! So don’t wait another minute – start putting together your plan today and bring a bit of luxury into your automotive dreams tomorrow! Thanks for reading this article on how to change my car seats to leather.
