
It is not uncommon for people to make beadwork using a loom, but many do not know how to attach it to leather properly. Doing so requires some knowledge of both the materials and techniques involved. Fortunately, learning to attach loom beadwork to leather is easy once you understand the basics.

Attaching loom beadwork to leather can be a great way to add texture, color, and pattern to your project. This process is relatively simple and allows you to create a strong bond between the two materials that will not easily wear or tear away.
Attaching loom beadwork to leather can also be beneficial in terms of durability and longevity since the thread used for the beadwork will be firmly secured to the leather surface. You can find step-by-step instructions on how to attach loom beadwork to leather in this blog article.
Materials You Will Need
- Leather
- Needle and thread
- Scissors
- Loom beadwork
- Masking or painter’s tape
- Glue gun and glue sticks
- Pencil or fabric marker
- Ruler or measuring tape
- Tweezers
- Bead mat (optional)
- Grommets
- Beading needle
By gathering the necessary materials, you can begin attaching your loom beadwork to leather. This tutorial will show you how to attach loom beadwork to leather with simple steps.
Step by Step Processes for How to Attach Loom Beadwork to Leather
Step 1: Inspect the Leather Surface
Look for any imperfections, such as cracks or sections of the material that may be weak; this will help you determine where to place the beadwork and how much pressure you should use when attaching it.
Step 2: Determine the Placement for your Beadwork
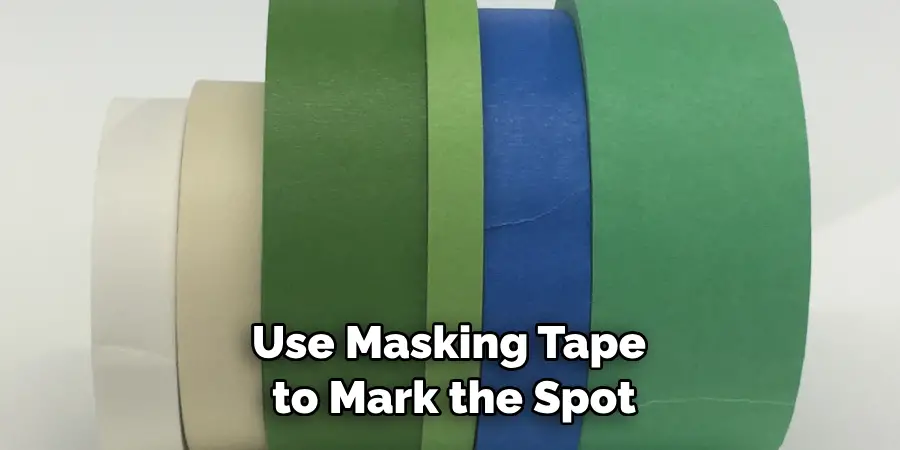
Where you place your beadwork will determine how it looks when attached to the leather. It is important to take measurements and draw lines or use masking tape to mark the spot where you wish to attach your beadwork. This will make it easier for you to place the piece of beadwork accurately.
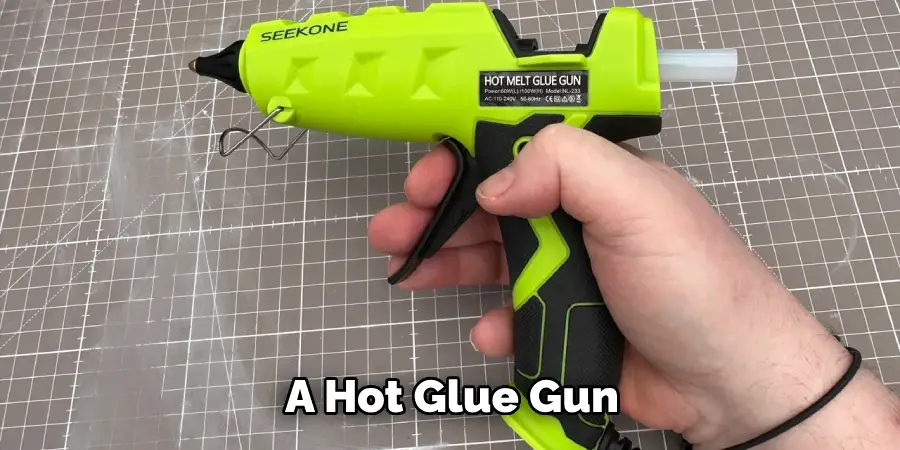
When attaching beadwork to leather, you can either use a hot glue gun or an industrial-strength contact adhesive. Hot glue guns are easy to use but not as strong as contact adhesives. Industrial strength contact adhesives will offer a stronger bond but require more preparation and cleanup.
Step 3: Pre-Treat the Leather Surface
Clean the leather surface with a damp cloth to remove any dirt or debris, as this can weaken the bond between the beadwork and the leather. If using an industrial-strength contact adhesive, apply a thin layer of primer before attaching your beadwork. This will ensure that the adhesive adheres properly to the leather.
For a hot glue gun, plug it in and allow it to heat up before attaching your beadwork. For an industrial-strength adhesive, mix equal parts of the two components before use. Make sure you have enough adhesive on hand for the entire project so that you do not run out halfway through.
Step 4: Attach the Beadwork
For a hot glue gun, apply glue beads to the back side of the beadwork and attach it to the leather surface. For an industrial-strength contact adhesive, spread an even layer on both the back side of the beadwork and the leather surface before attaching them.
Once you have attached your beadwork to the leather surface, use pressure or a tool such as a roller or a burnisher to press down and secure it. This will help ensure that it adheres properly and does not become loose over time.
Step 5: Let Adhesive Dry Completely
Once the beadwork is in place, allow the adhesive to dry completely before moving on to the next step. For a hot glue gun, this should take about 10-15 minutes; for an industrial-strength contact adhesive, it can take up to 24 hours for the bond to set fully.
Once the adhesive has fully dried, apply a sealant to the beadwork and leather. This will help protect the material from water or other elements that may cause damage over time. With these steps, you now have the know-how to attach loom beadwork to leather easily. Getting creative with your design and placement can bring a unique style and look to any project you undertake.
Precautions for How to Attach Loom Beadwork to Leather
- Avoid carrying out this project in a crowded area or anywhere that could be dangerous if you make mistakes with sharp tools. Additionally, have a first-aid kit nearby to help treat any injuries.
- Always wear protective clothing when using sharp tools and needles to attach the loom beadwork to leather. Make sure your clothes fit properly and are free of holes and tears.
- Ensure you use the appropriate tools, such as a leather needle or other sharp objects to attach the loom beadwork. Do not attempt to attach the beadwork with an inappropriate tool, as this can cause serious injury.
- Make sure you are working in good lighting so that you can see what you are doing clearly, and so that the small beads don’t escape your view.
- Give yourself ample time to complete the task, as rushing can lead to mistakes. Take breaks if necessary.
- Keep your workspace organized and clean to reduce distractions and make it easier to find the tools you need quickly.
- Get help from a friend or family member if possible, as two heads are better than one when tackling complex projects such as this.

By following these precautions, you can successfully attach the loom beadwork to leather with minimal risk of injury or mishap.
Are There Any Common Mistakes to Avoid When Attaching Loom Beadwork to Leather?
Yes, there are some common mistakes that should be avoided when attaching loom beadwork to leather. Firstly, it is important to make sure the pieces of leather are cut accurately and evenly to fit together properly. In addition, it is essential to use the appropriate glue for this purpose, as using an incorrect glue could damage the leather or cause it to become brittle.
It is also important to ensure that all of the holes in the leather are properly punched and aligned before adding the beading so that they line up correctly. Lastly, evenly tighten the thread, as this will help keep the beads secure. Following these tips will help ensure your loom beadwork is securely attached to leather items with a professional finish.
Are There Any Special Considerations for Unconventional Leathers Such as Suede or Reptile Skin?
Attaching loom beadwork to unconventional leathers such as suede or reptile skin can be tricky. Evaluating the material and determining what kind of adhesion will work best is important.
Some options include using an industrial-grade adhesive, gluing on metal findings, stitching with heavy-duty thread, or hot glueing small pieces in place. The adhesive is the most common option and can attach gemstones, sequins, or even beads directly onto the leather.
If you’re using an adhesive, ensure it is appropriate for the type of material you are working with. For example, suede should only be glued with a special suede adhesive. Glues not designed for suede use may cause discoloration or damage to the leather.
Metal findings are another popular option for attaching loom beadwork to unconventional leathers. They provide a more secure connection than adhesives and make it easier to attach large pieces of beadwork without stitching them.

Are Any Additional Resources or Tutorials Available That Can Help You Learn to Attach Loom Beadwork to Leather?
Yes. There are plenty of additional resources and tutorials available that can help you learn to attach loom beadwork to leather. You can find helpful video tutorials online and step-by-step instructions with pictures in books or magazine articles.
Additionally, many local bead stores offer classes on the subject, providing hands-on experience with a trained professional. Many of these classes also provide tips and tricks to help the process.
With some practice and patience, you’ll become an expert at attaching loom beadwork to leather quickly. Additionally, a variety of tools and supplies can help you when it comes to attaching loom beadwork to leather. These include special leatherworking needles, glue, various pliers, and more. Having the right tools for the job will make all the difference in how smoothly the process goes.
How Long Does It Usually Take to Attach Loom Beadwork to Leather?
The amount of time it takes to attach loom beadwork to leather depends on the complexity of the design and materials being used. Generally, attaching small or simple designs can take as little as an hour; larger or more detailed projects may take several hours, depending on the size and scope of the design. For most projects, you’ll need basic supplies, such as beading needles, scissors, a ruler, and an awl.
Once you have gathered your supplies, measure the leather to determine how much it will be needed for the project. Cut the pieces you’ll need with the scissors and mark where they should go on the leather using a ruler or pencil.
Once everything is laid out, start threading your beadwork onto the needles. For a more secure bond, you can use clear nail polish or epoxy glue to hold the beads in place before attaching them to the leather.
Conclusion
In conclusion, attaching loom beadwork to leather is a relatively easy process. All you need is basic supplies, such as beading thread, wax, and scissors.
Additionally, you will want to make sure that your surface is free of dirt and oils before beginning the work. Once your materials are gathered, it’s simply a matter of weaving the beads onto the fabric, then using the thread and wax to attach them securely.
This method of beading allows you to create intricate designs that will make your leather project look truly unique. I hope this article has been beneficial for learning how to attach loom beadwork to leather. Make Sure the preventive measures are followed chronologically.