When most people think about burning materials, they think about the heat and flames that are produced. However, did you know that you can also use burning to remove material? Leather is a great example of a material that can be burned away easily. In this post, we will discuss how to burn leather.
We will also provide some tips on how to avoid common mistakes. So, whether you are new to leather burning or you have some experience with it, this post will be helpful for you!
Why Would I Need to Burn Leather?
There are a few reasons why you might need to burn the leather. The most common reason is to remove unwanted material. For example, if you are working on a project and you accidentally get some glue on the leather, you can burn it off. Another reason to burn leather is to create a design. This is a common practice in leatherworking. By burning the leather, you can create intricate designs that would be difficult to create with other methods.
Additionally, burning can be used to stamp a design into the leather. The other major reason to burn leather is for the purpose of heat-sealing. This is often done when working with synthetic leather. By applying heat, you can seal the edges of the leather and prevent it from fraying. Lastly, burning can also be used to change the color of the leather. This is a great way to do it if you want to add some decoration to your leather project!
What You Will Need
- A leather-burning tool
- A design or pattern (optional)
- Leather
- A cutting board or some other type of surface to protect your work area
Step by Step How to Burn Leather:
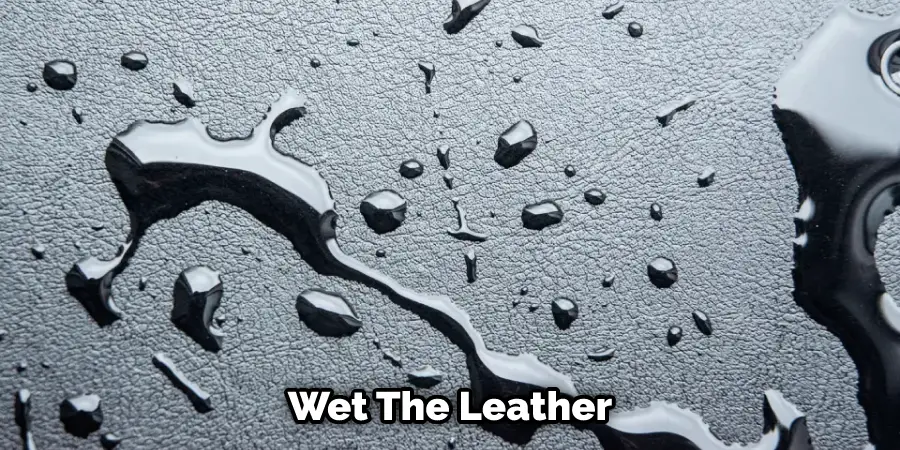
1. Wet the Leather
The first step is to wet the leather. This will help to prevent the leather from burning too quickly. To do this, first, soak a rag or sponge in water. Then, wring it out so that it is damp but not dripping wet. Next, use the damp rag to wet the surface of the leather. You can also use a spray bottle to mist the leather with water. Avoid getting the leather too wet, as this can cause it to warp.
2. Dry the Leather
Once you have wet the leather, you will need to dry it. This step is important because it will help to prevent the leather from burning too quickly. First, dry the leather; use a clean rag or sponge to remove any excess water. Next, use a hairdryer on the leather.
Hold the hairdryer about 6 inches (15 cm) away from the surface of the leather and move it around so that all of the leather is evenly dried. You can let the leather air dry if you do not have a hairdryer. However, avoid getting the leather too dry, as this can cause it to crack.
3. Prepare Your Work Area
Before you begin burning the leather, you will need to prepare your work area. First, find a well-ventilated area to work in. burning leather can produce harmful fumes, so it is important to be in a well-ventilated area. Next, find a flat surface to work on. A cutting board or a piece of cardboard will work well.
You will also need to find a way to prop up the leather so that you can easily access both sides. You can use books, boxes, or anything else that is sturdy and will not catch fire. If you are working on a large piece of leather, you may need to prop it up in multiple places.
4. Prepare the Leather
Once you have prepared your work area, you will need to prepare the leather. First, use a pencil or a pen to draw a design on the leather. If you are not sure what design you want, you can look online for inspiration. Remember to keep the design simple, as it will be easier to burn.

Next, use a ruler or a straight edge to trace the lines of the design. This will help to prevent the leather from burning too quickly. If you are not using a design, you can skip this step.
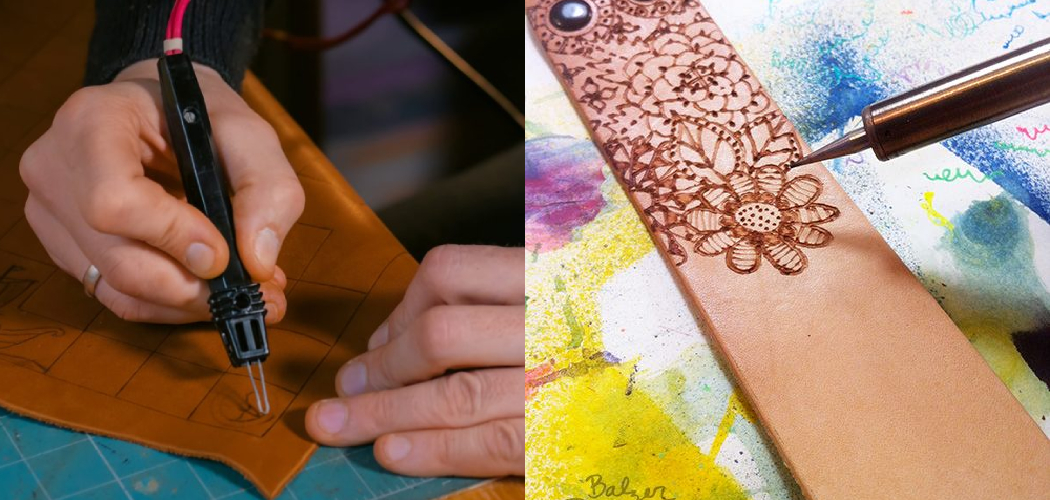
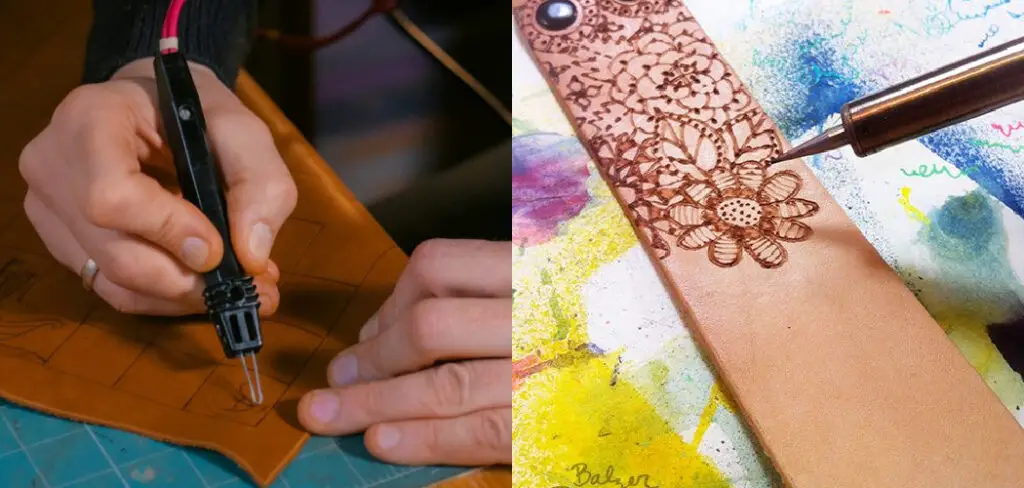
5. Heat the Tool
The next step is to heat the tool. You will need to use a leather-burning tool for this project. A leather burning tool is a type of tool that is specifically designed for burning leather. You can find these tools online or at most craft stores. First, plug it in and turn it on to heat the tool. Next, hold the tool’s tip against the leather for a few seconds. The leather should start to smoke. If it does not, you will need to increase the heat.
6. Burn the Leather
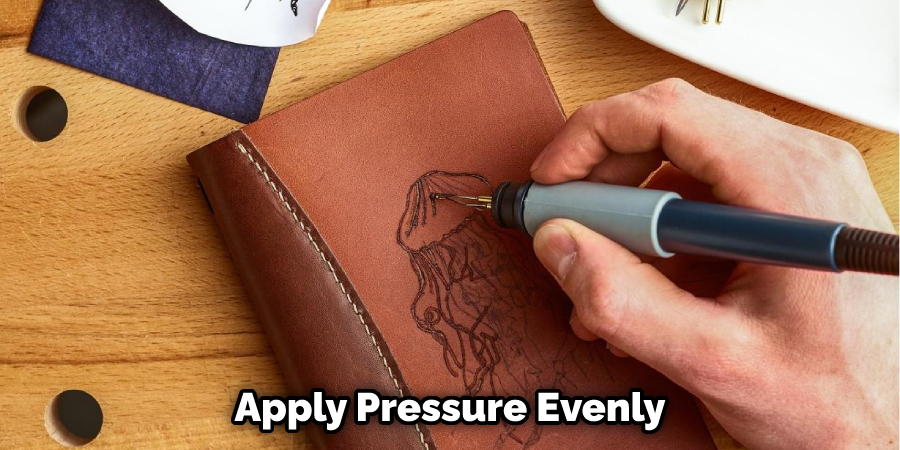
Once the tool is heated, you can start to burn the leather. First, touch the tip of the tool to the leather. You will need to apply pressure to make the tool work. Next, move the tool along the lines of the design. If you are not using a design, you can move the tool in any direction that you want.
Remember to go slowly and apply pressure evenly. If the leather starts to burn too quickly, you can stop and let the tool cool down for a few seconds. If you are using a design, you can fill it in by burning along the lines multiple times. Try to keep the lines even. Avoid burning the leather for too long, as this can cause it to warp.
7. Burning the Outline
Once you have finished burning the design, you will need to burn the outline. This will give the piece more definition and make it look more like a finished product. To do this, you will need to use a very thin layer of leather. First, cut a piece of leather that is the same size as the piece you are working on.
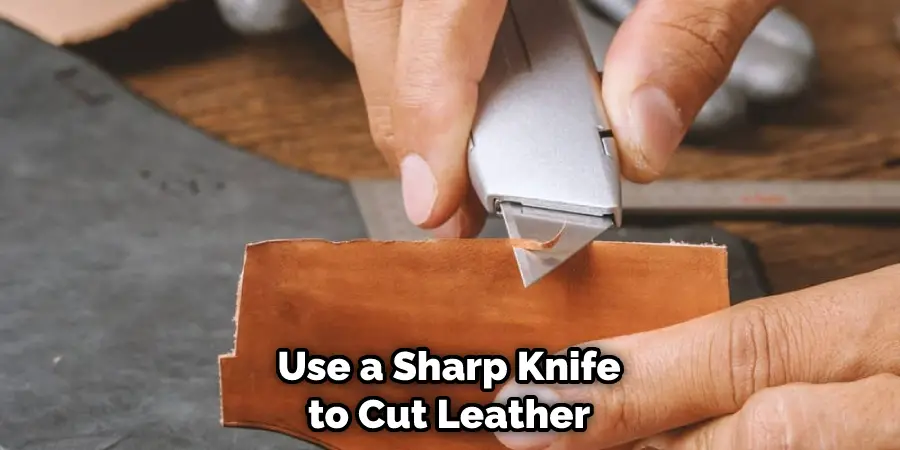
Next, use a pencil or a pen to trace the outline of the design onto the new piece of leather. Once done, you will need to cut out the outline. Try to be as precise as possible to keep the outline clean and crisp. Avoid jagged edges by using a sharp knife or scissors.
8. Assemble the Pieces
Once you have cut out the outline, you must assemble the pieces. First, lay the piece of leather on the wrong side up. Next, take the edge of the leather and fold it over so that the right side is now showing. Apply a thin layer of glue to the wrong side of the edge and then place the outline piece on top.
Make sure that the right sides of the leather are facing each other. Once in place, use a bone folder or a rolling pin to press the two pieces of leather together. Be sure to apply pressure evenly. Allow the glue to dry for at least an hour before moving on to the next step.
9. Trim the Leather
After the glue has dried, you will need to trim the leather. First, use a sharp knife or scissors to remove any excess leather. Next, use a leather punch to make any holes that you need. Remember to only make the holes on the wrong side of the leather. If you make them on the right side, they will be visible when you finish. Finally, use a sanding block or a file to smooth out any rough edges.
You Can Check It Out to Do You Sew Leather
10. Apply the Finish
The last step is to apply the finish. First, choose the type of finish that you want to use. You can find finishes at most craft stores or online. Next, apply the finish to the leather using a clean cloth. Be sure to apply it evenly. Allow the finish to dry for at least an hour before using the piece. You will need to apply multiple coats if you use a water-based finish. Allow each coat to dry completely before applying the next. Avoid using too much finish, as this can cause the leather to warp.
Tips and Warnings on How to Burn Leather:
Tips:
- Make sure to have a proper ventilation system in place.
- Use an appropriate work space; a well-ventilated outdoor area is best.
- Cover the area you will be working in with a tarp or other fire-resistant material.
- Choose your leather wisely. Thinner, vegetable-tanned leather is best for burning.
- Soak your leather in water for at least an hour before beginning the burning process.
- Use a sharp, clean knife to cut your design into the leather.
Warnings
- Be very careful when working with fire.
- Do not use chemicals or other accelerants when burning leather.
- Do not inhale the smoke from burning leather.
- Do not allow the leather to burn for too long, as this can damage the material.
- Do not touch the leather while it is hot. Allow it to cool completely before handling.
Frequently Asked Questions
Is Leather Easy to Burn?
Leather is a durable material, but it can be easily burned if it comes into contact with a flame. The oils in leather cause it to act as a fire starter, and it is difficult to extinguish once it starts burning. If your leather item is exposed to a flame, take immediate action to put out the fire.
What Temperature Should I Burn Leather at?
Leather needs to be treated at a temperature that will kill any insects or other microorganisms that may be living on or in the leather. The optimum temperature for burning leather is around 300 degrees Fahrenheit, which will sanitize the leather and kill any insects or other microorganisms. Burning at a higher or lower temperature may not be effective enough to completely sanitize the leather, and could potentially cause damage.
Does Wood Burning Work on Leather?
Yes, wood burning can work on leather. However, it is important to use the proper techniques and equipment to ensure a quality finish. The most important thing to remember is to use a low-heat setting and avoid using too much heat or pressure, which could cause the leather to crack or blister. In addition, make sure that the wood burning device you are using is properly fitted for the job, and be sure to use a protective shield when burning the leather.
Can You Burn Leather With an Iron?
The answer may vary depending on the type of leather, the iron, and the temperature of the fire. Some people believe that you can burn leather with an iron, while others contend that the heat of the iron will cause the leather to deteriorate and eventually fall apart. It is best to experiment with a small piece of leather first to see how it reacts before proceeding with a larger project. If you decide to try burning leather with an iron, be sure to use caution and avoid any sparks or flames that could cause an uncontrolled fire.
Conclusion
So there you have it! Now you know how to burn leather. Follow these simple steps, and you’ll create beautiful, burnt leather designs. With a little practice, you’ll be a pro in no time. If you have any questions or comments, please feel free to leave them below. Thanks for reading!