
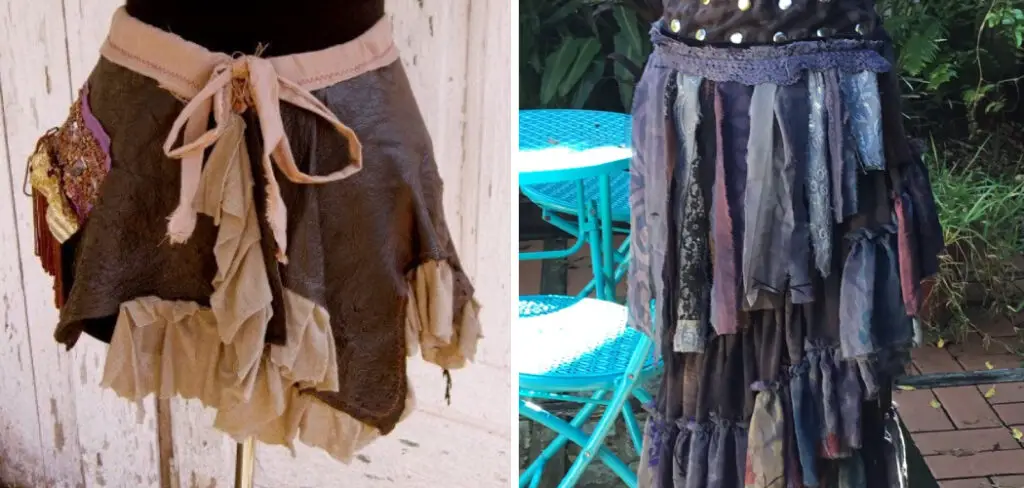
Are you seeking a unique and stylish way to stay warm this winter? Have you seen the trending tattered fairy leather wrap skirt but think it is too pricey or hard to make on your own?
Well, we have some good news; with just a few simple materials and basic sewing skills, anyone can make an eye-catching tartan-style leather wrap skirt! Not only is this style of clothing fashionable, but it’s also versatile – wear it casually around town by day or dress up your look in the evening.
In this article, we will walk through step-by-step instructions for DIYing a trendy tattered fairy leather wrap skirt at home. With some detailed instructions, an abundance of creativity, and the right supplies – anyone can learn how to diy tutorial tattered fairy leather wrap skirt! Keep reading, and find out all the steps needed!
What Will You Need?
To start, here is a list of supplies needed:
- Leather material
- Matching thread
- Sewing machine
- Scissors
- Pins
Once all materials are gathered, you are ready to begin the how-to diy tutorial tattered fairy leather wrap skirt!
10 Easy Steps on How to Diy Tutorial Tattered Fairy Leather Wrap Skirt
Step 1: Measure and Cut the Material for Your Skirt
Before you start sewing, use a measuring tape to measure how long you want your skirt to be. The length is up to you! You can always adjust it once you begin the construction process.
Next, cut two pieces of material in the same size. This will be the front and back of the skirt.
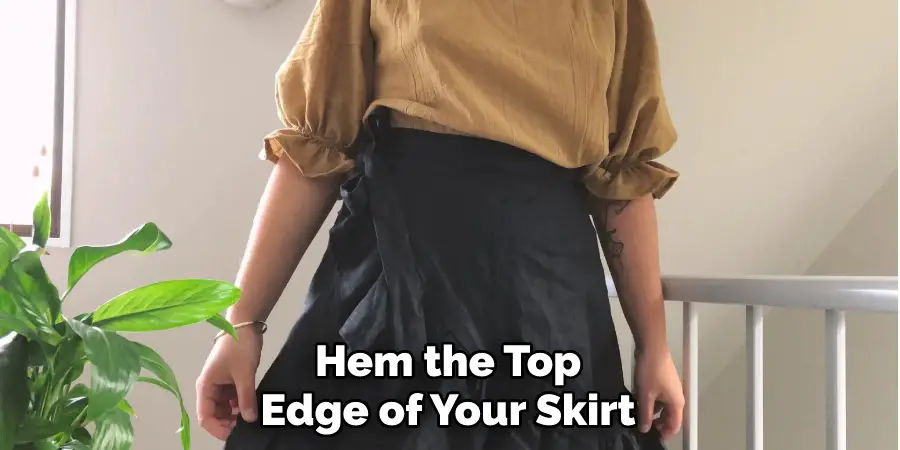
Step 2: Hem the Top Edge
Now it is time to hem the top edge of your skirt. Take one of the pieces and fold over the top edge once. Pin it in place to keep it secure while you sew. Sew a straight stitch across the hem – this will be your waistband.
Step 3: Attach the Front and Back Pieces Together
Lay one of the skirt pieces on top of the other and pin them together at the side seams. Then, sew a straight stitch along each side seam to attach them together. Use a matching thread for the best results.
Step 4: Add Pleats
To create pleats in your how-to diy tutorial tattered fairy leather wrap skirt, start by folding in one side of the material about 1 inch from the middle seam. Make sure to keep it even with the opposite side for symmetry. Secure with pins, then repeat on the other side.
Step 5: Add Fringing Along The Bottom
Fringing can give your how-to diy tutorial tattered fairy leather wrap skirt an extra special touch! To add it, cut small strips of material and tie knots at one end. Secure with pins along the bottom edge of your skirt – make sure they are evenly spaced out. Once finished, sew a straight stitch along the fringing to secure it in place.
Step 6: Attach Waistband
Take the waistband you hemmed in step 2 and attach it to the top edges of your how-to diy tutorial tattered fairy leather wrap skirt. Pin it in place, then sew a straight stitch along the edges. Don’t forget to add a few extra stitches at the corners for reinforcement.
Step 7: Sew Hooks and Eyes
For extra security, sew hooks and eyes at the back of your how-to diy tutorial tattered fairy leather wrap skirt. This will ensure that your skirt stays put when wearing. Be careful not to sew them too close together, which can weaken the fabric.
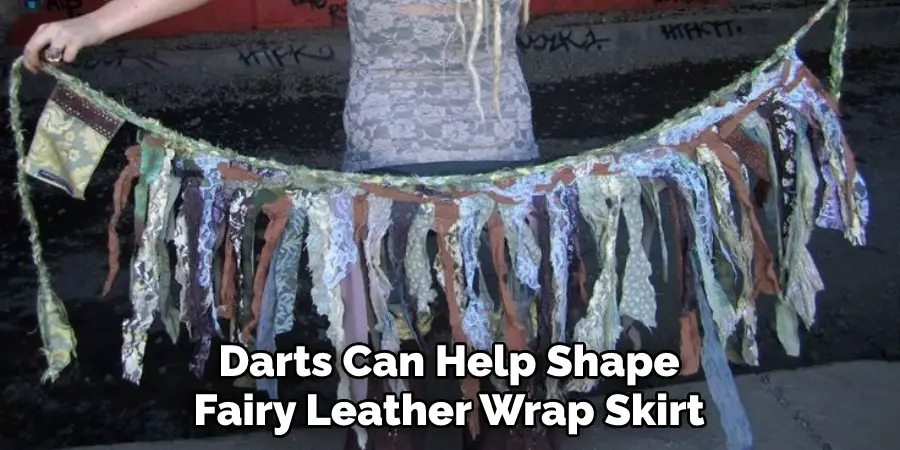
Step 8: Add Darts for Fit
Darts can help shape the tattered fairy leather wrap skirt to fit your body better. To add darts, fold over small sections of material and pin them in place. If desired, you can sew them down in the same manner as a pleat.
Step 9: Hem Bottom Edge
Once all other steps are completed, hem the bottom edge of your how-to diy tutorial tattered fairy leather wrap skirt. Fold the material over once, pin it in place, and sew a straight stitch along the edge. It will give your skirt a nice finished look.
Step 10: Enjoy Your Skirt!
The final step is to enjoy your how-to diy tutorial tattered fairy leather wrap skirt! With some simple sewing skills and creativity, you have now made a stylish and fashionable piece of clothing that you can proudly wear. Remember – the same technique can be used to create any number of clothing items. Have fun and be creative!
Congratulations – you have successfully completed your how-to diy tutorial tattered fairy leather wrap skirt! We hope this article has been helpful in guiding you through this project. Now, it’s time to show off your new creation with confidence!
5 Additional Tips and Tricks
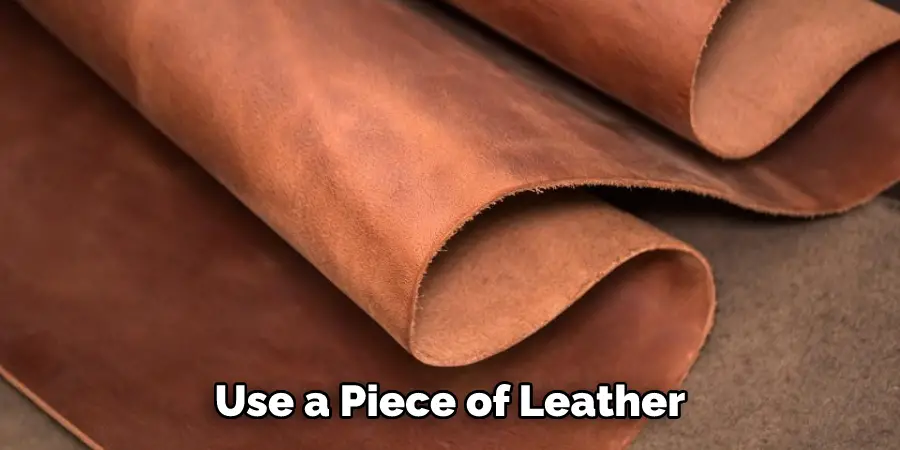
- Use a piece of leather that is slightly larger than you need to ensure the wrap skirt fits you properly.
- Cut the edges of your leather piece to create a tattered look, but be sure to leave enough fabric for the seam.
- Rather than using pins to hold the skirt together while you sew, use tape instead — it creates a better grip and helps keep your lines straight.
- If you’re using an intricate stitch pattern for the hem of your wrap skirt, practice on scrap pieces before you start sewing to ensure that your stitching looks how you want it.
- To add an extra bit of flair, try painting some silver or gold accents onto your finished wrap skirt before wearing it! This will give it a unique and magical touch that is perfect for any fairy-inspired outfit.
With these tips in mind, you’ll be able to create the perfect tattered fairy wrap skirt for any occasion! This how-to diy tutorial will help you create a stunning piece that is sure to make heads turn.
5 Things You Should Avoid
1. Avoid Using Thick Leather: Thick leather isn’t ideal for a tattered fairy skirt because it will be too heavy and may not be as easy to fray.
2. Don’t Buy Premade Fringe Pieces: Buying pre-made fringe pieces won’t give you the customized look that you need for a one-of-a-kind tattered fairy skirt.
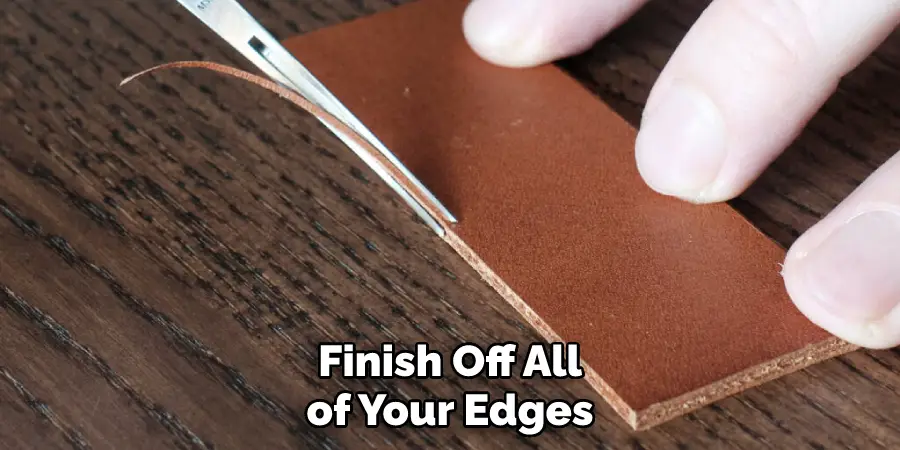
3. Don’t Leave Edges Unfinished: Make sure you finish off all of your edges with some kind of trim or thread wrap to keep your skirt from fraying further than you want it to.
4. Avoid Complex Patterns: Tattered skirts are best suited for simplistic designs, so try to stick with something that is easier to customize without making it too complex.
5. Don’t Forget to Use a Leather Sealant: After you finish your wrap skirt, apply a leather sealant before wearing it to protect the material from water and dirt damage.
By keeping these tips in mind while creating your how-to diy tutorial tattered fairy wrap skirt, you can ensure that your finished product is unique and long-lasting! With the right materials and creativity, you’ll have a beautiful piece of clothing that will last for years!
How Do You Make a Wrap Skirt Without a Pattern?
Making a wrap skirt without a pattern isn’t as difficult as it may seem! The key is measuring the fabric correctly for your desired fit and then simply cutting and sewing.
Start by measuring how long you want the skirt to be, how wide it should be at its widest point, how much overlap there should be when wrapping around your waist, and how much space you would like between each pleat (if making a pleated wrap skirt). Once these measurements have been taken, use them to cut out the pieces of fabric that will make up your wrap skirt.
Next, pin the pieces together in order to keep everything lined up while sewing. Finally, sew the edges of your wrap skirt together using either a standard stitch or more intricate stitch patterns. And voila! You have a beautiful wrap skirt that was made without the use of a pattern.
By taking the time to measure and cut out your fabric, you can create a how-to diy tutorial tattered fairy leather wrap skirt perfectly suited to your size and style. With these steps in mind, you can make an original piece of clothing that will turn heads!
Conclusion
In summary, with the right supplies and a few simple steps, you can easily craft your own tattered fairy leather wrap skirt! Not only will this process save you money on purchasing a ready-made skirt, but it also gives you the opportunity to customize your look in any way you like.
Whether you dye it an eye-catching color or swap out the lace for some quirky trim, the final result will be an ode to your creativity and imagination. Not only is making things by hand fulfilling but wearing them proudly also provides a sense of accomplishment and satisfaction. Have fun crafting this unique piece of clothing that adds a dynamic flair to your wardrobe!
Hopefully, the article on how to DIY tutorial tattered fairy leather wrap skirt was helpful to you! Creative projects like this are so much fun to make, and the final product will surely be an eye-catching addition to any wardrobe. So get out your supplies and start creating!