
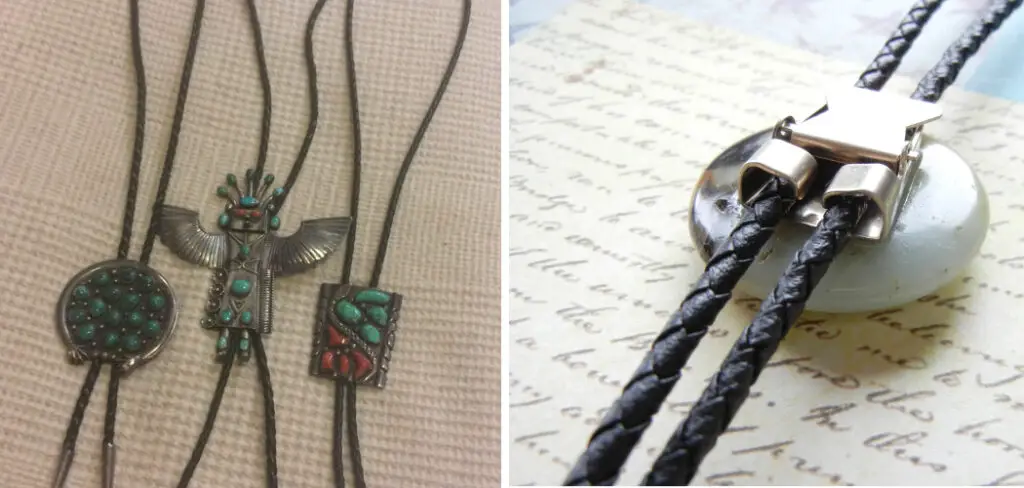
The bolo tie is a unique and stylish accessory that adds a touch of Western charm to any outfit. Originating in the American Southwest, this distinctive necktie has become a fashion statement that combines both elegance and a rugged appeal. Making your own bolo tie allows you to showcase your creativity and personalize this iconic piece of jewelry.
In this article, we will guide you through the process of how to make a bolo tie, providing step-by-step instructions and helpful tips. From choosing the right materials to assembling the components and creating a custom design, we will cover all aspects of crafting a bolo tie. So, if you’re ready to embark on a creative journey and add a touch of Western flair to your wardrobe, let’s delve into the art of making a bolo tie.
Why Wear a Bolo Tie?
The bolo tie is a timeless accessory that carries with it a lot of history and meaning. Wearing one can be seen as an homage to the Wild West or as an expression of individuality and style. In addition to being a fashionable statement, there are practical reasons for wearing a bolo tie: they’re comfortable, adjustable, and rarely get in the way.
Bolo ties have experienced a resurgence of popularity over recent years, with many celebrities wearing them to make a statement on red carpets or at press events. The bolo tie has become an iconic symbol of Western style that is sure to always turn heads. No matter what your reason for wearing one, the bolo tie is an excellent accessory that looks great and adds a touch of personality to any outfit.
And with so many different styles and designs available, there’s sure to be one that fits your individual tastes perfectly. So why not try out a bolo tie for yourself? The possibilities are endless!
Is a Bolo Tie Professional?
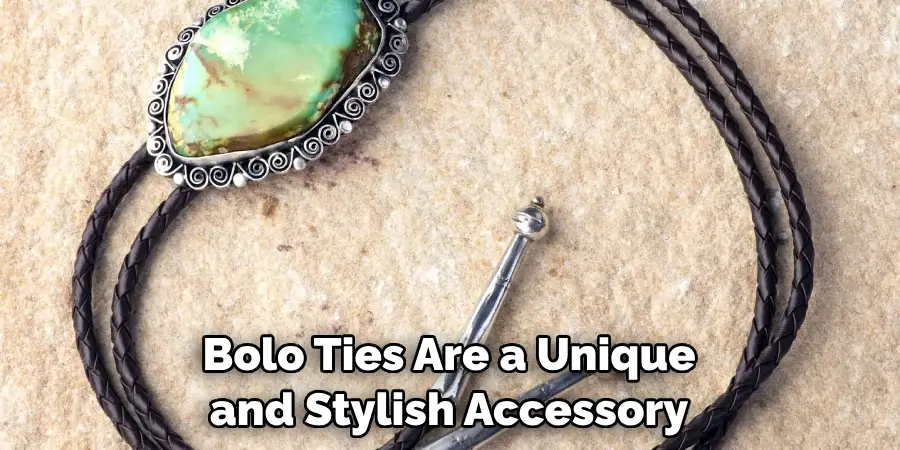
Bolo ties are a unique and stylish accessory, but they can also be surprisingly versatile. While bolo ties may not be the first thing that comes to mind when considering professional attire, they can actually be incorporated into many office wardrobes in appropriate ways.
Bolo ties should generally only be worn as part of a more casual look, such as if you were attending a business lunch or meeting with colleagues. For example, it can be worn with a dress shirt and blazer for a semi-formal appearance. If the occasion calls for something more formal, like an important client presentation or job interview, it’s best to opt for a traditional necktie instead.
When wearing a bolo tie, it’s important to keep the rest of the outfit simple. A bolo tie is an eye-catching statement piece, and wearing one can draw attention to your overall look. Therefore it’s important to ensure that the rest of the outfit is balanced and professional.
10 Methods How to Make a Bolo Tie
Method 1: Gathering Materials and Tools
To begin your bolo tie-making journey, you’ll need to gather all the necessary materials and tools. This method will outline the essential items you’ll need, including a bolo slide, cord or string, decorative elements, and tools like scissors, pliers, and glue.
Once you’ve got all your materials together, you’ll need to decide on a bolo slide. This is the centerpiece of your tie and is available in a variety of styles and materials, including metal, plastic, or wood. Choose one that will fit with your overall design.
Method 2: Choosing the Right Bolo Slide
The bolo slide serves as the centerpiece of your bolo tie and holds the cord or string in place. This method will guide you through selecting the ideal bolo slide, considering factors such as material, shape, size, and design.
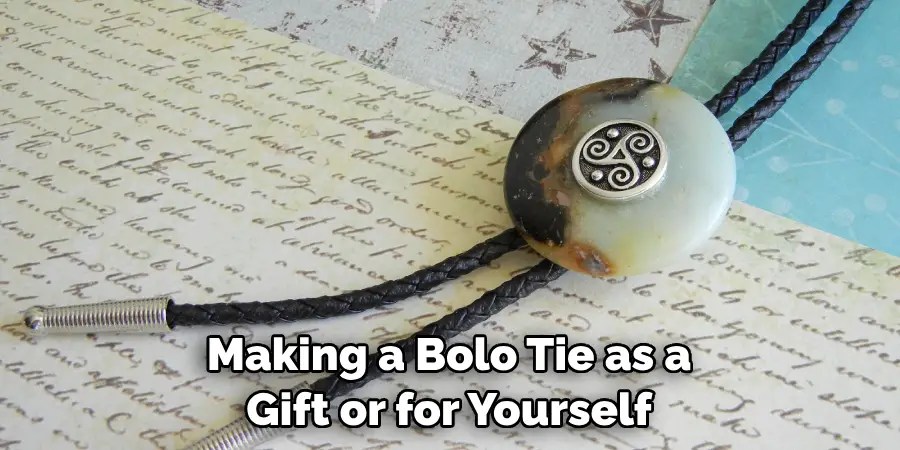
However, if you are making a bolo tie as a gift or for yourself to wear on special occasions, feel free to choose a slide that is simply attractive or eye-catching. Additionally, you may choose a vintage slide if your bolo tie is intended to be an heirloom item or a keepsake.
Method 3: Selecting the Cord or String
The cord or string used in your bolo tie plays a crucial role in its overall aesthetic. This method will discuss different options available, such as leather, suede, or braided cord, and help you choose the right one based on your style preference.
Leather cord is the most popular material used for bolo ties, and it comes in an array of colors. It also provides a classic look, making it a great option for those that want an old-school bolo tie. However, it requires a bit of maintenance and can dry out over time.
Method 4: Adding Decorative Elements
Decorative elements enhance the visual appeal of your bolo tie. This method will explore various options like gemstones, beads, feathers, metal accents, and more. You’ll learn how to select complementary elements and consider their arrangement on the bolo tie.
First, decide what type of material you would like to use for your decorative element. Popular choices include gemstones, beads, feathers, and metal accents. Once you’ve decided what materials to use, consider the color palette and arrangement of elements. Gemstones, for example, can
Method 5: Preparing the Bolo Slide
Before attaching the cord or string, the bolo slide may require some preparation. This method will guide you through essential steps, such as cleaning, polishing, or modifying the slide if needed to ensure a secure and visually appealing attachment.
Begin by cleaning the slide. The slide may have accumulated dirt or tarnish during manufacturing and shipping, so it’s important to give it a thorough scrubbing. Use a soft cloth and silver or gold cleaner to remove any debris from the surface of the slide.
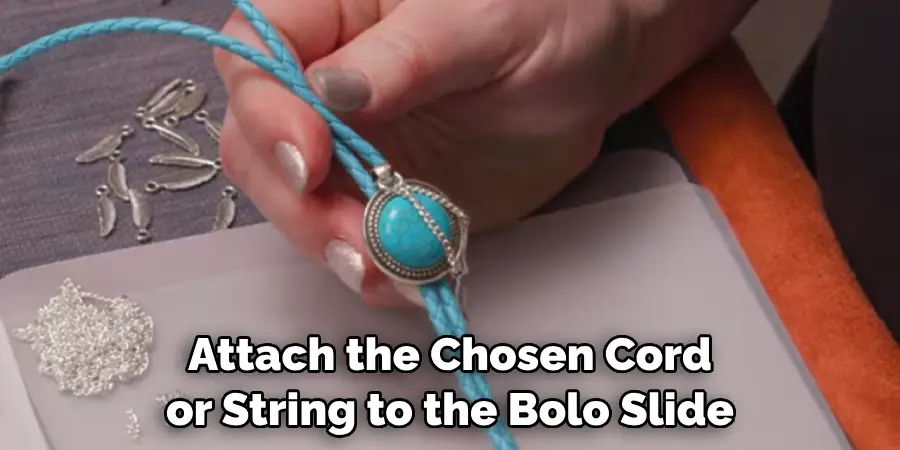
Method 6: Attaching the Cord or String
Now it’s time to attach the chosen cord or string to the bolo slide. This method will demonstrate different techniques, including the loop and barrel knot methods, to securely fasten the cord or string to the slide.
The loop knot is a great option for those who are looking for an easy and secure way to attach the cord or string. To begin, lay the cord or string across the middle of the slide. Then, make a loop on one side and thread the other end of the cord or string through the loop. Pull tight to secure it in place.
Method 7: Decorating the Cord or String
To add extra visual interest to your bolo tie, you can decorate the cord or string itself. This method will explore techniques like braiding, weaving, or wrapping the cord with thread or beads, allowing you to personalize your bolo tie even further.
Before beginning, make sure your cord or string is free of knots and tangles. This will allow you to work with it much more easily. If the cord is too long, then you can simply trim off the excess cord or string before beginning.
Method 8: Finishing the Bolo Tie Ends
The ends of the cord or string are an important aspect of the bolo tie’s overall appearance. This method will show you how to finish the ends neatly and professionally, whether through using metal tips, knotting techniques, or other creative solutions.
Method 9: Testing and Adjusting
Once the bolo tie is assembled, it’s crucial to test its functionality and make any necessary adjustments. This method will explain how to check the slide’s movement, cord length, and overall balance to ensure a comfortable and well-functioning bolo tie.
To begin, fit the bolo tie around your neck and adjust the slide to a comfortable length. If the cord feels too long or short, adjust the loop to add or subtract length. When you’re satisfied with the cord length and balance, test out the slide’s movement. Make sure the slide moves up and down freely and that it’s not too tight or loose.
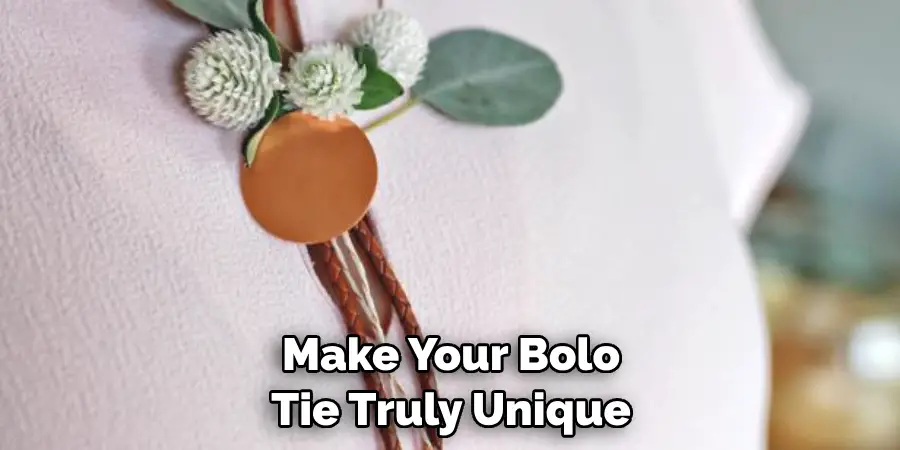
Method 10: Adding Final Touches and Personalization
To make your bolo tie truly unique, this method will inspire you with ideas for adding final touches and personalization. From engraving initials or patterns on the slide to incorporating meaningful symbols or charms, you’ll discover numerous ways to make your bolo tie reflect your style and personality.
Conclusion
Now that you have learned how to make a bolo tie, the possibilities are endless! Use different materials or colors to create your own one-of-a-kind piece of jewelry. Spend time experimenting with new ideas and designs – and of course, you can always showcase the classic braid. No matter your choice of material or design, creating a bolo tie brings endless possibilities!
With just a few basic supplies and some creativity, you’ve got yourself a fashionable accessory sure to draw compliments. So go ahead, show off your new shooting star or classic intertwined knot! And remember that making a bolo tie isn’t just about craftmanship – it’s also about expressing yourself and having fun in the process. Take on the challenge and give this project a try – you won’t regret it!