Making a leather harness is a great way to add style and edge to any outfit. Whether you want something minimalistic and chic or more showy and daring, crafting your own custom-fit design can be both fun and rewarding!

Not only will you have the satisfaction of creating something unique, but it also makes for an affordable alternative to purchasing an expensive one from a store. With some essential tools – such as scissors, needles, thread, leather punches – and basic hobby skills anyone can create their very own handsome leather accessory!
In this guide we’ll discuss everything you need to know about how to make a leather harness from start to finish. Let’s get started on the process today!
The Versatility and Appeal of Leather Harnesses
Leather harnesses offer a unique combination of versatility, timelessness and appeal that truly sets them apart from other types of restraints.
Whether you’re looking for an elegant BDSM accessory or something more practical to use in everyday activities, leather is the perfect material for any situation. Leather is strong enough to handle more rigorous activities while still being comfortable.
It also has a classic look that never goes out of style – whether you’re wearing it with jeans and a t-shirt or full fetish attire, your leather harness will always look good! Plus, leather comes in many different colors so you can easily find one that matches your aesthetic perfectly. With all these benefits, it’s no wonder why leather harnesses remain popular among all kinds of BDSM practitioners and fetishists.

Another great thing about leather harnesses is that they’re incredibly easy to customize. With just a few small alterations, you can change up the look and feel of your harness to suit whatever activity or style you’re going for.
Whether you want something more intricate with intricate designs or something simple and straightforward, there’s a leather harness out there perfect for you. You can even have your harness tailor-made to fit you perfectly or choose from a variety of pre-made styles.
What Leather Is Used for Harnesses?
Harnesses can be crafted from a variety of different types of leather, including full-grain, top-grain and split leather. Full-grain leather is the highest quality and most expensive type of leather, but also the strongest. It has been tanned with its natural grain intact, giving it a unique texture and appearance.
Top-grain leather is the second highest grade of leather; it has been sanded to remove some of its natural grain, making it smoother than full-grain leather. Split leather is made from hides that have been split into multiple layers. It’s the least expensive type of leather for harnesses because it’s not as strong or durable as full-grain or top-grain leather.
Depending on your needs, you can choose any of these types of leather to make your harness. However, if you are looking for something that will last, then full-grain leather is your best option.
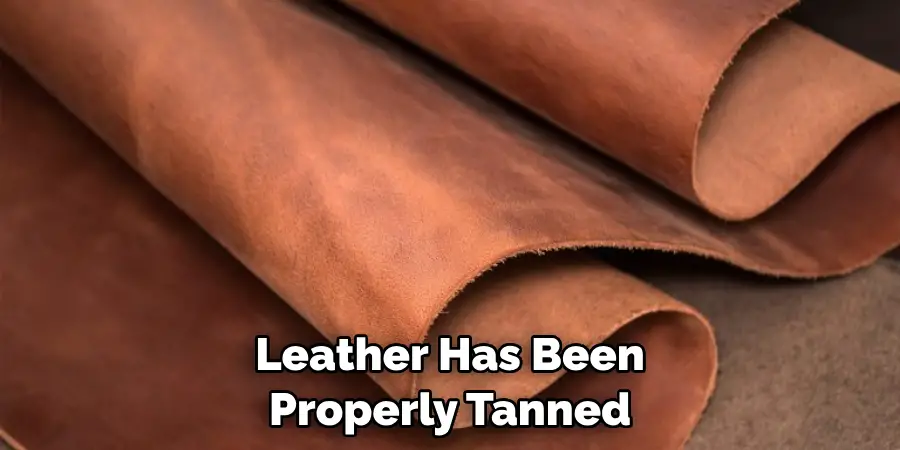
No matter what type of leather you choose, it’s important to make sure that the leather has been properly tanned and treated before using it for a harness. Leather that hasn’t been properly tanned can easily become cracked or brittle and won’t last as long as tanned leather. Additionally, make sure that the leather you choose is thick enough to withstand regular use.
10 Methods How to Make a Leather Harness
Method 1: Gathering Materials and Tools
To begin your leather harness-making journey, gather all the necessary materials and tools. This method will outline the essential items you’ll need, including leather, hardware (such as buckles, D-rings, and rivets), cutting tools, measuring tape, and leatherworking tools like an awl, needle, and thread.
Once you’ve gathered all your supplies, it’s time to get started. Before you begin cutting and measuring, familiarize yourself with the types of leather you may be using. This will help ensure that you select the right materials for your project and get the most out of them.
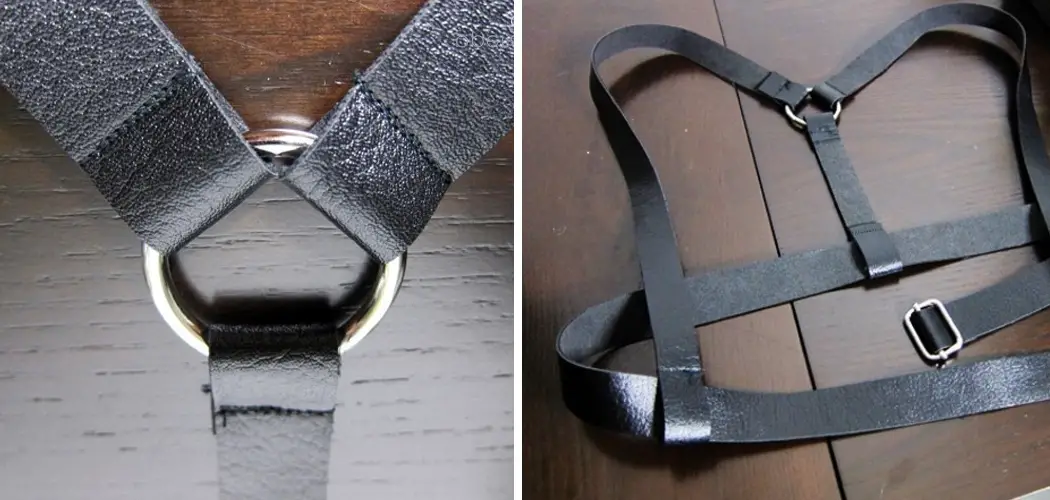
Method 2: Designing the Harness
Before diving into the construction process, it’s essential to design your leather harness. This method will guide you through the design considerations, including choosing the harness style (chest harness, shoulder harness, or full-body harness), determining the strap widths, and planning the placement of hardware.
Method 3: Preparing the Leather
Properly preparing the leather is crucial for a successful harness. This method will explain how to select the right leather type and thickness, measure and cut the leather pieces according to your design, and prepare the edges for stitching.
Choose the right leather type and thickness: The most common type of leather used for a harness is vegetable-tanned leather. It is durable and will last a long time. The thickness of the leather will depend on your design. For thin straps, use leather that is 1/32” to 1/16” thick.
Method 4: Punching Holes and Adding Hardware
To assemble the harness, you’ll need to punch holes in the leather and attach hardware like buckles, D-rings, and rivets. This method will demonstrate how to use an awl or hole punch to create holes in the leather, insert hardware, and set rivets securely.
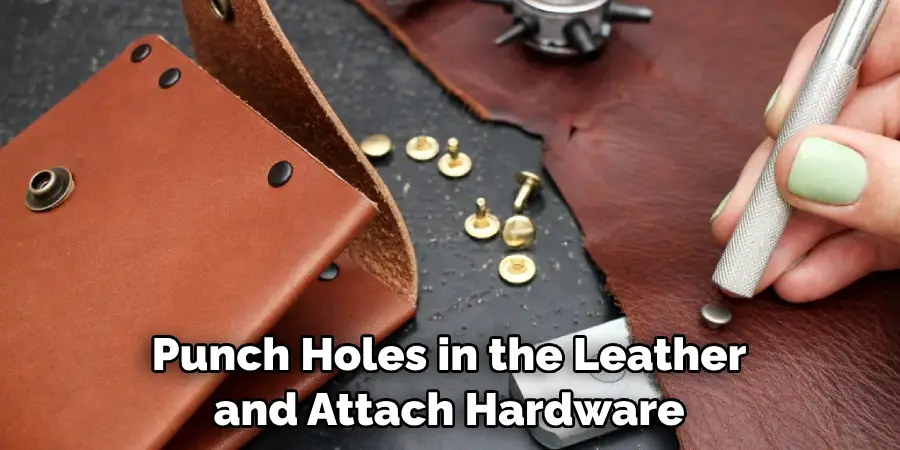
Start by laying the leather pieces out on a flat, stable surface. Using an awl or hole punch, mark and punch holes at the edges of each piece. To keep your holes even, it helps to draw a line with a ruler and use that as a guide for punching.
Method 5: Stitching the Leather
Stitching adds strength and durability to your leather harness. This method will cover stitching techniques such as saddle stitching and backstitching and provide step-by-step instructions on how to sew the leather pieces together, ensuring a secure and professional-looking finish. However, stitching the leather can be time-consuming and requires patience and skill in order to get it right.
Method 6: Shaping and Forming the Harness
To achieve a comfortable and well-fitted leather harness, shaping and forming the leather is necessary. This method will teach you how to wet mold or heat shape specific parts of the harness, such as the chest or shoulder straps, to contour them to your body.
Additionally, you can use these methods to create straps with custom shapes. Once you have completed shaping the leather, it’s time to put it all together. Make sure to check for any irregularities or misalignments while you are doing this.
Method 7: Adding Adjustability
Many harness designs require adjustable straps to accommodate different body sizes and preferences. This method will explain how to create adjustable elements using techniques like belt-style buckles, multiple holes, or sliders, allowing you to customize the fit of your leather harness.
The first step is to determine the number and placement of the adjustable elements. It’s important to consider how different body sizes will affect the fit and adjustability of your harness. You may need to add multiple elements or position them in different areas to account for larger body sizes.
Method 8: Finishing and Conditioning the Leather
Once the harness is assembled, it’s important to finish and condition the leather for a polished appearance and increased longevity. This method will guide you through techniques such as burnishing the edges, applying leather finish or dye, and conditioning the leather to keep it supple and protected.
Although the tools and materials needed for this step can vary depending on personal preference, most of these items can be found in a leather working kit.
Method 9: Testing and Adjusting the Fit
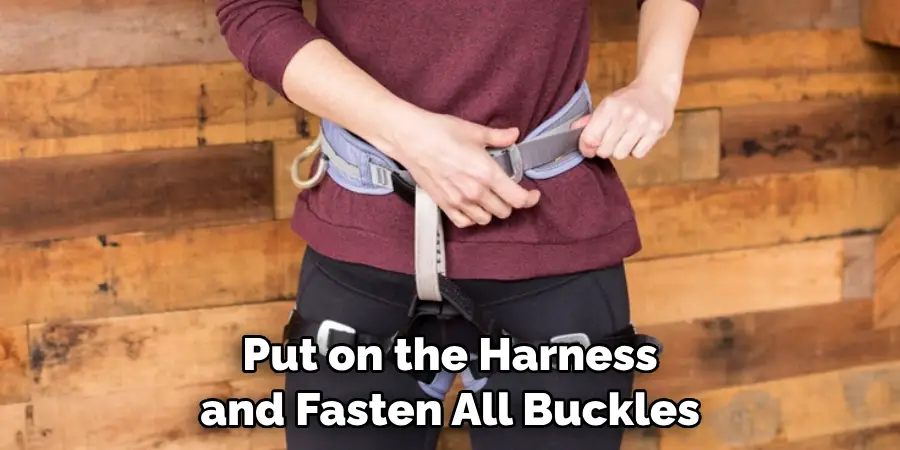
Before considering the leather harness complete, it’s essential to test its fit and make any necessary adjustments. This method will explain how to wear the harness, assess its comfort and functionality, and modify strap lengths or attachment points if needed.
First, put on the harness and fasten all buckles. It’s essential that all straps are securely fastened to ensure proper fit and safety. Check that the harness is comfortable and doesn’t feel too tight or loose in any areas. If there are any points of discomfort, adjust the straps in that area until the harness feels comfortable.
Method 10: Adding Personalization and Embellishments
To make your leather harness truly unique, consider adding personalization and embellishments. This method will inspire you with ideas such as stamping or carving patterns, attaching decorative elements like studs or conchos, or incorporating additional leatherwork techniques to elevate the aesthetics of your harness.
Conclusion
Making a leather harness is really not as intimidating as it first seems, but it does require careful attention to detail and a good understanding of the processes involved. With the right tools and supplies, even beginners can create their own original designs with minimal effort.
While this may seem like an easy task, this blog post has shown you how to make a leather harness from start to finish—from measurements to stitching—so that you can unleash your creativity and create something personalized and unique.
Now that you’ve learned to make a leather harness, try it out for yourself and see what amazing results you can achieve! Who knows? Maybe making beautiful custom-made leather items will become your new hobby, or even your career!