
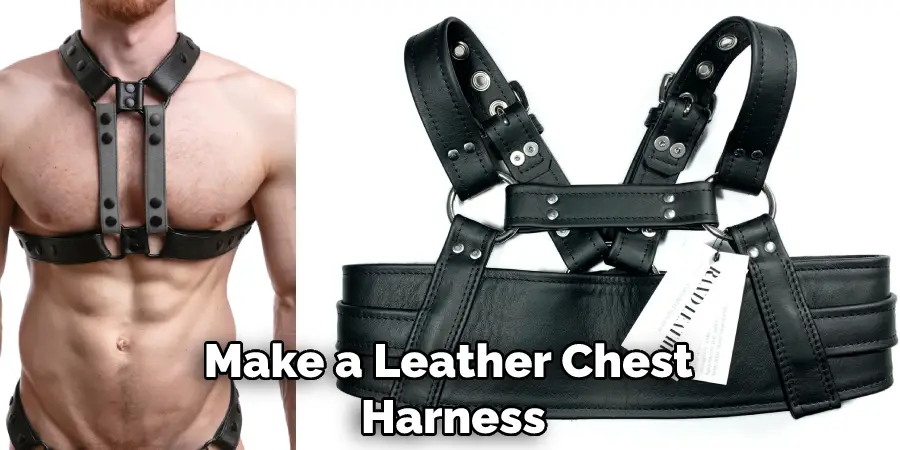
Making a leather chest harness is a great way to add flair and functionality to your wardrobe. It looks great, but it can also be used for activities such as horseback riding or rock climbing. In this article, you’ll learn how to make a leather chest harness.

You’ll need some basic tools and supplies, including a sewing machine, needle and thread, scissors, and measuring tape. Once you have all the materials, following the steps outlined below is just a matter of following the steps. The steps are simple and easy to follow, so you can have your harness ready in no time! So let’s get started!
What Tools & Materials You’ll Need
- Sewing machine
- Needle and thread
- Scissors
- Measuring tape
- Leather (enough to fit around your chest)
- Buckle (optional)
Step by Step Guide: How to Make a Leather Chest Harness
Step 1: Measure Your Chest.
Wrap the measuring tape around your chest, just under your arms. Make sure the tape is level all the way around and take note of the measurement. This will be the circumference of your leather chest harness.
Step 2: Cut the Leather.
Using scissors, cut a piece of leather that is twice the length of your chest measurement and wide enough to fit comfortably around your torso. You want to ensure that the leather is not too loose or too tight.
Step 3: Sew the Leather Together.
Fold the leather in half so that the two long edges are touching. Sew along these edges using a sewing machine or needle and thread. Make sure the stitches are strong and evenly spaced. If the leather is too thick to sew, you can use rivets or other fasteners to secure the two pieces together.
Step 4: Attach the Buckle.
If you’re using a buckle, now is to attach it. Place the buckle in the center of one long edge of the leather and sew it in place. If you’re not using a buckle, you can skip this step.
Step 5: Try on the Harness.
Now it’s time to try on your new leather chest harness! Put it on over your clothes and adjust it until it fits snugly and is comfortable to wear. If the harness is too loose, you can sew some stitches in the back to cinch it up.
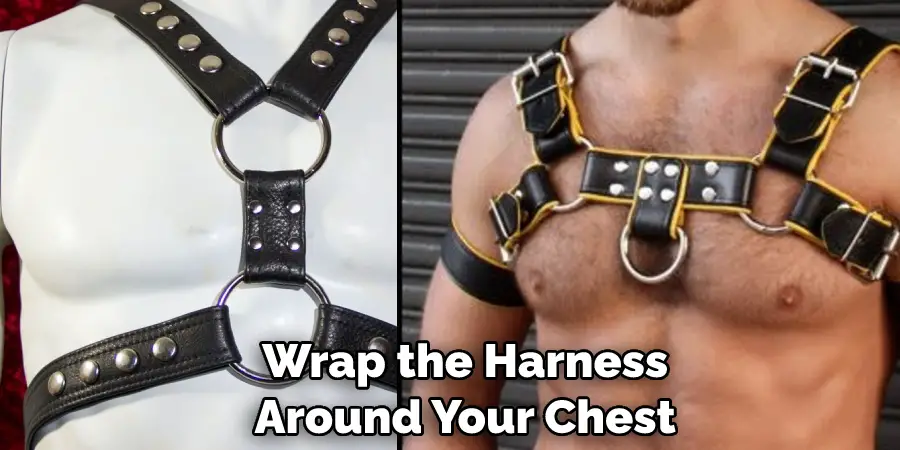
Step 6: Wrap the Harness Around Your Chest.
Now it’s time to put on your new leather chest harness! Wrap the leather around your torso and fasten the buckle (if you’re using one). The harness should fit snugly but not so tight that it’s uncomfortable. If you’re using lacing, make sure to leave enough slack so that you can adjust the fit as needed.
Step 7: Adjust the Fit.
If the harness is too loose or too tight, you can adjust the fit by cinching up the lacing in the back (if you’re using lacing) or by sewing some stitches in the back (if not). Once you’ve got a good fit, trim off any excess leather or lacing.
Step 8: Enjoy Your New Harness!
And that’s it! You’ve now got a brand new leather chest harness ready to wear. Whether you’re using it for fashion or function, it’ll be sure to turn heads. Thanks for following along, and we hope you have as much fun making this harness as we did.
Some Helpful Tips and Suggestions:
Here we have tips on how to make a leather chest harness.
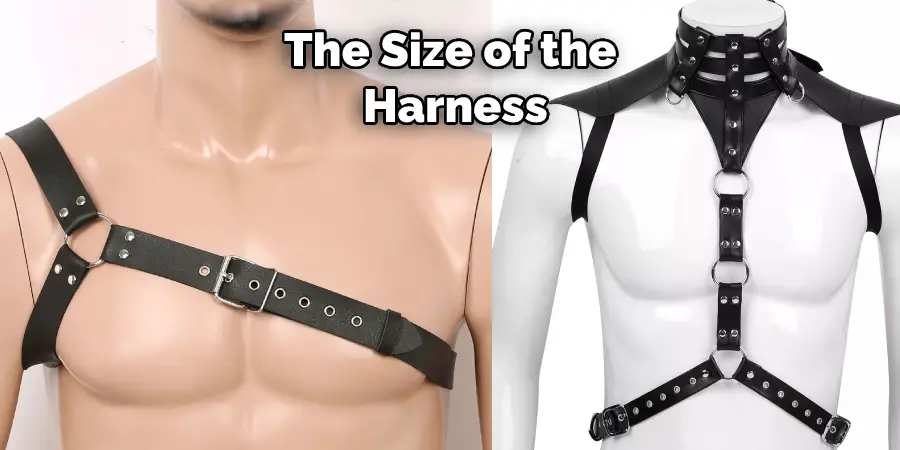
- If you’re unsure of the size, it’s better to make it too big than too small. You can always adjust it later, but you’ll have to start over if it’s too small.
- Make sure the leather is soft and pliable. It will be difficult to work with if it’s too stiff and won’t look as good when you’re finished.
- Take your time and be precise with your measurements. This will make the difference between a good harness and one that looks great.
- Don’t be afraid to ask for help if you need it. This is not a project you want to rush through.
- Decide on the size of the harness. If you’re not sure, it’s better to make it too big than too small. You can always adjust it later, but you’ll have to start over if it’s too small.
- Measure the leather. Cut two pieces that are twice the width of your chest and long enough to go around your body, plus an extra inch or two for overlap.
- Mark the leather. With a pencil or pen, mark where the two leather pieces will overlap in the center of your chest. This is where the grommets will go.
8 Reasons Why You Should Make Leather Chest Harness
1. Easy to Make:
You don’t need to be a leatherworker to make a chest harness. With a little time and effort, anyone can do it. You can also find all the supplies you need at your local craft store. If you’re feeling really ambitious, you can even make your own leather.
2. Inexpensive:
Leather is relatively inexpensive, especially compared to other materials like metal or plastic. You can usually find it for sale in large sheets at craft stores, or online. If you want you can even purchase a whole hide, which will be much cheaper in the long run, but it may be harder to work with if you’re not used to it.
3. Strong and Durable:
Leather is a strong material that will last a long time if properly cared for. It’s also resistant to tearing and stretching, making it ideal for chest harnesses. You can also find leather in a variety of colors and finishes, so it’s easy to find one that matches your style.
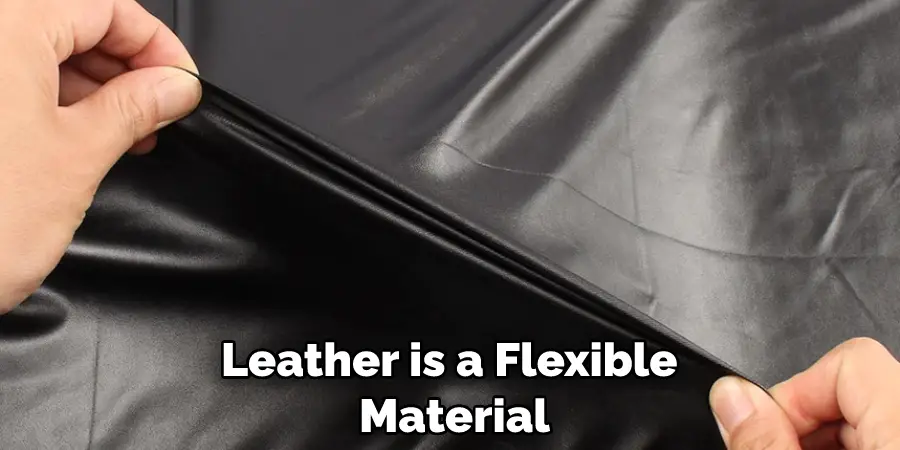
4. Allows Full Range of Motion:
Leather is a flexible material that allows for a full range of motion. This means you won’t feel restricted when wearing a chest harness made of leather. Instead, you’ll be able to move and breathe easily without feeling constricted. You can also find chest harnesses made of other materials like metal or plastic, but they may not be as comfortable or allow for the same range of motion.
5. Durable and Long Lasting:
When made correctly, a leather chest harness can last for many years. With proper care, it will only get better with age. The rich patina that develops over time is something that can’t be replicated with other materials.
6. Can Be Worn in a Variety of Ways:
Leather chest harnesses are versatile and can be worn in various ways. They can be worn as fashion statements or for functional purposes like hiking, climbing, or even horseback riding. You can also find them in various styles, from simple to elaborate.
7. Easy to Care For:
Leather is a relatively easy material to care for. You can clean it with a damp cloth and mild soap and condition it with a leather conditioner to keep it looking its best. You should avoid getting it wet, as this can damage the leather. If it does get wet, make sure to dry it off as soon as possible.
8. Makes a Great Gift:
If you’re looking for a unique and thoughtful gift, a leather chest harness is great. They can be made to fit any budget, and they’re sure to please even the pickiest recipient. You can also find them in various colors and styles, so you’re sure to find one that matches the recipient’s personality.
How Do You Make a Strap Harness?
First, decide on the size of the harness. If you’re unsure, it’s better to make it too big than too small. You can always adjust it later, but you’ll have to start over if it’s too small. Measure the leather. Cut two pieces that are twice the width of your chest and long enough to go around your back and meet in the front. Next, cut two more pieces that are the same width as the first pieces but only half as long.
These will be the straps that go over your shoulders. Now it’s time to put the harness together. Place one of the long pieces in front of you, the good side down. Center the shorter piece on top of it, also the good side down, and stitch them together along the long sides.
Turn the whole thing over, so the good sides are facing out. Put the other long piece behind it, matching the long sides, and stitch them together. You should have a big rectangle with the two short straps sticking up in the air.
Frequently Asked Questions
What Are the Components of a Harness?
A harness is made up of a number of components, including the helmet, chest plate, backplate, shoulder straps, and belt. Each component is designed to protect the wearer and provide support during activity. The helmet protects the head from injury and the chest and back plates provide protection against impact. The shoulder straps distribute weight evenly across the wearer’s shoulders, and the belt helps keep the body in line while performing an activity.
Do Chest Harnesses Stop Pulling?
Chest harnesses are designed to reduce the risk of back injuries by distributing the weight evenly across the user’s chest. They typically have a strap that goes around the torso and is tightened to distribute the weight, and a buckle system that attaches to the belt or waistband of pants or skirts. Chest harnesses should not be worn while lifting weights or doing other strenuous activities because they can increase the risk of back injuries.
Why Do Girls Wear Harnesses?
Girls wear harnesses for a variety of reasons, some of which include:
1. To distribute weight more evenly across the body, which can help prevent injuries and reduce stress on the spine and other areas of the body.
2. To provide support during activities like gymnastics, dance, or horseback riding, which can be strenuous and taxing on the body.
3. To increase mobility and flexibility in the hips, shoulders, and other areas of the body.
4. To improve posture and balance.
5. To create a sexy and alluring silhouette.
There are many different types of harnesses available on the market today, made from a variety of materials that are specifically designed for different purposes. It is important to choose a harness that is comfortable and fits well, so that you can enjoy your activity safely and to its full potential.
Should a Harness Be Tight or Loose?
The best way to adjust a harness depending on the individual’s body size and shape may vary. However, general recommendations for how to adjust a harness typically involve pulling on either the front or back of the harness until it is snug but not too tight, and then adjusting the straps as needed. It is important to always wear a safety belt when operating a motor vehicle, and it is also recommended that children wear a safety belt when riding in a car or motorcycle.
Conclusion
In this blog post, we have shown you how to make a leather chest harness. The first step is to cut four leather pieces according to the measurements you took earlier. If you’re having trouble visualizing the shape, look at the diagram below for help. Once you’ve cut out the leather pieces, it’s time to start sewing them together.
Be sure to leave one end of each piece open so that you can insert the metal buckles later on. Next, sew each piece together using a saddle stitch. Now that you know how to make a chest harness get creative with the design. Add some personal flair to make it your own. Be sure to practice safe bondage play and have fun!