Crafting a leather corset is an artful endeavor that combines sensuality, style, and craftsmanship. This iconic piece of attire has transcended the boundaries of fashion, serving as a symbol of empowerment and self-expression. If you’ve ever been intrigued by the allure of a leather corset and desire to create a bespoke piece that fits you perfectly, you’re about to embark on a creative journey like no other.
Making a leather corset requires attention to detail, patience, and a passion for the craft. From selecting the finest leather and designing a pattern that complements your body shape to mastering the art of sewing and finishing, this comprehensive guide will walk you through the intricate process. Whether you’re a seasoned seamstress or a novice, this article will provide you with the knowledge and inspiration on how to make a leather corset. So, embrace your inner artisan and prepare to create a leather corset that exudes confidence, sensuality, and individuality.
Leather Corset and Its Appeal
Leather corsets are a fun and creative way to make your own stylish piece for any wardrobe. Whether you are looking for something traditional or modern, leather corset-making is the perfect craft that allows you to express yourself in whichever style suits you. Leather has long been popular for its durability and ability to be worked into unique shapes and sizes, making it ideal for corset-making. In this guide, we will explore the basics of leather corset-making and how to design your own unique piece!
When making a leather corset, there are several factors to consider before getting started. The first is selecting the right type of leather. Choose one with good quality and thickness that can be easily manipulated into the desired shape. It is also important to make sure that the leather is properly conditioned and treated so that it will be able to withstand wear and tear over time.
Next, you will need to create a pattern for your corset. This can be done by either hand-drawing or using a computer program such as Adobe Illustrator. Once the pattern is created, it is time to cut out the pieces from your leather. It can be helpful to trace the pattern onto tracing paper or other light material first in order to avoid any unnecessary cuts.
After cutting out all of the pieces, you will need to assemble them together. This is done with either hand-stitching or using a machine such as a sewing machine. It is important to make sure that all of the pieces fit together properly and securely before moving onto finishing touches.
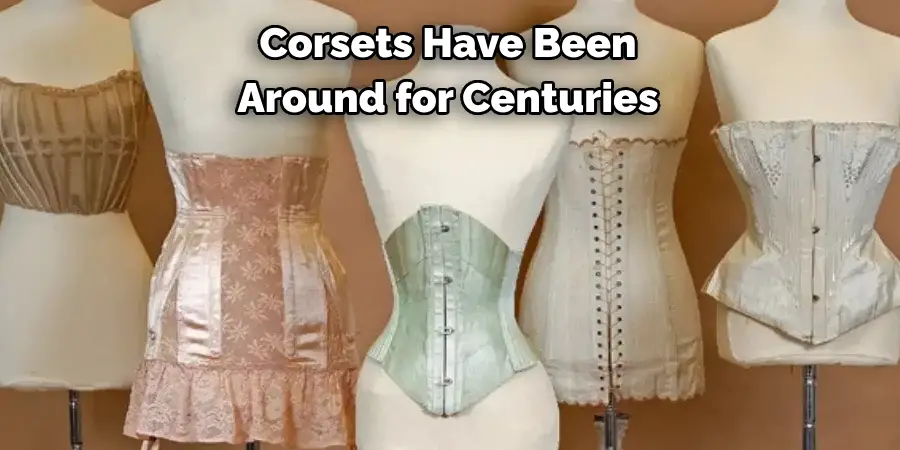
Historical Significance and Modern Fashion Influence of Corsets
Corsets have been around for centuries, having first appeared in the 16th century. Initially designed to emphasize a woman’s natural curves, corsets came to represent the fashionable silhouettes of their time. Despite changing fashion trends over the years, corsets remain an iconic part of women’s fashion and are still worn today as a stylish statement piece.
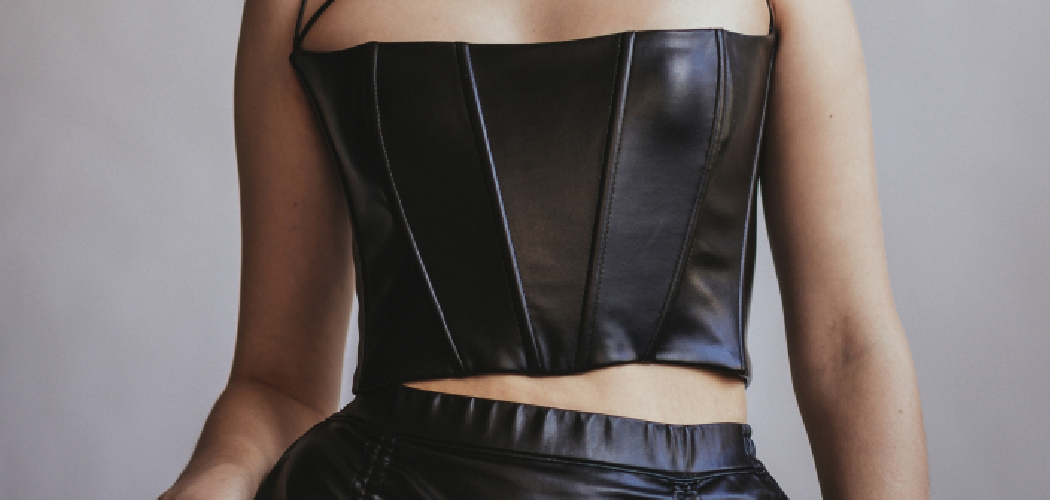
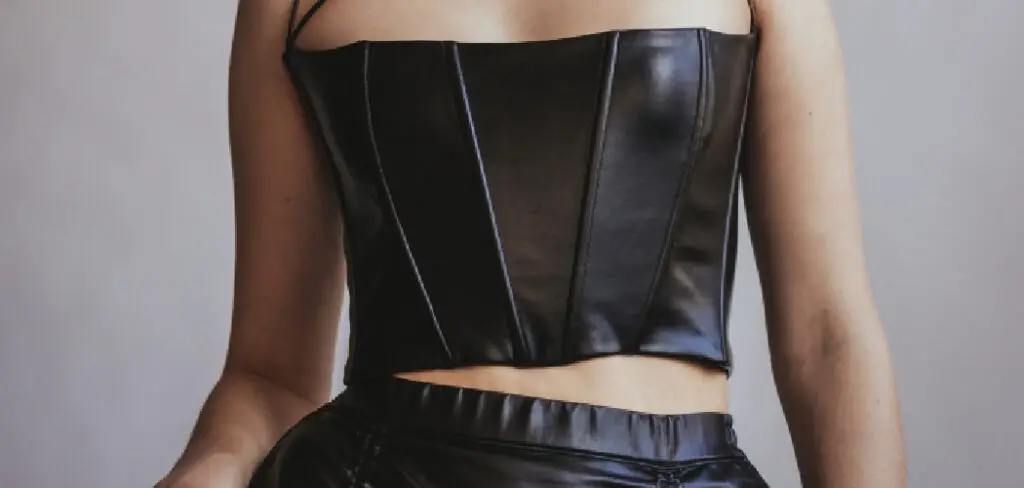
Leather corsets are an ideal choice for those looking to create a more modern edge to their look. Not only do they provide support and enhance the female form, but leather corsets also bring texture and contrast to any ensemble. Leather corsets come in a variety of styles, with some featuring intricate lacing or even ornamental accents like beading.
Making a leather corset is an ambitious task that requires time and dedication, but the end product is worth it. With the right tools and materials, you can craft your own one-of-a-kind leather corset to wear for special occasions or just to make a stylish statement. Follow the steps below to learn how to make a leather corset.
10 Steps How to Make a Leather Corset
Gather Supplies
The first step in making a leather corset is to gather all the necessary supplies. You will need leather, a pattern, scissors, a measuring tape, contact cement, eyelets and lacing. Make sure to choose leather that is thick enough to provide support and durable enough to last for many years. It’s also important to select an appropriate pattern for your corset based on your body type and desired fit.
Prepare the Leather
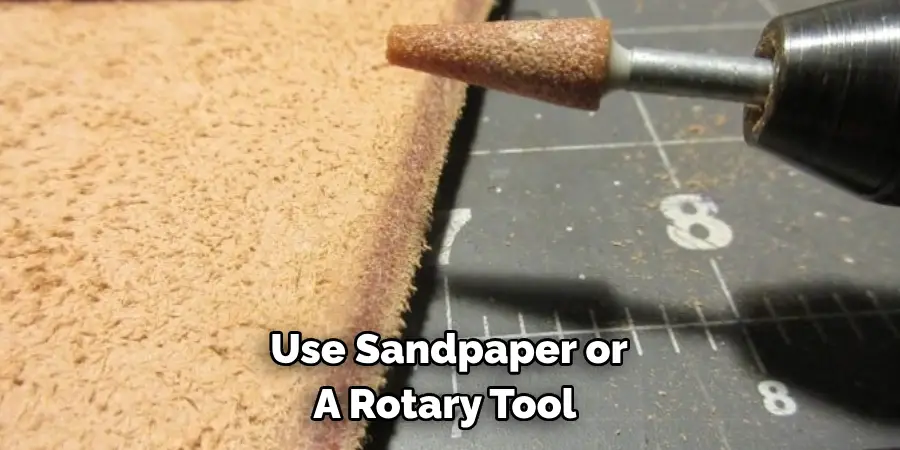
Once you have gathered all of the supplies you need, it’s time to prepare the leather for cutting. First, use a damp cloth or sponge to clean off any dirt or debris from the surface of the leather.
Next, use sandpaper or a rotary tool with an abrasive wheel attachment to smooth out any rough spots on the material. Finally, lay out your pattern pieces on top of the leather and trace them onto the material with a pen or marker.
Cut Out Pattern Pieces
Now that you have traced your pattern pieces onto the leather, it’s time to cut them out with scissors or a rotary tool with a cutting wheel attachment. Make sure to take your time when cutting so that each piece is cut accurately and neatly along the lines that you drew earlier. Once all of your pieces are cut out, set them aside until they are needed later in the process.
Mark Seam Allowance
Now that all of your pattern pieces have been cut out it’s time to mark seam allowances on each piece before sewing them together.
To do this, use a ruler and pen or marker to draw 1/4 inch lines around each edge of each pattern piece where seams will be sewn later in the process. Make sure that all seam allowances are marked accurately so that they can be easily seen when sewing later on in the process.
Sew Seams Together
Once all of your seam allowances have been marked, it’s time to start sewing them together by hand using an upholstery needle and thread made specifically for working with leather materials like waxed linen thread or artificial sinew threading cordage.
Start at one end of one seam allowance and work slowly but steadily towards the other end until both sides are securely sewn together into one continuous line of stitching along each seam allowance line previously marked with a pen or marker earlier in this step-by-step guide. Repeat this process for every seam allowance until all seams are securely sewn together.
Add Boning Channels
Next, add boning channels by stitching long strips of fabric parallel along each side of every seam allowance previously sewn together. The purpose of adding boning channels is twofold: firstly, it helps keep boning in place within its channel as well as providing additional support; secondly, it helps prevent wrinkling from occurring along seams when corsets are worn tightly against body curves.
Use strong upholstery thread such as waxed linen thread or artificial sinew threading cordage for added strength.
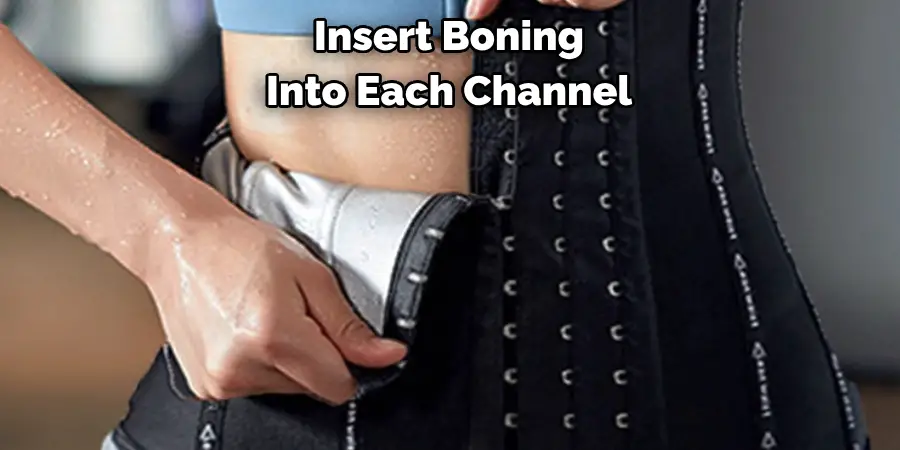
Insert Boning
Now, insert boning into each channel created earlier while making sure not to twist any bones as they are inserted into their respective channels. Boning should fit snugly within its channel without being too tight as this could cause discomfort when wearing corsets. Also, make sure not to leave any gaps between bones as these could create weak spots which may tear apart over time due to wear and tear caused by regular use.
Add Eyelets & Lacing
Now, add eyelets & lacing by following the instructions provided with eyelet kits purchased at craft stores or online retailers selling such items.
This involves drilling small holes into the sides of the corset near the bottom edges then inserting eyelets through these holes followed by lacing up sides using either round laces or flat laces depending upon preference. Make sure not to pull too tightly when tying knots at ends otherwise, corsets may become too tight causing discomfort while wearing them.
Apply Contact Cement
Finally, apply contact cement along edges where boning meets fabric then allow it to dry completely before wearing corsets as contact cement takes some time before becoming fully dry & secure once applied onto surfaces being bonded together.
This helps ensure everything stays firmly secured in place during regular wear & tear caused by regular use over extended periods of time without coming apart due to unforeseen circumstances arising from everyday wear & tear experienced by most garments over extended periods of usage.
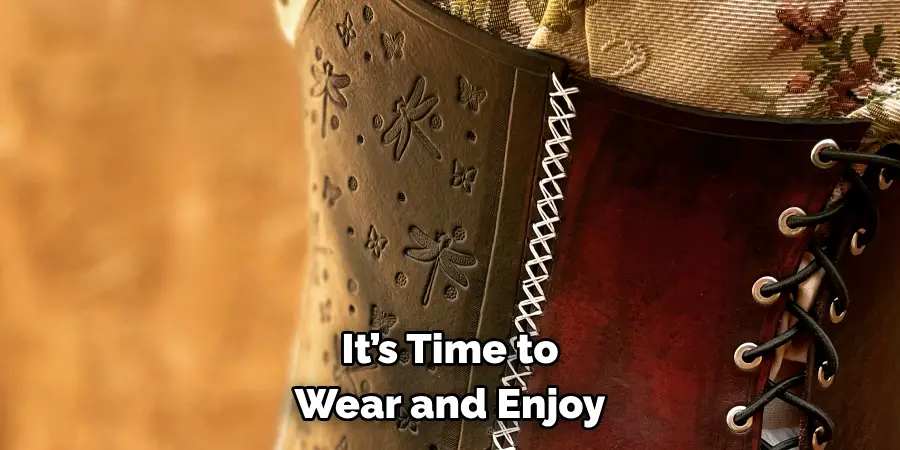
Wear and enjoy!
Now that your leather corset is complete, it’s time to wear and enjoy! Leather corsets are sure to turn heads and add an elegant yet edgy look to any ensemble. With the right care, a handmade leather corset can last for many years without losing its shape or appeal. So go ahead – show off your one-of-a-kind leather corset and enjoy the compliments that are sure to come your way!
Conclusion
Making a leather corset is a great way to get a bespoke fashion item and express your individuality. Not only are leather corsets beautiful things to make, they are also functional and fun to wear! They provide an amazing figure-framing and waist-cinching effect that no other items can, and give you the flexibility of changing your garment with different colored lacing or straps.
It can be daunting at first, but learning how to make a leather corset is very rewarding. Once you get started, it’s not as difficult as you might think – many of the complex looks can be achieved with some patience and practice – so why not try it out for yourself? Follow our simple steps today to make sure that you create something beautiful, sensual, stylish and unique!