
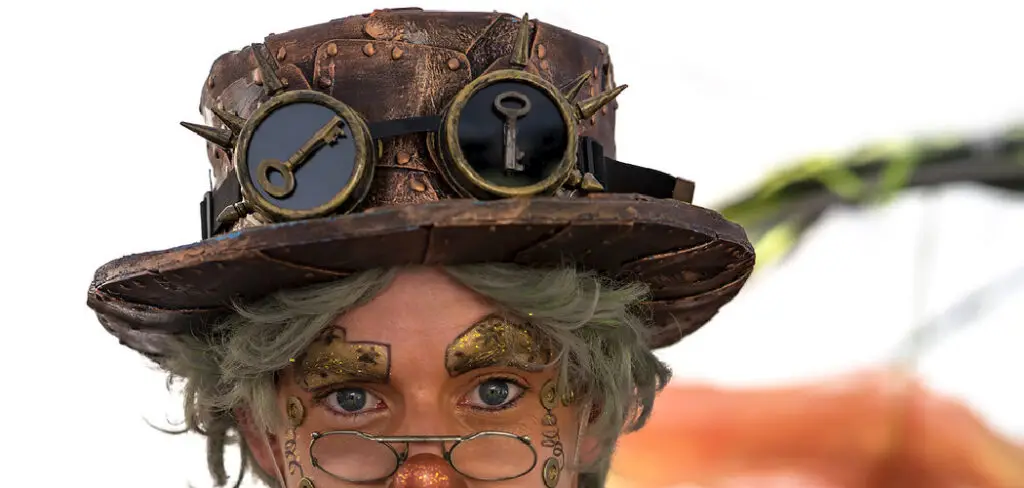
Steampunk fashion has captured the imaginations of many, offering a captivating blend of Victorian aesthetics, industrial elements, and a dash of science fiction. One of the quintessential accessories that define the steampunk look is the iconic steampunk hat. Crafted with meticulous attention to detail, these hats exude an air of vintage elegance combined with a touch of retro-futurism. If you’ve ever been intrigued by the allure of steampunk and want to add a distinctive piece to your wardrobe, learning how to make a steampunk hat is a creative journey worth embarking on.
Creating a steampunk hat involves a fusion of artistry, craftsmanship, and a flair for the unconventional. From selecting the right materials and designing unique embellishments to mastering the art of weathering and distressing, this guide will take you step by step through the process. Whether you’re a seasoned steampunk enthusiast or a curious beginner, this article will equip you with the knowledge and inspiration to fashion your very own steampunk masterpiece, turning heads wherever you go.
Steampunk Style and Its Popularity
Steampunk style has become increasingly popular in recent years. From steampunk-inspired fashion to steampunk home décor, this unique aesthetic is showing up everywhere. If you’re looking for a way to incorporate the popular trend into your wardrobe, making a steampunk hat can be an easy and fun way to express your personal style.
Making a steampunk hat is a relatively simple process, and requires minimal materials. To start, you will need to gather the following items: a base hat (such as a fedora or baseball cap), faux leather or fabric in your desired color, glue gun and glue sticks, scissors, several large buttons (preferably brass colored), assorted gears and cogs of various sizes, and a hot glue gun.
Once you have gathered all of the materials, it is time to start creating your steampunk hat. The first thing that you will need to do is cover the base hat with the faux leather or fabric. To do this, cut a strip of material long enough to wrap around the circumference of the hat and overlap slightly on either end. Then, use the glue gun to adhere the material to the hat.
Next, it is time to start decorating your steampunk hat with all of the cool accessories! Begin by gluing some large buttons onto either side of the hat-band. You can also add small gears and cogs around the edge of the brim or on top of the crown. Finally, you can glue a few larger gears and cogs to the top of the hat for extra flair.
Inspiration and Historical Background of Steampunk Fashion
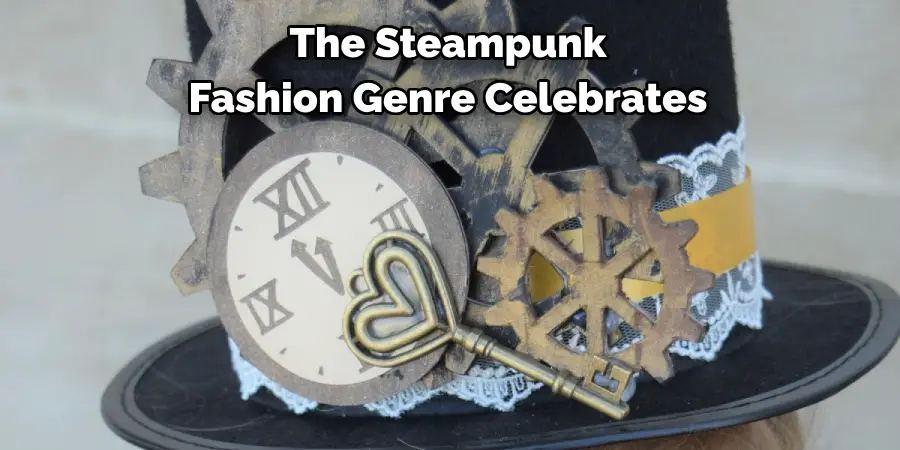
The Steampunk fashion genre celebrates the Victorian era and Industrial revolution, looking to create a fusion between historic clothing designs with modern materials. It’s a mix of classic victorian gothic style with bold, inventive gadgets – think old-fashioned cogs and gears combined with unusual items such as goggles or chains. The core idea behind steampunk is that technology can be used to redesign everyday items and create something entirely new.
When creating your steampunk hat, there are a few key elements that will help you achieve the perfect look. Firstly, it’s important to think about the materials used – fabrics like leather or wool can be great choices for a classic hat design. You may also want to consider adding other decorative elements such as brass buttons, chains and buckles to give the hat a steampunk flare.
It can also be helpful to draw inspiration from historical fashion. The Victorian era is known for its intricate designs and lavish fabrics – think velvet, lace, silk and brocade. By combining these classic materials with modern elements such as gears or goggles, you can create a truly unique steampunk hat.
10 Steps How to Make a Steampunk Hat
Step 1: Gather Your Materials
Before you begin crafting your steampunk hat, it’s essential to gather all the necessary materials. Here’s a list of what you’ll need:
- Hat base (e.g., a plain top hat, bowler hat, or any hat style of your choice)
- Faux leather or fabric for hat covering
- Hot glue gun and glue sticks
- Scissors
- Ruler
- Pencil or fabric marker
- Assorted steampunk-themed embellishments (gears, cogs, clock parts, feathers, goggles, etc.)
- Ribbons or decorative fabric for hatbands
- Paints and brushes (optional for distressing)
- Needle and thread (optional for sewing embellishments)
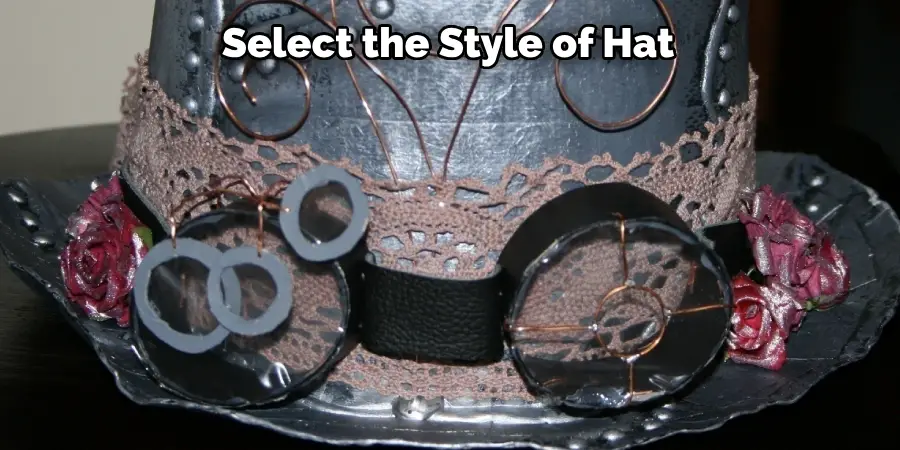
Step 2: Choose Your Hat Style
Select the style of hat you’d like to transform into a steampunk masterpiece. Classic choices include top hats, bowler hats, or wide-brimmed hats. The hat’s shape and size will influence your design, so choose one that appeals to your aesthetic preferences.
Step 3: Prepare the Hat Base
If your hat has any unwanted decorations or logos, carefully remove or cover them with the faux leather or fabric that you’ve chosen for your hat covering. Use hot glue to secure the material in place, ensuring it is smooth and evenly stretched over the hat.
Step 4: Create a Hatband
To give your steampunk hat an extra layer of style, fashion a hatband using decorative ribbons or fabric. Measure the circumference of your hat’s crown, cut the ribbon or fabric to the appropriate length, and glue it around the base of the crown. This will serve as the foundation for your embellishments.
Step 5: Plan Your Design
Before attaching any embellishments, sketch out your steampunk hat design on a piece of paper or directly onto the hat itself using a pencil or fabric marker. Consider the placement of gears, cogs, feathers, goggles, and any other elements you want to incorporate. Planning ahead will help you achieve a balanced and visually appealing design.
Step 6: Attach Embellishments
Now comes the fun part – adding steampunk-themed embellishments to your hat. Use a hot glue gun to secure gears, cogs, clock parts, and other decorative elements to your hat as per your design plan. Experiment with different arrangements until you achieve the desired steampunk aesthetic.
Step 7: Distress and Weather the Hat (Optional)
For an authentic steampunk look, consider distressing and weathering your hat. Use paints and brushes to add faux wear and tear, giving your hat a vintage and well-traveled appearance. Focus on areas that would naturally accumulate dirt and wear, such as the brim and edges.
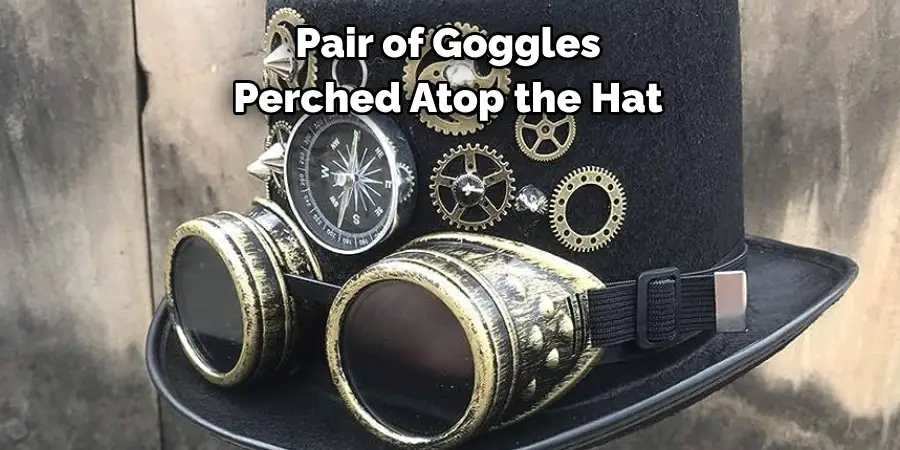
Step 8: Add Goggles
One iconic steampunk accessory is a pair of goggles perched atop the hat. You can either purchase a small pair of steampunk goggles or make your own using found objects and craft materials. Attach the goggles securely to your hat using hot glue, ensuring they sit comfortably and securely.
Step 9: Finishing Touches
To complete your steampunk hat, add any final embellishments, such as feathers, lace, or additional gears and cogs. These details can enhance the overall look and add a touch of personality to your creation.
Step 10: Wear and Flaunt
Once you’ve completed your steampunk hat, it’s time to wear it with pride. Pair it with a steampunk-inspired outfit, and you’ll be ready to turn heads at conventions, events, or wherever your steampunk adventures take you.
Some Common Mistakes to Avoid When Make a Steampunk Hat
Making a steampunk hat can be a fun and creative activity. But it’s important to avoid some common mistakes when crafting your own unique look. Here are three of the most common errors that people make when attempting to create a steampunk hat:
- Not Accessorizing Properly – A steampunk hat is not just about the hat itself; it’s also about the accessories that go along with it. Make sure to include details like buckles, straps, and unique accents that make your hat stand out.
- Not Creating a Focal Point – The focal point of a steampunk look should be the hat itself; don’t let other elements distract from it or take away its impact. When putting together your look, make sure the hat is always the central piece.
- Not Finding Inspiration – It can be difficult to come up with ideas on your own for a steampunk hat; make sure to find inspiration from other looks or even just everyday objects that you can repurpose into something steampunk-inspired.
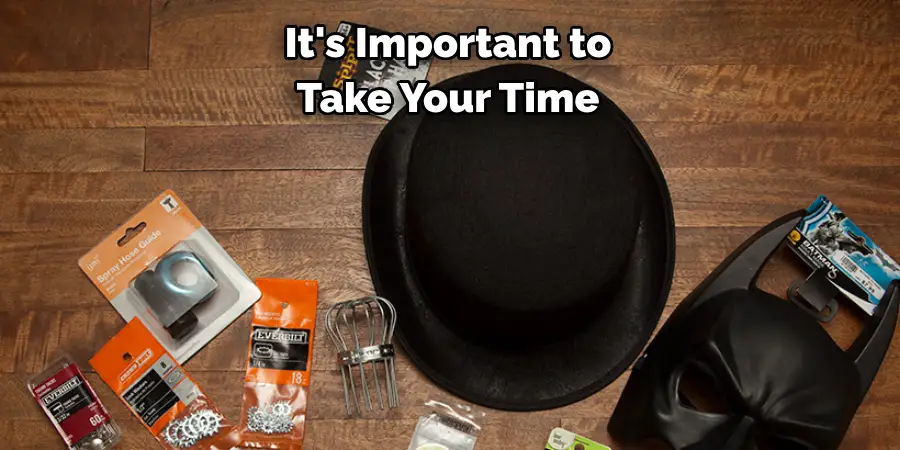
Overall, when creating a steampunk hat, it’s important to take your time and create something unique that expresses your own personal style. Don’t be afraid to make mistakes while you learn the craft; it can also help you come up with new ideas for future projects.
Conclusion
Crafting a steampunk hat may seem daunting at first, but with the right materials and tutorial it can be quite fun and rewarding to make. With all our tips and tricks, you have everything you need to get started on creating your very own spin on a classic hat. We can’t wait to see what you come up with! Don’t forget, our tutorial on How to Make a Steampunk Hat is only a jump away for those of us wanting something unique and stylish in their wardrobe.
So, take some time out to go DIY-ing, be creative or just experiment – the sky’s your limit! Invest wisely in quality materials that will last and boost your confidence as you work up a masterpiece you’ll be proud of. Now that we’ve furnished you with this knowledge, it’s time to get crafting! Share photos of your impressive creations so we can marvel at your handiwork when it’s complete. Happy hat-making everyone!
