Having a tangible, physical object you can hold and admire in this digital age is refreshing. That’s why journaling has become incredibly popular over the years. The paper’s feel and the cover’s beauty can inspire creativity and help you express your thoughts and emotions more fully. However, there’s something even more special about creating your own journal from scratch. In this guide, we’ll show you how to make a leather journal that’s unique, beautiful, and entirely your own.

Can You Make a Leather Journal?
Leather journals are beautifully-crafted items perfect for those who love to write or sketch. Making one yourself can be a little daunting at first, but once you’ve got the hang of it, it can be a rewarding and satisfying experience. Not only do you get to create something that is unique to you, but you can also be assured that the journal you have made is of high quality and built to last. With just a few materials and a bit of patience, you can create a leather journal that will be treasured for years to come. So why not give it a go and see what you can create?
Why Should You Make a Leather Journal?
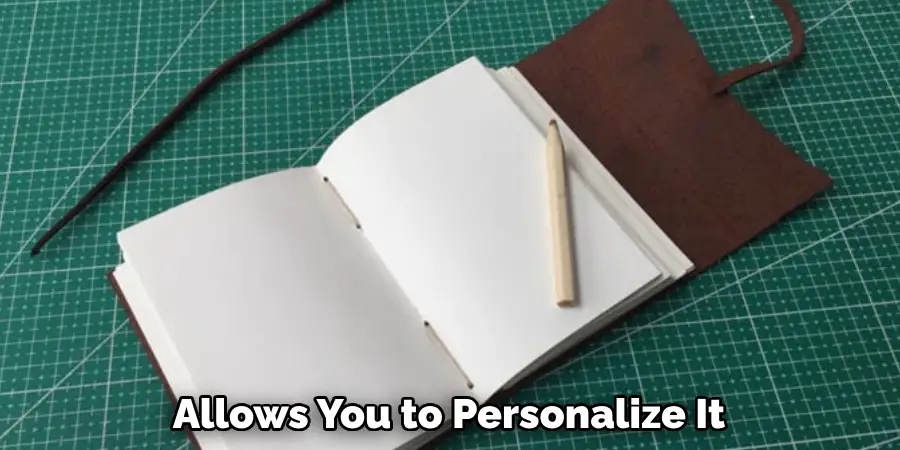
There’s something special about putting pen to paper. In today’s digital age, the art of journaling may seem like a thing of the past, but there’s no denying its positive impact on our mental health. And what better way to capture your thoughts and memories than in a handcrafted leather journal? Making your own journal allows you to personalize it to your exact liking and gives you a sense of accomplishment and satisfaction. Plus, it’s a great way to step away from screens and disconnect from the world for a little while. So why not give it a try and create a unique keepsake that you’ll cherish for years to come?
The Ultimate Guide on How to Make a Leather Journal
Step One: Choose Your Materials
First, you’ll need to gather all your materials. You’ll need a sheet of leather that’s at least twice the size of your journal, a pair of sharp scissors, a needle and thread (preferably waxed), a leather punch, and either a bone folder or a folding tool. You’ll also need to decide on the size and shape of your journal. Most journals are rectangular, but you can experiment with different shapes if you want.
Step Two: Cut the Leather
Next, cut the leather to the desired size and shape. Remember to add extra space for folds and seams. If you’re making a rectangular journal, fold the leather in half and cut it along the fold. This will give you two identical pieces that you’ll use as the front and back covers.
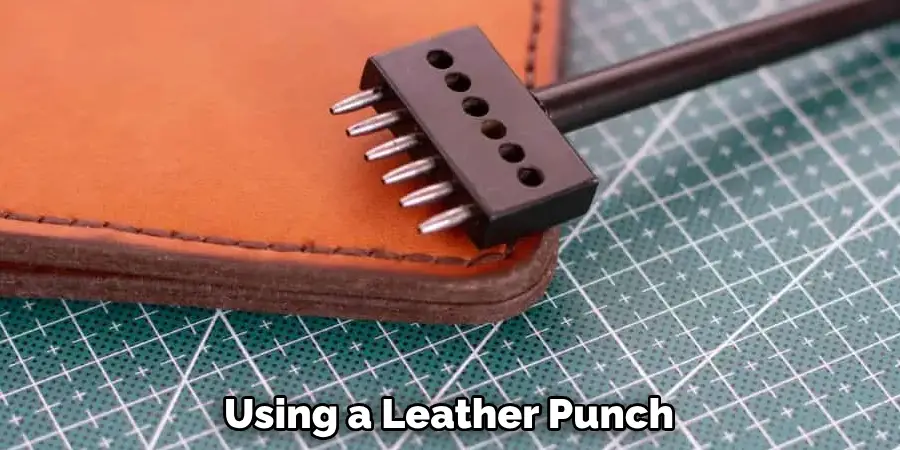
Step Three: Punch the Holes
Using a leather punch, punch holes along the edge of each cover. The holes should be evenly spaced and about ¼ inch from the edge. Make sure the holes on both pieces of leather line up perfectly. If you’re adding a tie or a pen holder to your journal, punch the corresponding holes in the appropriate spots.
Step Four: Sew the Covers Together
Now it’s time to sew the front and back covers together. Thread a needle with waxed thread and knot the end. Starting from the inside of the journal, insert the needle into the first hole, leaving a 3-inch tail of thread. Pull the thread through, leaving a small loop. Pass the needle through the loop and pull tight.
This creates a knot that will hold the thread in place. Continue this process, going in and out of each hole until you reach the end. Tie a knot and trim the excess thread. If you added a tie or pen holder, thread it through the corresponding holes and tie a knot.
Step Five: Create Your Pages
Next, it’s time to create the pages. You can use blank paper, lined paper, or even graph paper. Cut the paper to the desired size and fold it in half. Insert the folded pages into the journal and use a bone folder or folding tool to make sure they’re snug against the spine. If you want to add a pocket to your journal, cut a piece of paper or thin cardboard to size, fold it in half, and glue it to the back cover.
Step Six: Attach the Spine
Now, attach the spine. Measure and cut a piece of leather that’s long enough to fit your journal’s spine. Then, sew it onto the inside of the journal using waxed thread. Start at one end, going in and out of each hole as before. When you reach the other end, tie a knot and trim the excess thread.
Step Seven: Add Finishing Touches
Finally, add the finishing touches. If you want to emboss your journal, use a leather stamp and hammer to create an impression in the leather. You can also paint or dye the cover for a unique look. When you’re finished, enjoy your handmade journal!
That’s it! You’ve now learned how to make a leather journal. With these seven easy steps and some creativity, you can create beautiful journals that will last for years.
5 Considerations Things When You Need to Make a Leather Journal
1. Decide the Purpose of the Journal
The first thing you need to do is decide what the journal will be used for. Will it be a daily diary? A travel journal? A place to jot down ideas? Once you know the purpose, you can choose a journal with the right size and the features you need. For example, if you are going to be using it for sketches, you will want a journal with blank pages.
2. Choose the Right Material
Leather journals come in a variety of materials, including full-grain leather, top-grain leather, and bonded leather. Full-grain leather is the strongest and most durable option, while bonded leather is the weakest and least expensive. If you want a journal that will last for years, choose one made from full-grain leather.
3. Consider the Size
Leather journals come in a variety of sizes, from small pocket journals to large A4 journals. Choose a size that is comfortable for you to carry with you, and that has enough pages for your needs. If you are unsure, opt for a larger size, as it can always be trimmed down if necessary.

4. Pick a Color
Leather journals come in many different colors, so take some time to choose one that you like. You may also want to consider getting a journal with multiple colors so that you can use it for different purposes. For example, one color could be used for work notes and another for personal thoughts.
5. Select the Right Binding
There are two main types of bindings for leather journals: stitched and glued. Stitched bindings are stronger and more durable, while glued bindings are less expensive but not as long-lasting. If you want a journal that will last for years, choose one with a stitched binding.
Benefits of Making a Leather Journal
Creating your own leather journal can be an incredibly rewarding experience, providing you with a beautiful end product and a sense of fulfillment. Aside from the satisfaction of having a journal to fill with your thoughts and ideas, crafting a leather-bound book can also offer many other benefits.
For one, it serves as a creative outlet, giving you total control over the design and feel of your journal. Additionally, making a leather journal can be a meditative and calming activity, allowing you to disconnect from the hustle and bustle of daily life and focus on the task at hand. Whether you’re a seasoned DIY-er or a first-time crafter, delving into the world of leather journal making is an opportunity worth exploring.
Some Common Mistakes People Make When Trying to Make a Leather Journal
Making your own leather journal can be a fun and rewarding experience, but avoiding common mistakes is important. The first mistake people often make is choosing the wrong type of leather. If the leather is too thin or too soft, it won’t hold up well over time. Another mistake is not measuring the cover accurately, resulting in a too-small or too-big journal. And finally, not using the right tools for the job can make the process much more difficult than it needs to be. By avoiding these common mistakes, you can ensure that your handmade leather journal will be a treasured item for years to come.
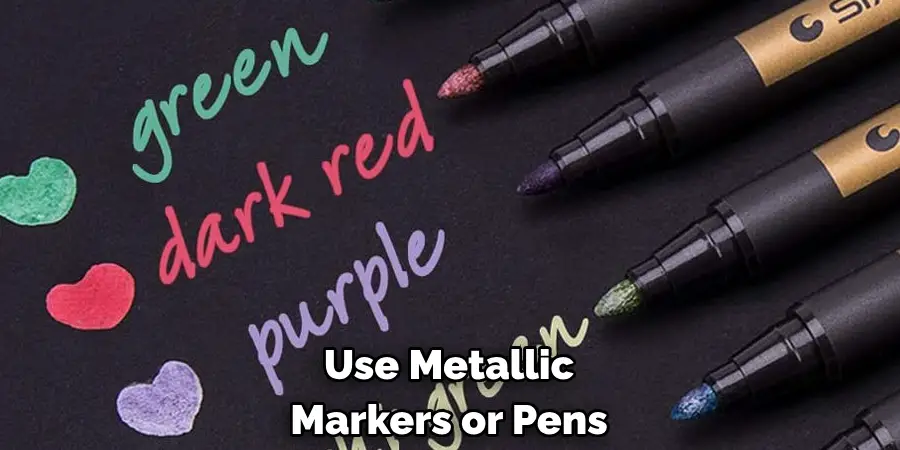
How Can I Decorate My Leather Journal Once It’s Complete?
After completing your leather journal, you may wonder how to decorate it to make it uniquely yours. One option is to use metallic markers or pens to add designs or writing onto the cover. You may also consider adding a piece of decorative paper or fabric to the cover for a more colorful touch.
Another option is to attach charms or trinkets to the spine or cover using ribbon or string. If you’re feeling particularly crafty, you can even create a leather cover for your journal and carve or stamp designs into the leather. Whatever route you choose, decorating your leather journal can add a personal and artistic touch to your writing experience.
Conclusion
Making your own leather journal is a fun and rewarding project. Not only will you have a gorgeous and unique journal to use, but you’ll also have the satisfaction of knowing you made it yourself. Experiment with different sizes and shapes, add pockets and ties or customize it in any way you like. You never know – this might be just the beginning of your leather crafting journey! Thanks for reading our post about how to make a leather journal.