Having completed our guide on how to make leather gloves, we hope that you are feeling confident in your ability to craft these homemade accessories. If you followed the instructions carefully and took special care in choosing materials of good quality, you should now know how to make a pair of leather gloves.
With plenty of tools and supplies available online, there is no limit to the ways you can customize your gloves and make them unique while still maintaining their sturdiness and durability. We hope this information has been helpful and that as long as you take special care throughout the process, success will be within reach. Enjoy making beautiful leather gloves, and don’t forget to share your final project in the comments below – we’d love to see what you’ve created!

The Allure of Handmade Leather Gloves
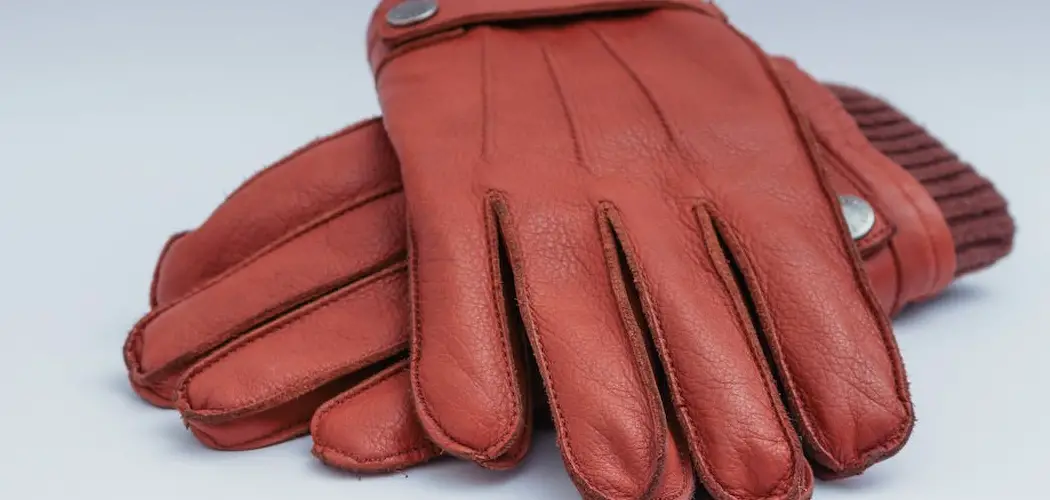
Handmade leather gloves are an enduring fashion statement that never go out of style. Whether you’re looking for a luxurious winter accessory or an elegant evening look, they can add the perfect finishing touch to any ensemble. With their timeless beauty and unparalleled craftsmanship, handmade leather gloves offer a unique combination of comfort and sophistication.
Not only do they look great, but they also provide superior protection in cold weather and offer a comfortable fit that can last for years. For those looking to make their own gloves, the process can be surprisingly simple with the proper materials and tools. Just follow these easy steps, and you’ll have your own custom-fitted leather gloves in no time!
First, you will need to choose the type of leather you would like to use. Leather comes in many different styles, colors, weights, thicknesses, and textures, which can all affect the final product. Selecting quality hides is vital as any imperfections, such as wrinkles or blemishes, will become more noticeable once sewn together. It is important to check the manufacturer’s instructions before purchasing, as some leather may require special treatment prior to use.
Benefits of Creating Your Own Gloves
Making your own gloves provides you with the opportunity to customize it according to your style and preferences. You can choose the type of leather, color, design, and fit that best suits your needs. Furthermore, you can also create a durable and long-lasting product with quality craftsmanship.
Another benefit to creating your own gloves is the savings in cost. Off-the-shelf leather gloves can be pricey depending on their design and the material used. By making them yourself, you can save money by investing in more affordable materials without sacrificing quality.

Finally, creating your own gloves allows you to develop skills such as sewing and cutting patterns that will further enhance your creativity when working with leather products. With enough practice, you may even advance to making other leather items like wallets or bags. Not only are these projects satisfying, but the skills acquired will last a lifetime!
Finally, making your own gloves provides numerous benefits and advantages that are difficult to replicate with pre-made items. You get to customize the look of the glove, save money on materials, and gain valuable skills in leatherworking. If you’re up for a challenge, why not give it a try? Who knows – you may just end up with a beautiful, one-of-a-kind masterpiece!
10 Methods How to Make Leather Gloves
Method 1: Gathering Materials and Tools
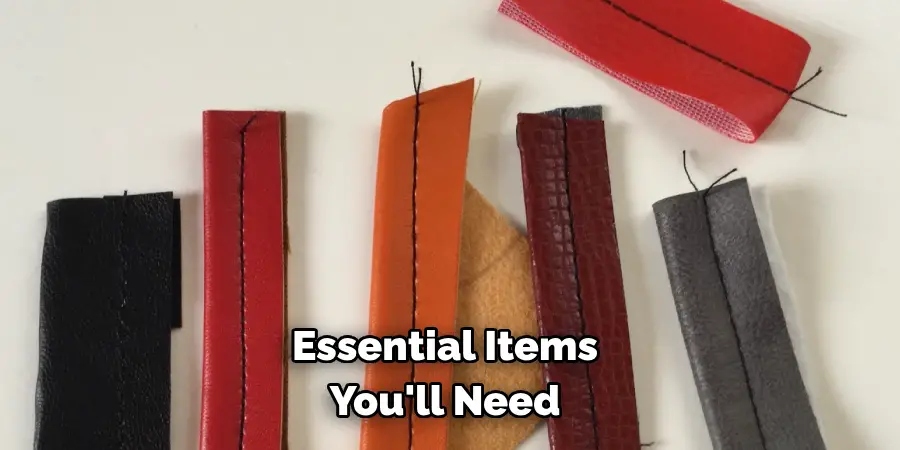
To begin making leather gloves, gather all the necessary materials and tools. This method will outline the essential items you’ll need, including leather, lining material, thread, needles, scissors, leather punch or awl, and leatherworking tools like a skiving knife and edge beveler.
Before you begin, consider the thickness of the leather. Thicker leather will provide more protection and last longer than thinner leather, so make sure you select the appropriate material for the type of gloves you want to make.
Method 2: Choosing the Right Leather
Selecting the appropriate leather is crucial for making durable and comfortable gloves. This method will guide you through different types of leather suitable for gloves, considering factors such as thickness, flexibility, and grain. You’ll learn how to choose the leather that suits your intended use and desired style.
The two main types of leather used for gloves are full-grain and split-grain. Full-grain leather is the top layer of cowhide, making it the strongest and most durable leather. It often has visible imperfections that give it a unique look. Split-grain leather is the
Method 3: Designing the Glove Pattern
Before cutting the leather, it’s important to design the pattern for your gloves. This method will teach you how to measure your hand, draft a glove pattern on paper, and make necessary adjustments to ensure a precise and comfortable fit.
You’ll consider elements like finger length, thumb gussets, and ease allowances. Although there are many factors to consider, by following this method closely, you’ll create a glove pattern that fits your hands perfectly.
Method 4: Cutting the Leather
Once you have your glove pattern ready, it’s time to cut the leather pieces. This method will explain how to transfer the pattern onto the leather, ensuring proper grain alignment, and use sharp scissors or a rotary cutter to cut out the glove pieces accurately.
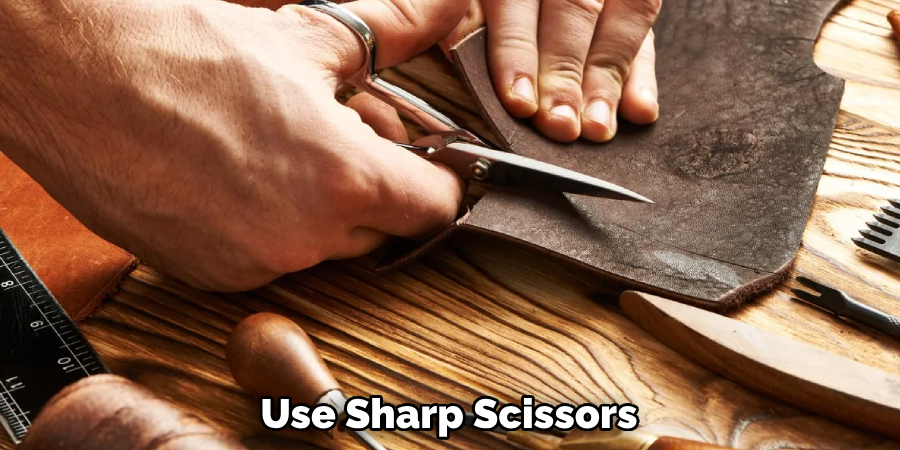
Start by laying the leather hide out flat on a work surface or cutting board. Place the glove pattern pieces, making sure that they line up properly and are centered on the hide. Trace around each pattern piece, using a pencil or chalk to make sure you’ve marked all of the pieces accurately.
Method 5: Skiving and Edge Finishing
To create smooth and comfortable glove seams, skiving and edge finishing are essential. This method will demonstrate how to thin down the leather edges using a skiving knife, trim excess bulk, and use an edge beveler to round the edges for a neat finish. Once you have completed the skiving and edge finishing, your gloves will be ready for stitching.
Begin by positioning the leather in a flat work surface. Use a skiving knife to thin down and shape the leather edges. Skiving is a process of removing layers from leather to create an even surface. Use short, light strokes to shave off layers of the leather.
Method 6: Stitching the Glove Pieces
Stitching leather gloves requires precision and attention to detail. This method will cover stitching techniques such as saddle stitching, glover’s stitching, or machine stitching, depending on your skill level and available equipment. You’ll learn how to join the glove pieces together securely, starting with the fingers and moving on to the palm and back sections.
Method 7: Adding Thumb Gussets
Thumb gussets improve the range of motion and fit of the glove. This method will guide you through the process of adding thumb gussets to the glove pattern, cutting and stitching them to the appropriate areas, and ensuring a comfortable and flexible thumb movement.
Method 8: Creating the Glove Lining
A lining adds comfort and warmth to leather gloves. This method will explain how to create a glove lining using a suitable material such as silk, cashmere, or microfiber. You’ll learn how to cut and stitch the lining pieces, leaving room for the fingers, and attach them to the leather glove. Try to choose a fabric that is similar in weight to the leather. Make sure the fabric is pre-washed to avoid shrinkage later.
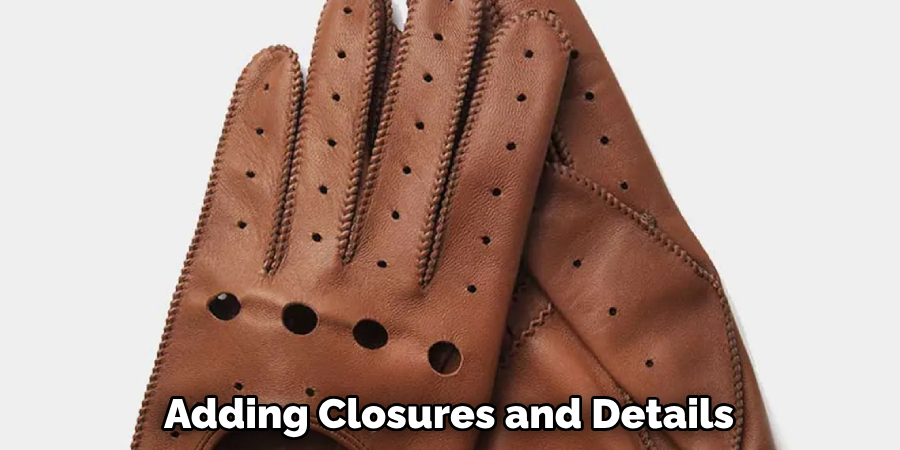
Method 9: Adding Closures and Details
Closures and decorative details enhance the functionality and aesthetics of leather gloves. This method will cover options like buttons, snaps, buckles, or straps and guide you through the process of attaching them securely to the gloves.
Additionally, you’ll explore opportunities to add decorative stitching, embossing, or contrasting leather accents. Although it can be an intimidating prospect, you’ll find that the process of adding details is simpler than it looks and can create a truly unique end product.
Method 10: Finishing and Conditioning the Gloves
Once the gloves are assembled, it’s important to finish and condition them for a polished and long-lasting result. This method will explain how to trim any loose threads, use leather finish or dye to enhance the color and appearance, and apply a leather conditioner to keep the gloves soft, supple, and protected. Make sure to wear gloves when handling the leather to avoid staining it with oils from your hands.
Conclusion
Leather gloves can make a great addition to any wardrobe, and they’re a great gift idea as well. With your newfound knowledge of how to make leather gloves, you can now create some of your own! Sure, it might take some time and patience at first, but with practice and dedication, you’ll soon become an expert stitcher.
Don’t be afraid to experiment with different types of leathers and designs; that way you can design something unique that fits your style perfectly. Of course, remember to treat the leather using proper techniques so that the gloves remain strong and durable for years to come.
Take pride in wearing something that you made all by yourself – putting quality materials into your project will certainly reflect in the end result. So don’t hesitate any longer; get ready to stroke those hides and start stitching up some fantastic leather gloves on your own! Good luck!