Making a leather mask is an exciting and creative way to express yourself. It’s also an engaging craft that can provide hours of fun while simultaneously resulting in beautiful, unique art pieces.

Not only does the process allow for great creative expression, but it also allows you to create something practical and valuable for future use or decoration. With just a few basic materials – such as leather, which comes in many forms – plus some tools like needles and thread, making your own mask at home is easier than ever before!
In this blog post, we’ll take a look at the step-by-step instructions on how to make a leather mask and the different materials needed to complete this project. We’ll also discuss some tips and tricks to make sure your mask turns out perfectly!
Tools and Materials You Will Need to Make a Leather Mask
- Leather
- Needles and Thread
- Scissors
- Glue and/or Adhesives
- Beads, Rhinestones, or other Decorative Materials (Optional)
- Template (Optional)
- Mask Frame or Base (Optional)
Step-by-Step Guidelines on How to Make a Leather Mask
Step 1: Prepare the Leather for Cutting
Before you begin cutting, make sure to inspect the leather and determine how it will be used in your mask. You may want to trace a template onto the leather with a pen or marker before beginning.
If you would like to use beads, rhinestones, or other decorative materials on the mask, make sure to have them ready as well. Preparing the leather ahead of time will help to ensure that you create a quality mask.
Step 2: Cut Out the Leather Pieces
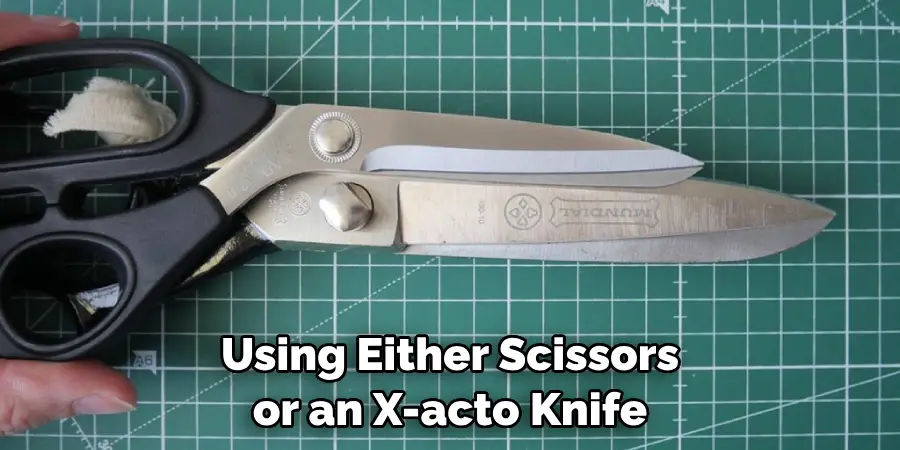
Using either scissors or an X-ACTO knife, cut out all the pieces needed for your mask. Make sure to follow any template lines that were drawn in Step 1 when cutting. This will make it easier to assemble the pieces later.
If you plan on adding any decorative elements, like beads or rhinestones, now is a good time to prepare them and attach them to the leather. Use glue or other adhesives to keep the elements in place.
Step 3: Begin Sewing the Pieces Together
Once all of the pieces are cut and any decorative elements have been attached, it’s time to begin sewing them together. Use needles and thread to stitch the pieces together along their edges. Make sure not to sew too tightly as the leather may stretch and distort over time. While stitching, you can also add any additional accents or decorations if desired.
Step 4: Assemble the Mask
Once all of the pieces have been sewn together, it’s time to begin assembling the mask. To do this, lay out the leather pieces on a flat surface and line up all of their edges.
If you’re using a mask frame or base, make sure to place this in the center of the leather pieces before attaching them together. Once everything is lined up and ready to go, use glue or other adhesives to attach all of the pieces together. Make sure to let the mask dry for several hours before wearing or displaying it.
And there you have it – a beautiful, unique leather mask made entirely by yourself! With just a few basic materials and tools, you can create something truly special that stands out from the crowd. Making your own leather mask is an incredibly rewarding experience and provides a great way to express yourself through art.
Additional Tips and Tricks to Make a Leather Mask
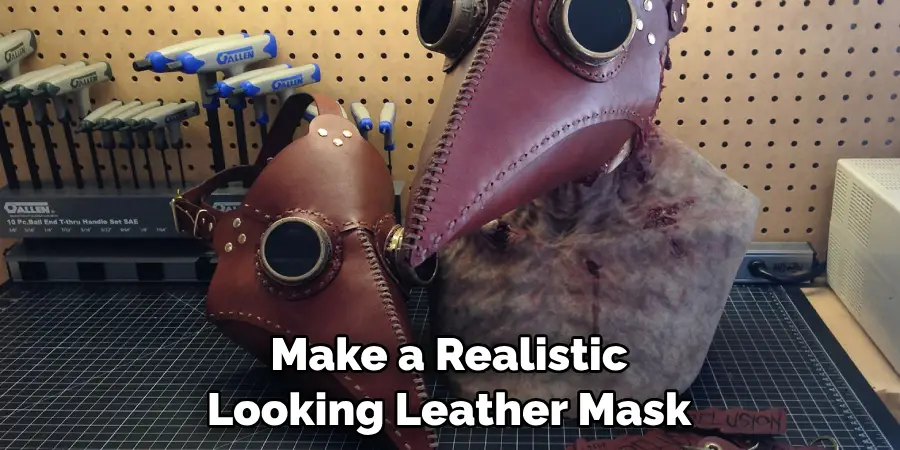
1. If you plan to make a realistic-looking leather mask, be sure to use an appropriate type of leather. Leather that is too stiff or thick could prevent the mask from fitting properly. Look for thinner leather material with some flexibility to it, such as deerskin or suede.
2. For added durability, line your leather mask with a thin layer of canvas, felt, or other sturdy material. This will also help to make the mask more comfortable to wear.
3. Use lightweight items to adorn the mask if desired. Beads, feathers, and ribbons can be glued onto the surface of the mask for an added decorative touch.
4. If you need to clean or repair your leather mask, do not use harsh cleaners or chemicals as they could damage the material. Use a gentle cleaner such as saddle soap and a soft cloth to wipe down the mask.
5. When not in use, store your leather mask in a cool dry place to preserve its shape and condition. Wrapping it in acid-free tissue paper or keeping it on a mannequin head are two good ways to do this.
Making your own leather mask can be an enjoyable and rewarding experience. With the right tools, materials, and techniques you can create a beautiful and unique piece of leather art that you will treasure for years to come. With a little practice and patience, you can easily make amazing-looking masks that will turn heads wherever you go. Have fun!
Things You Should Consider to Make a Leather Mask
1. Choose the type of leather you want to use for your mask. You can choose from full-grain, top-grain, or split leathers – each has its own benefits and drawbacks.
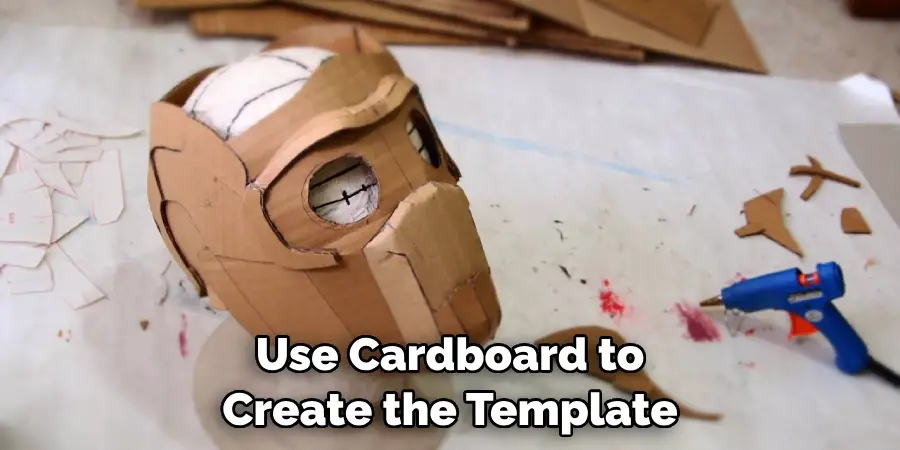
2. Cut out a pattern that will fit your face shape and size perfectly. Use cardboard to create the template as it is easy to mark, cut and shape.
3. Trace the template onto the leather using a ballpoint pen or mechanical pencil. Be sure to use a marker that is made specifically for leather so it won’t bleed through or damage the material.
4. Cut out your pattern with scissors and make sure you don’t cut too close to the edge. You can also use an X-Acto knife for more precise cutting.
5. Punch holes along the edges of your leather mask where you will be attaching ties or straps to fasten it around your head.
6. If you want to add other elements to your mask, like stones, feathers, or other decorations, do it now while the leather is still flat.
7. Use a leather sealant to protect your mask from moisture and water damage. This will also help the color last longer and make sure all of your designs remain intact over time.
8. Finally, attach ties or straps that will go around your head to secure your mask in place. You can use leather, suede, or other fabrics for this, depending on the look you want to achieve.
Making a leather mask is an exciting project that will leave you with a unique and beautiful item that you can wear for Halloween, costume parties, festivals, or any other special occasion. By following these steps, you can make a mask that is both comfortable and stylish. Enjoy!
Frequently Asked Questions
What Type of Leather is Best for Making Masks?
The best type of leather to use when making a mask is smooth, lightweight leather such as deerskin, calfskin, or lambskin. For an even lighter feel and drape, you can also use suede or split-grain (also known as top-grain) leather.
Do I Need to Sew the Leather When Making a Mask?
No, you don’t necessarily need to sew the leather when making a mask. You can use glues and adhesives specifically designed for working with leather to attach pieces together. Alternatively, you can also punch holes in the leather and use lacing to hold the pieces together.

What Tools Do I Need for Making a Leather Mask?
The tools you need for making a leather mask depend on the complexity of your design and how you plan to attach the pieces.
However, at minimum, you will need scissors and an exacto knife for cutting/trimming the leather; needles and thread or lacing for sewing/attaching the pieces; a tracing wheel, pencils, and paper for designing the pattern; and glues and adhesives specifically designed for working with leather. Additionally, you may need an awl to punch holes in the leather.
You might also want additional tools such as small smooth-jawed pliers, leather stamps, and paintbrushes for decorating your mask.
Can I Use Other Materials to Make a Leather Mask?
Yes, you can use other materials in combination with the leather when making a mask. For instance, you could add fabric, feathers, or beads as decorative elements around the edges of the mask.
You could also use foam or other padding to make the mask more comfortable against your face. Just be sure that any additional materials you use are not too heavy or bulky, as they can affect the shape and stability of the finished mask.
Conclusion
Knowing how to make a leather mask is a great skill to have. With the right type of leather, tools, and techniques, you can create a beautiful and unique mask that will be sure to turn heads.
Whether you want to add fabric, feathers, beads, or other materials for decoration, there are many different ways to personalize your design and make it completely your own. So don’t be afraid to get creative and have fun! With a little bit of effort, you can create something truly special.