
Do you want to add a touch of creative style to your wardrobe? If yes, then why not learn how to make leather cuff bracelets? These chic accessories are easy and fun to craft. Not only do they look great, but homemade leather cuffs make thoughtful gifts for friends and family; they’ll be sure to appreciate the effort that goes into these handmade treasures.
This blog post discusses everything from choosing suitable materials and tools to crafting beautiful custom-made leather cuff bracelets. So don’t delay – let’s get started on how to make leather cuff bracelets!
Tools and Materials You Will Need to Make Leather Cuff Bracelets
- Leather strips
- Small scissors
- Needle and thread
- Thread sealant
- Dye (optional)
- Beads, charms, or other embellishments (optional)
- Wooden dowel rods to hold the bracelet while you stitch it together.
Step-by-Step Guidelines on How to Make Leather Cuff Bracelets
Step 1: Choose the Leather Strips
Make sure to pick out strips that are thick enough to hold their shape when bent, but thin enough so they can be stitched together without difficulty. Cut two identical pieces of leather, measuring 3-4 inches long and 1-2 inches wide. It’s a good idea to make them slightly longer than you need so that you can trim them down to size.
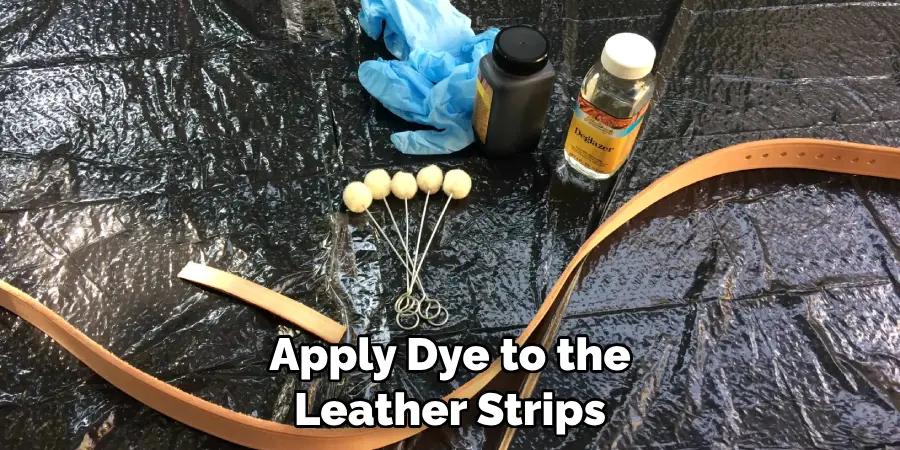
Step 2: Dye the Leather (optional)
If desired, apply dye to the leather strips using a foam brush or sponge. Make sure to wear gloves and work in a well-ventilated area when applying the dye. Use multiple coats of dye for an even finish, and allow the dye to dry completely before proceeding. If you dye your leather strips, apply a protective layer of sealant when you’re finished; this will help keep the color vibrant for years to come.
Step 3: Measure and Mark Your Leather Cuff Bracelet’s Length
Measure out 8-9 inches of leather, then mark it with a pen or pencil. This will be the length of your cuff bracelet. Measuring out the length beforehand allows you to make sure that your cuff bracelet is the right size. This step is especially important if you’re making a bracelet for someone else.
Step 4: Cut the Leather Strips to Size
Once you have your measurement, use small scissors to trim down the leather strips to size. Be sure to keep the cuts as straight and even as possible; this will help ensure that your cuff bracelet looks neat and professional when it’s finished. While cutting the leather strips, be sure to discard any frayed edges.
Step 5: Sew the Leather Strips Together
Thread a needle with thread and tie a knot at one end. Starting from one side of the cuff bracelet, use small stitches to sew the two pieces of leather together. Make sure to keep your stitches even; this will help ensure that the bracelet is strong and sturdy when finished.
Once you have finished sewing, tie another knot at the end of the thread to secure it in place; this will prevent the stitches from coming undone.
Step 6: Add Embellishments (optional)
Add some sparkle or texture to your leather cuff bracelet with beads, charms, or other embellishments if desired. Use thread to attach the adornments to the bracelet; this will help ensure that they stay in place.
Make sure to knot your thread tightly so that the decorations don’t come loose. If you’re using a wooden dowel rod to hold the bracelet while you sew, be sure to remove it once the embellishments have been attached.
Step 7: Seal the Leather Cuff Bracelet
Once you have finished sewing and adding any embellishments, use the thread sealant to lock everything in place. This will help prevent any fraying or unraveling of your leather cuff bracelet. Allow the sealant to dry completely before wearing or gifting it. Sealing your bracelet will also help protect it from the elements, ensuring that it lasts for years to come.

And there you have it! You’ve just created a gorgeous leather cuff bracelet. Whether you’re making one for yourself or as a gift for someone special, these homemade accessories are sure to add a touch of creative flair to any outfit. Enjoy wearing your gorgeous new leather cuff bracelet!
Additional Tips and Tricks to Make Leather Cuff Bracelets
1. When making a leather cuff bracelet, be sure to use the right type of leather for your project. Thick and firm leather is better for creating the structure of the cuff and thinner suede or lambskin is softer and more pliable, suitable for covering parts with intricate details.
2. To ensure that your leather cuff bracelet fits comfortably, measure the circumference of your wrist and determine the size of the band that you will need. Make sure to cut pieces of leather large enough to account for overlaps when sewing.
3. To add a unique touch to your leather cuff bracelet, consider adding buckles or snaps to it with rivets for a secure fit and closure.
4. To create a more rustic look, distressed leather can be used to make the cuff band. This type of leather has an intentionally worn appearance and adds character to your design.
5. When using different colors of leather for your project, it’s best to choose moderately contrasting shades that still work well together. Too much contrast can make the design look mismatched and unbalanced.
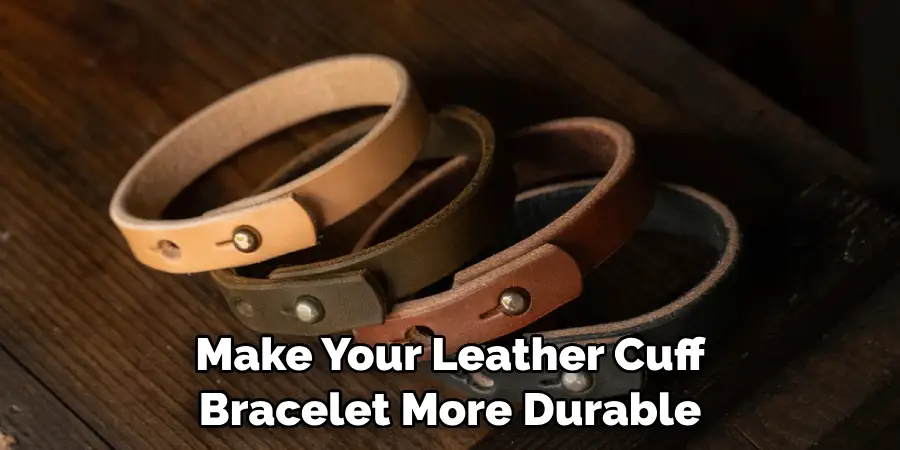
6. To make your leather cuff bracelet more durable, add a coat of sealant after it is finished. This will protect the leather from dirt and moisture while also enhancing its color and shine.
7. Be creative with your design! Incorporate decorative stitches, vintage buttons, or colorful jewels to make your leather cuff bracelet stand out.
With these tips and tricks in mind, you’ll be able to make a stylish and unique leather cuff bracelet that is sure to turn heads! Have fun with it and let your creativity shine!
Precautions Need to Follow for Making Leather Cuff Bracelets
1. Make sure to wear protective clothing and safety glasses while working with leather, scissors, glue, or other sharp tools. This will help prevent any potential injury.
2. Before starting your project, lay out all the necessary supplies in an organized fashion so that you have easy access to them during the course of the project.
3. Exercise caution when using glue, especially if it is not explicitly meant for leather. Make sure to check the instructions on the bottle before use in order to ensure that there are no potential hazards associated with its use.
4. Always make sure to measure twice and cut once – this will help you avoid any costly errors or wasted materials.
5. Use a ruler when cutting leather, as this will yield clean and precise results.
6. Make sure to use the correct tools for each step of the process – using the wrong tool could result in damage to the material.
7. Take your time with each step – rushing through any part of the project can result in a poor-quality finished product.
8. Allow proper drying time for the glue, leather dye, or sealant that you may be using on your project. Proper drying times will help ensure that the product looks its best and lasts longer.
With the following precautions in mind, you’ll be on your way to making beautiful and unique leather cuff bracelets! Have fun and enjoy the process. A little bit of patience and attention to detail will go a long way. Good luck!
Frequently Asked Questions
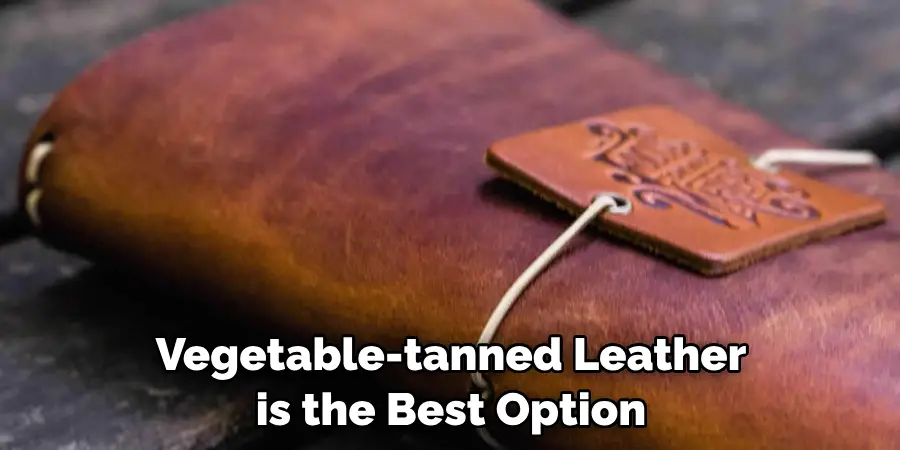
What Type of Leather Works Best for Making Bracelets?
Vegetable-tanned leather is the best option for creating a cuff bracelet. This type of leather is more durable and won’t fray or crack easily, plus its color can be changed using natural dyes. Other types of leather such as suede and nubuck may also work, but they will not be as strong or durable.
Can I Add Decorative Elements to My Bracelet?
Yes! Adding decorative elements such as rivets or snaps is a great way to add an extra touch of personality to your bracelet. You can also use paint or dye to bring out the design of the leather. Make sure to follow all safety precautions when working with dyes or paints.
Can I Make Multiple Bracelets with One Piece of Leather?
Yes, you can make multiple leather cuff bracelets from one piece of leather if you have the right tools and measurements. You will need to measure each bracelet carefully to get the desired size. You will also need to use an awl or punch to make holes for the rivets or snaps.
Conclusion
Now you have enough knowledge on how to make leather cuff bracelets. With the right leather, tools, and measurements, you can create beautiful and durable bracelets that are sure to turn heads. Have fun adding decorative elements or dyeing your bracelet for a unique look! Remember to always follow safety precautions when working with dyes or paints. Good luck!