
Are you searching for a fun and creative way to add a touch of Western flair to your wardrobe? Look no further. In this step-by-step guide, we will show you how to make cowboy chaps that will add an authentic Western flair and give you the courage to ride off into the sunset.
Cowboy chaps are a necessary element of a cowboy’s attire. They have been a part of Western culture for centuries and are still used today by cowboys and cowgirls. Western chaps protect the rider’s legs from brush, thorns, and weather elements. So, if you are considering attending a rodeo or performing in a western play, making your cowboy chaps is the perfect DIY project.
Can You Make Cowboy Chaps?
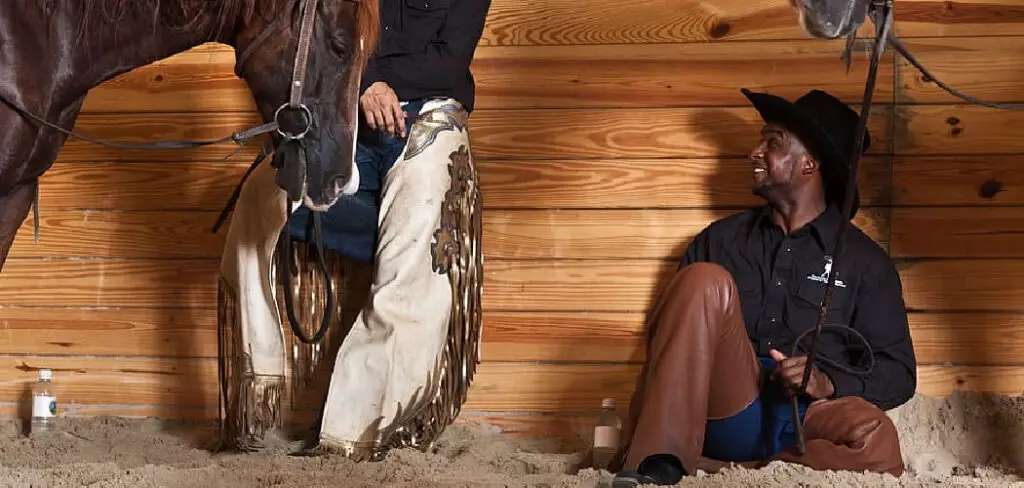
When you think of cowboys, a few iconic images probably come to mind – like the wide-brimmed hat, the boots with spurs, and the chaps. There’s something undeniably rugged and adventurous about those leather leg coverings with fringe that flaps in the wind as their wearer speeds off into the sunset.
So if you’re feeling a bit crafty and adventurous, you might be wondering – can you make cowboy chaps? The answer is yes, you can! With the right materials, sewing know-how, and patience, you can create a pair of chaps to make even John Wayne proud. So saddle up, partner, and let’s get started on this DIY project.
Why Should You Make Cowboy Chaps?
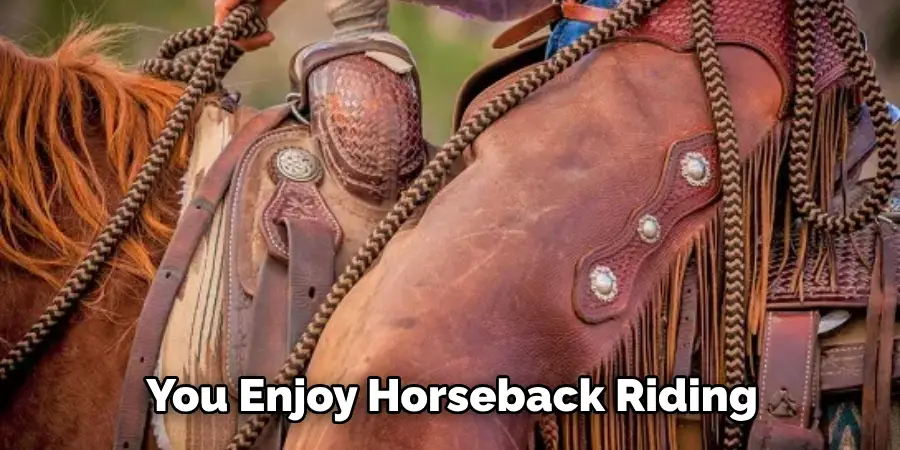
There’s something about cowboy chaps that embody the rugged spirit of the Wild West. While initially designed for protection, they have become a staple in Western fashion. Making your cowboy chaps is not only a fun project, but it can also be practical if you enjoy horseback riding or ranch work.
Plus, you can create a pair of unique chaps by customizing the design and adding your personal touches. Whether you’re a seasoned crafter or just starting, making cowboy chaps is an enjoyable and rewarding experience that will surely impress. So go ahead and channel your inner cowboy, and create a pair of chaps that will make you feel like you belong in the Wild West.
Materials Required
- Leather
- Measuring tape
- Marker Pen
- Utility Knife or Shears
- Leather Sewing Machine
- Rivets
- Buckles
Step-By-Step Guide on How to Make Cowboy Chaps
Step 1: Measuring and Cutting the Leather
The first step is accurately measuring your thighs, knees, and legs to ensure a perfect fit. Start by measuring from the top of the thigh to the ankle, then measure around the thickest part of the thigh. Add an extra inch for seam allowance. Cut two pieces of leather for each leg according to the measurements.
Step 2: Assembling the Chaps
Place the two leather pieces on each other and stitch them together. The stitching should be done along the outer edge and the bottom up to a few inches below the knee. After stitching, cut vent holes on the outer leg at the top and bottom of each leg to facilitate airflow.
Step 3: Adding Fringe
The next step is to add some western-style fringe to the bottom of the chaps. Using a marker pen, draw a guideline across the bottom of the chaps, then cut the leather into strips. Assemble the strips and attach them to the bottom of the chaps through rivets or stitching.
Step 4: Adding the Straps and Buckles
The last step is to add the straps and buckles for a secure fit and to keep the chaps in place while riding. Cut two pieces of leather for each leg of equal length and attach the belt buckles. Attach the straps to the back of the chaps, then connect the straps with buckles.
Step 5: Finishing Touches
The finishing touches involve adding leather edging and stitching up the inner leg seams. Cut leather pieces for the edging and attach them to the chaps with rivets or stitches. Finally, stitch up all the inner leg seams for that professional look.
Step 6: Testing it Out
Once you’ve finished making your chaps, it’s time to test them out. Adjust the straps and buckles, put them on, and ensure a snug fit. Wear them while riding or walking around to check for comfort and any necessary adjustments.
Step 7: Enjoy Your Cowboy Chaps!
Congratulations – you have now completed your very own pair of cowboy chaps! Enjoy the look and feel of your handiwork whenever you go riding or for any other occasion. Whether you’re a seasoned rider or just getting started, these chaps will bring a stylish touch to your Western wear!
For added protection against the elements, consider adding waxing oil to the leather before wearing or storing them. This will help keep them in great condition and looking their best for years!
5 Considerations Things When You Need to Make Cowboy Chaps
1. Leather Quality
When it comes to making cowboy chaps, the quality of the leather you use is of utmost importance. You want to make sure that the leather you choose is durable enough to withstand wear and tear but also soft enough to be comfortable for long rides on horseback. The leather should also have a nice finish that looks good and lasts for years.
2. Measurements
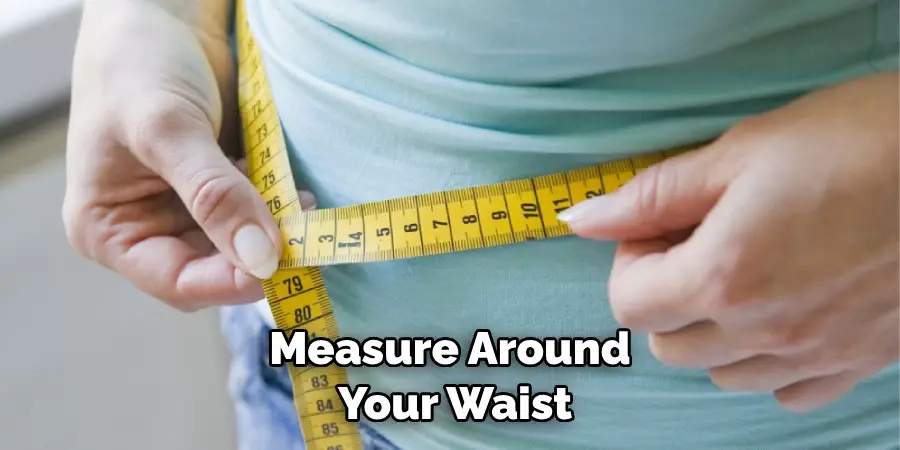
You’ll need to get accurate body measurements to ensure a proper fit when making cowboy chaps. Measure around your waist, hips, and thighs, as well as from your waist down to your ankles. This will help you determine how much material you’ll need for the chaps and allow you to create a pattern that fits correctly.
3. Design Details
The design details of your cowboy chaps can add a lot of character and style to your look. Consider adding fringe along the bottom hem or decorative stitching on the edges of the legs for an extra touch of style. You can also choose different colors or patterns for each leg if you want something more unique and eye-catching.
4. Hardware
When making cowboy chaps, it’s important to choose hardware that is made from high-quality materials such as brass or stainless steel so that it won’t rust over time or break easily during use. The hardware should also be easy to install and remove so that you can make adjustments if necessary.
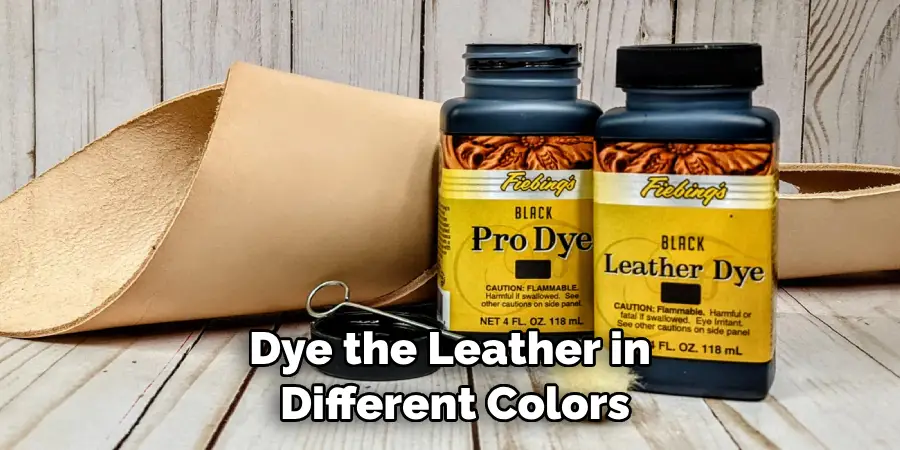
5. Finishing Touches
Once the pieces are put together, it’s time for some finishing touches! You may want to add rivets or conchos along the seams for an extra bit of detail or dye the leather in different colors if desired. You can also line the inside with fabric for comfort or add pockets for convenience while riding on horseback.
No matter how you choose to customize your cowboy chaps, remember that with the right materials and tools, you can create a look that is both stylish and comfortable!
Benefits of Making Cowboy Chaps
When it comes to ranching or any outdoor activity, having the right gear is key. A sturdy pair of chaps is an essential piece that any cowboy or cowgirl should have in their wardrobe. Not only do they provide an extra layer of protection for your legs while working with horses or cattle, but they also make a stylish statement.
Customizing and creating your chaps allows for a personal touch, with various options for materials, colors, and designs. Plus, making your cowboy chaps can be a satisfying and rewarding experience. So why not add a bit of flair to your work attire while ensuring your safety with a pair of homemade chaps?
Some Common Mistakes People Make When Trying to Make Cowboy Chaps
Cowboy chaps are a staple of Western fashion and can add a rugged touch to any outfit. However, when trying to make a pair from scratch, there are a few common mistakes that people often make. One of these mistakes is not measuring properly, which can result in chaps that are too short or too long.
Another mistake is not choosing the right materials, as certain fabrics may not hold up well or provide enough protection. Additionally, not paying attention to details such as the placement of the pockets or the stitching can make a big difference in the overall look and quality of the chaps.
By avoiding these mistakes and taking the time to properly plan and execute the making of cowboy chaps, anyone can successfully create a timeless piece of Western style.
Conclusion
Congratulations! You have just made your own cowboy chaps. Making cowboy chaps is a fun and creative project that can add a touch of western flair to your wardrobe. It is a worthwhile project, and once completed, you will feel proud to have crafted something that not only looks great but has practical use too.
So, saddle up, strap-on your cowboy chaps and get ready to ride off into the sunset. Thanks for reading our post about how to make cowboy chaps.