
Are you ready to learn how to tan a buffalo hide? This process can seem daunting, but with the right preparation and guidance, you can turn a tanned hide into a stunning piece of décor. Tanning hides have been done since before recorded history—it is recognized as an ancient art form. Transforming raw materials into something beautiful requires patience, precision, and know-how.
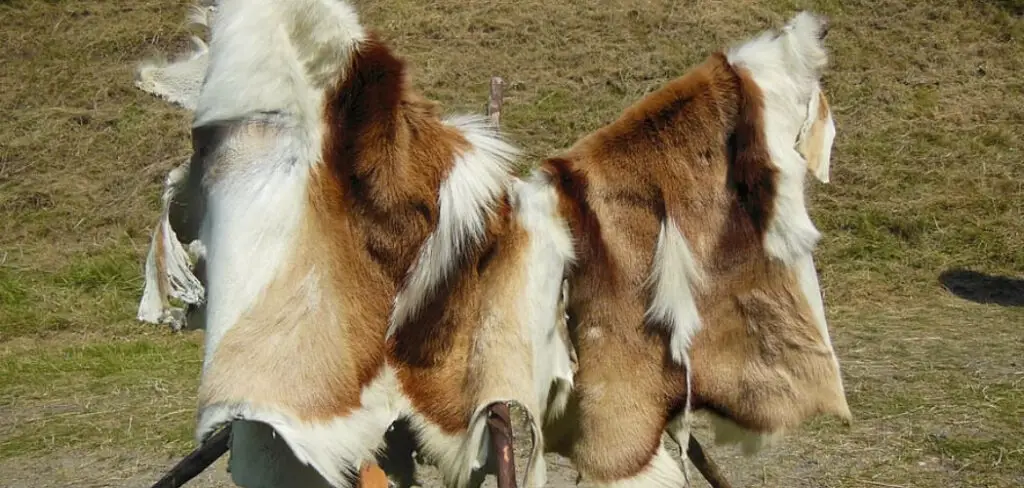
Whether you are tanning a buffalo, hide for use in a craft or wish to create something fashionable, the steps remain the same. Just follow this guide for the best results.
In this blog post, we’ll guide you through every step of the process, from preparing the hide all the way through finishing it! Ready for a journey down memory lane? Let’s go!
What Will You Need?
The list of items is simple. You’ll need:
- A fresh hide
- Tanning chemicals
- A sharp knife and scissors
- An area to work in
- Large wooden planks
- Tack board or hammer (for stretching)
- Stakes, clothespins, or other tools to hold the hide
Once you have all your supplies ready, you’re ready to begin!
10 Easy Steps on How to Tan a Buffalo Hide
Step 1: Clean the Hide
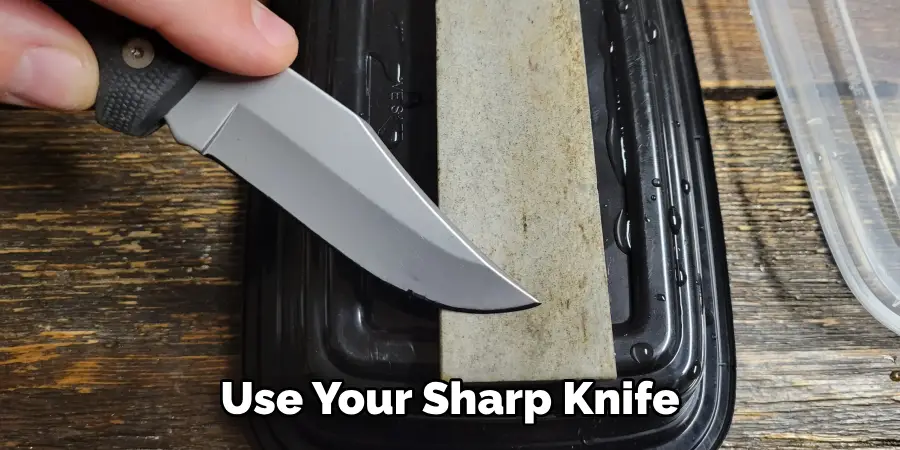
Start by carefully cleaning the hide. Lay it on a flat surface, like a large wooden plank, with the hair side down. Use your sharp knife to scrape off any remaining flesh and fat from the hide.
Be careful not to cut too deep, as this may damage the hide. This process, known as fleshing, is crucial to prevent rot and allow for better penetration of the tanning solution. Once you’ve thoroughly cleaned the hide, wash it with warm water and a bar of mild soap to remove any dirt. Rinse it well to ensure no soap residue is left behind.
Step 2: Soak the Hide
The next step in tanning a buffalo hide is soaking. After the hide is clean and dry, prepare a soaking solution by dissolving a generous amount of non-iodized salt in warm water. Submerge the hide in this solution for at least 24 hours. This soaking process rehydrates the hide, making it more pliable and easier to work within the following steps.
Step 3: Scrape the Hide
After soaking and draining, it’s time to scrape the hide again. This step is crucial in tanning as it removes the epidermis and hair from the hide. Lay the hide flat on your work surface with the hair side up. Using your sharp knife or a specialized scraping tool if you have one, carefully scrape the hair from the hide. Maintain consistent pressure and be careful not to cut into the hide.
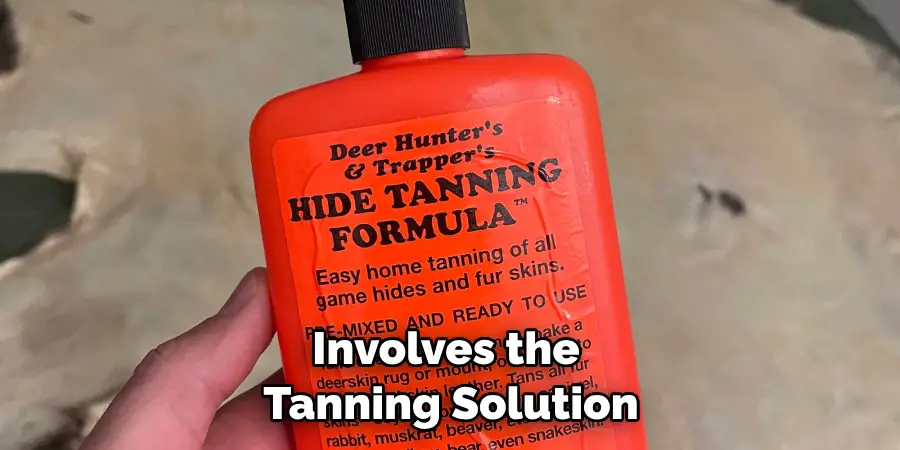
Step 4: Apply the Tanning Solution
The next step involves the tanning solution, critical in preserving the hide and preventing decomposition. Prepare your tanning solution by following the instructions on the package. Once ready, apply the solution evenly to the flesh side of the hide using a paintbrush.
Be generous with the application, ensuring the entire hide is well coated. After the initial application, let the hide absorb the solution for about 20 minutes, and then apply a second coat. Fold the hide in half with the flesh sides together and leave it for 24 hours to let the tanning solution penetrate the hide properly.
Step 5: Rinse and Neutralize the Hide
After the tanning solution has had ample time to penetrate, the hide should be thoroughly rinsed. This can be done by immersing the hide in a large tub of clean water. Gently agitate the hide in the water to remove any excess tanning solution.
After rinsing, the hide needs to be neutralized. This is done to stop the action of the tanning solution and prepare the hide for oiling. You can use a solution of baking soda and warm water for neutralization.
Step 6: Oil the Hide
At this stage, the hide needs to be oiled to restore its natural flexibility. You can use a commercial hide oil or a homemade mixture of 1 part raw linseed oil to 2 parts water. Warm the oil slightly before applying it to the hide, as heat helps the oil penetrate the hide more effectively.
Using a sponge or cloth, apply the oil evenly to the flesh side of the hide, ensuring every area is well covered. Once oiled, fold the hide in half (flesh sides together) and leave it in a cool, dry place overnight to allow the oil to soak in thoroughly.
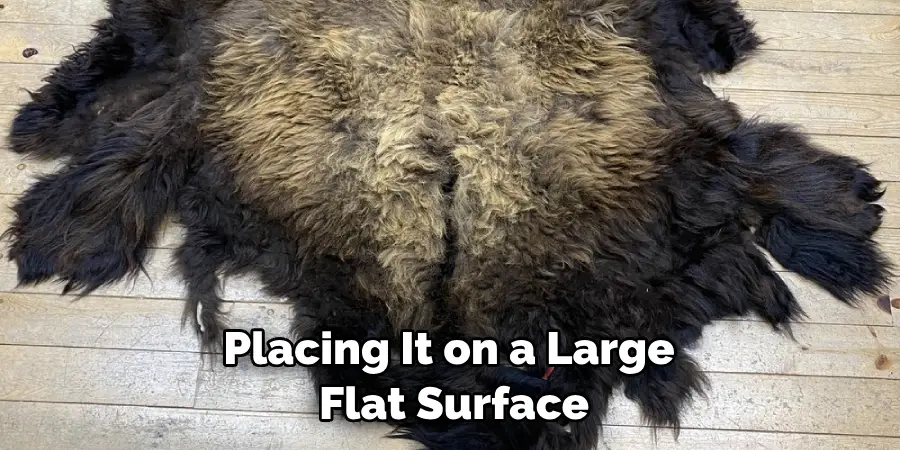
Step 7: Stretch the Hide
Once the hide has absorbed the oil, the next step in tanning a buffalo hide is to stretch it. This process helps to soften the hide further and ensures it dries flat and smooth. Begin by unfolding the hide and placing it on a large flat surface or stretching board with the flesh side up.
Using stakes or a tack board, stretch the hide out as much as possible, pinning it down at the edges. Stretching the hide evenly is crucial to avoid any wrinkles or distortions in the finished product.
Step 8: Soften the Hide
After the hide is dry, it will need to be softened. To do this, remove the hide from the stretching board and work it over a rounded edge, such as a wooden beam or pipe. The goal is to break up any stiff fibers left in the hide, making it as soft and flexible as possible.
Start from one end of the hide and work your way across, taking care not to tear the hide. This process can take several hours and is physically demanding, but patience and persistence are key here. Dampening the hide slightly to make this process easier. Continue working the hide until it is soft throughout.
Step 9: Smoke the Hide
The penultimate step in how to tan a buffalo hide involves smoking the hide. This helps to seal the oils into the hide and gives it a beautiful golden color. You’ll need an open flame and some wood chips or sawdust to smoke the hide.
Create a small, smoky fire and drape the hide over it, ensuring the smoke is getting into the flesh side of the hide. Allow the hide to smoke for a few hours, keeping a close eye on the process to avoid any damage from the flames.
Step 10: Finish the Hide
Now that your buffalo hide is tanned, finishing it is all left. Start by giving it a final brushing to remove any loose hair. Then you can trim rough edges to give it a nice, clean shape. Some people leave the hide as is for a more rustic look, while others may choose to dye or paint the hide for added visual interest.
If you choose to dye the hide, use a dye specifically made for hides to ensure it penetrates properly and gives an even color. Once the dye is dry, your buffalo hide is ready to use or display!
And there you go! You have just successfully tanned a buffalo hide. It’s a long and labor-intensive process, but the result is a beautiful, durable hide that you can be proud of.
5 Additional Tips and Tricks
- If you want a softer hide, use an alum brine to help produce more lanolin.
- Make sure to scrape off all the fat from the hide, preventing it from getting moldy or smelly during the tanning process.
- Once you’ve finished scraping and cleaning your buffalo hide, soak it in warm water for at least two days. This will help to soften the hide and make it more pliable.
- If you would like to create a darker color, consider adding walnut husks or bark from certain trees, such as oak or hickory, during the tanning process.
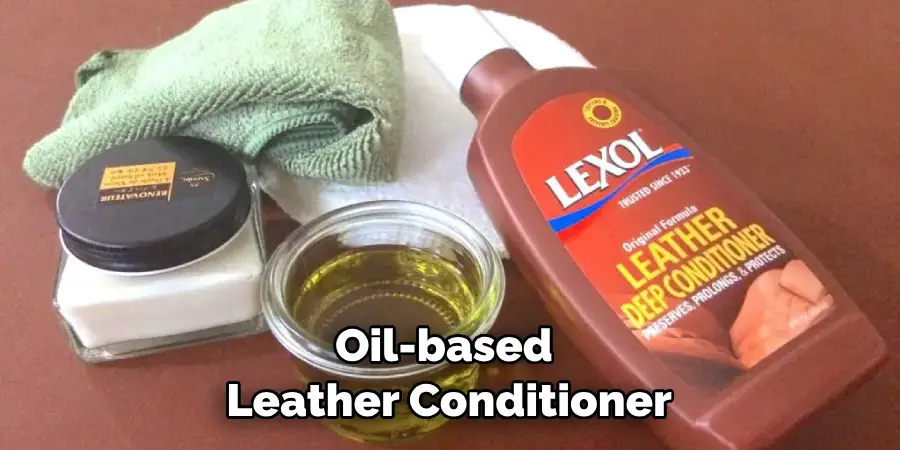
- Once your hide is tanned, use an oil-based leather conditioner to help keep it soft and supple.
This will also help to protect the hide from any cracks or tears that may occur over time. Enjoy your finished buffalo hide!
5 Things You Should Avoid
- Avoid using harsh chemicals like bleach or ammonia when cleaning the hide. These can damage the hide and make it more brittle.
- Do not allow your buffalo hide to dry out completely; this can cause shrinkage and cracking of the skin.
- Avoid tumbling or machine washing your hide as this may cause tearing or splitting of the leather.
- Do not use salts to tan your hide; this can lead to discoloration and stiffening of the skin.
- Avoid leaving your buffalo hide in direct sunlight or heat for extended periods, as this may cause fading and lightening of the color.
Once you’ve followed these tips, you should have a beautiful and long-lasting buffalo hide!
Conclusion
How to tan a buffalo hide is an enriching task. Not only have you produced a piece of art, but it’s also useful for historic preservation and traditional Native American craftsmanship. Not to mention you’ve learned quite the skill in the process!
Whether you keep your buffalo hide as a decorative item or use it to make something unique, it will surely turn some heads. If you ever feel like taking on this challenge, prepare for an amazing journey that not many people participate in today. Start with researching what is needed and follow any instructions thoroughly. Gauge what kind of condition your hide is in and carefully chart out the tanning plan.
With perseverance and patience, you’ll get through it! This ancient art form will bring pride and joy to your heart and even put a smile on the face of an ancient Native American crafter.