
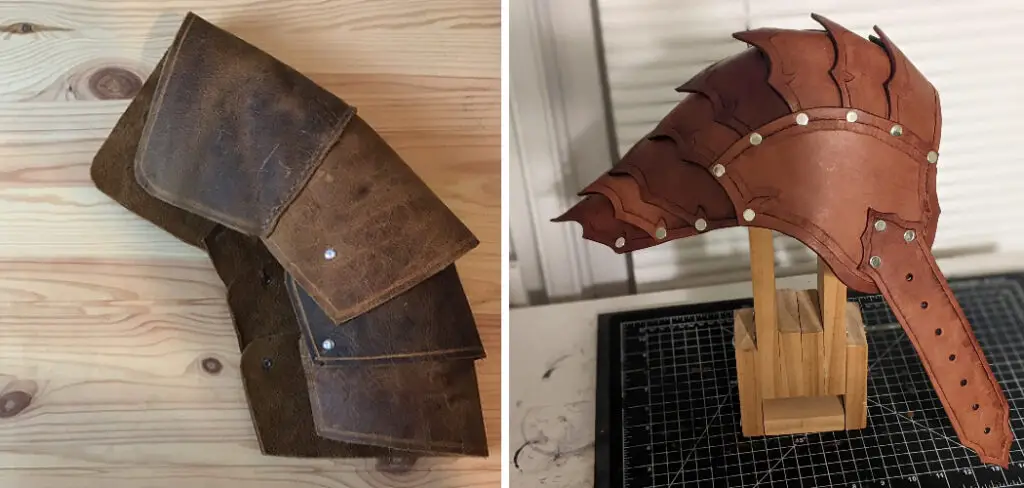
Whether it’s for Halloween or a cosplay event, creating a costume can be exciting. However, certain costumes require accessories that might not be easy to find in stores. The shoulder armor is one such accessory that can be challenging to buy, which is why we’re here to show you how to make shoulder armor. This DIY project requires few materials and is relatively easy to make, even if you’re a beginner. So, grab your tools, and let’s get started!
Can You Make Shoulder Armor?
Shoulder armor can be a fantastic addition to any costume or outfit. If you’re looking to make your own, several options are available. One creative approach is to use materials like foam and craft foam to build customizable pauldrons that fit your shoulders perfectly. Alternatively, you might consider crafting shoulder armor from materials like metal or leather if you want a more authentic or durable option.
Whatever route you choose, measure twice before cutting, and take your time with each step of the crafting process. With a little effort and creativity, you’ll be able to make shoulder armor that looks and feels like it was made just for you.
Why Should You Make Shoulder Armor?
The shoulder armor is often overlooked in cosplay and costuming, but it can add a level of detail and realism to your outfit that sets it apart from the rest. It can also be a fun and challenging project for crafters of all levels. Whether you’re making armor for a medieval knight costume or a futuristic sci-fi ensemble, shoulder armor is an essential piece to consider.
By creating and adding shoulder armor to your cosplay or costume, you’ll elevate your outfit to the next level and leave a lasting impression on your audience. So why not give it a try? Who knows, you might discover a new passion for armor crafting!
7 Steps to Follow on How to Make Shoulder Armor
Step 1: Materials You’ll Need
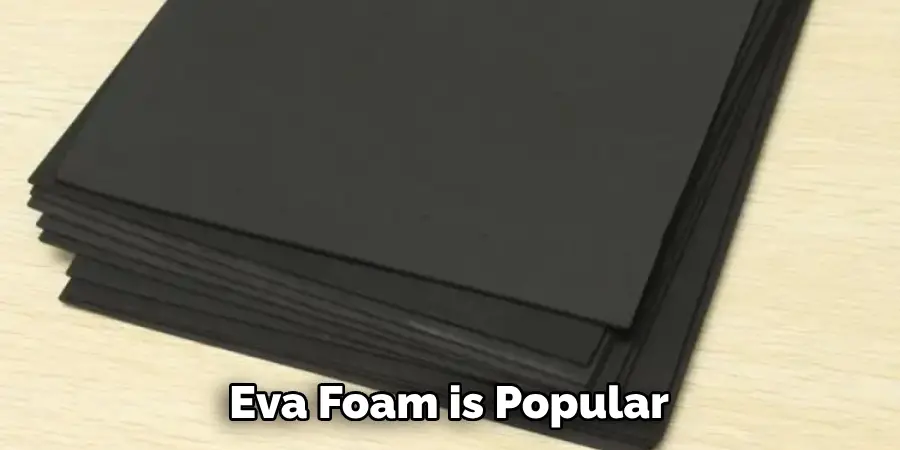
The materials you need depend on your chosen design. However, commonly used materials include EVA foam, a ruler, scissors, a heat gun, contact cement, and Velcro. EVA foam is popular because it’s easy to work with, lightweight, and affordable. Be sure to use the correct thickness of EVA foam based on your design. If you’re unsure, go a little thicker than you need, as you can thin it down later.
Step 2: Create a Template
Next, start by creating a template for the shoulder armor. You can opt for a ready template or make your own by measuring the size of your shoulder and the shape of the armor. Draw a rough sketch on paper first before transferring it to your EVA foam. Use a Sharpie to draw your design and a ruler to make straight lines.
Step 3: Cut and Shape the Foam
After drawing your design on the EVA foam, use scissors or a craft knife to cut the piece out. Next, shape the foam to your desired shape using a heat gun or a hairdryer. Heat the foam carefully, holding the heat gun at a reasonable distance from the foam to avoid melting it. Use your fingers or a tool to shape the foam.
Step 4: Cement and Attach
Once you’ve cut and shaped the foam, it’s time to attach it to your costume. Use contact cement to attach the armor to your shirt or costume. Apply it to the foam and the shirt, then let them dry for a few minutes until they’re tacky to the touch. Then, attach the foam to the shirt while pressing and holding it down for a secure attachment. Use Velcro to attach the armor if you’re making a pair.
Step 5: Embellishments
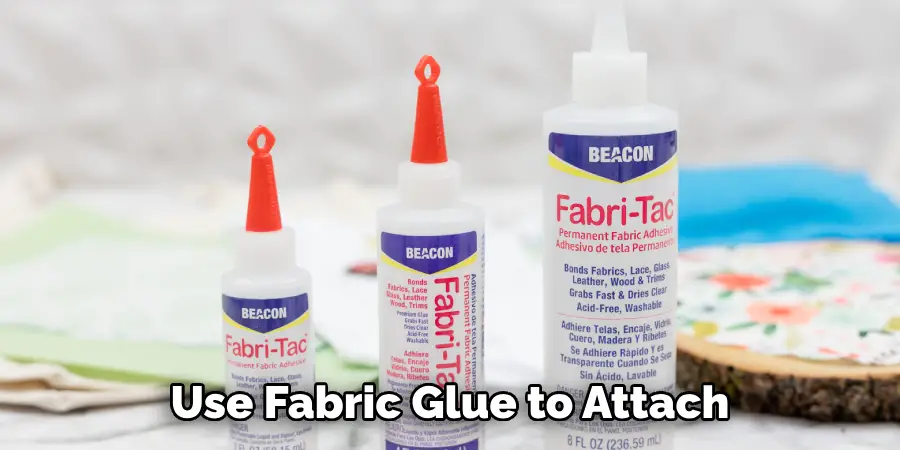
Now, it’s time to make your shoulder armor look more realistic. Add details like rivets and scales using leather or faux leather pieces. You can buy these at most craft stores, but you can also use fabric glue to attach other materials like plastic bits and charms for a unique look. After adding the embellishments, seal the foam with acrylic or fabric paint.
Step 6: Sand, Paint and Finish
Once you’ve added all your embellishments, sand down any rough edges to make it look more realistic. Then, use a primer like gesso before adding color. You can use spray paints for an even finish but use light coats in a well-ventilated area. Once dry, spray a clear sealer over the armor to protect it from wear and tear.
Step 7: Attaching Straps
Finally, attach straps to your shoulder armor for a secure fit. Use fabric glue or contact cement for this step. You can also opt for elastic bands if you prefer adjustable straps. And there you have it! You have now constructed your very own shoulder armor! Show them off to friends and family, and be proud of your hard work.
Now that you’ve created your armor, why not take it one step further? Consider adding lighting strips or LEDs for an even more realistic look. With just a few extra materials, you can create something truly unique and impressive! Have fun and be creative with your armor design!
5 Considerations Things When You Need to Make Shoulder Armor
1. Protection and Mobility
When it comes to shoulder armor, protection, and mobility are two of the most important considerations. Look for armor made from strong yet lightweight materials such as Kevlar or carbon fiber.
This will ensure that you remain safe while allowing you to move freely without being weighed down by heavy armor. Additionally, ensure that the armor covers all your vulnerable areas and has adjustable straps to fit comfortably.
2. Comfort
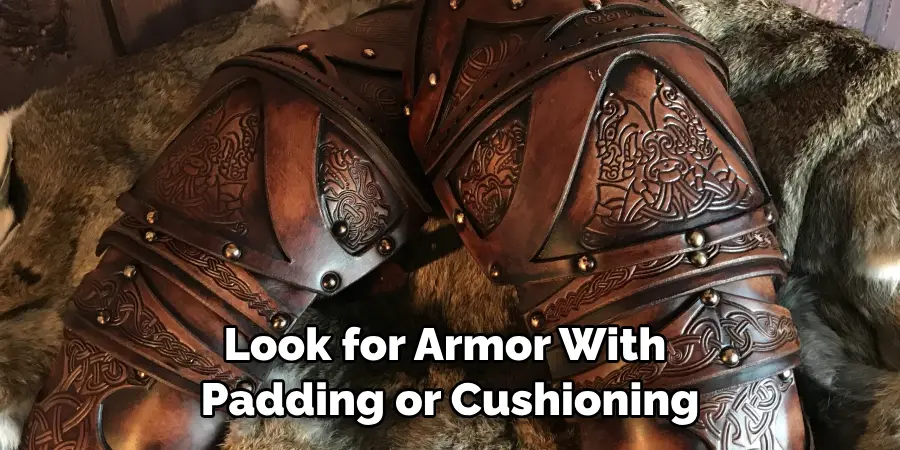
Comfort is also an important consideration when selecting shoulder armor. Ensure the material is breathable so you don’t get too hot or sweaty while wearing it. Additionally, look for armor with padding or cushioning in areas where the armor might rub against your skin, such as around the neck and shoulders. This will help ensure you remain comfortable even during extended periods of wear.
3. Durability
Durability is also an important factor when selecting shoulder armor. Look for pieces made from high-quality materials, such as stainless steel or titanium, which can withstand impacts better than other materials and won’t rust over time. Additionally, check reviews from other users to ensure that the piece you select is built to last.
4. Cost
Cost is another factor to consider when purchasing shoulder armor, as there can be a wide range of prices depending on the quality of the piece and its features. If cost concerns you, look for pieces made from more affordable materials, such as plastic or nylon, which still provide good protection but may not last as long as more expensive pieces made from metal or composite materials.
5. Style
Finally, style should also be considered when purchasing shoulder armor, as it can be used to express yourself and show off your personality while still protecting yourself in combat situations. Look for pieces with unique designs or colors or even ones with intricate detailing that can add flair to your outfit while providing adequate protection against attacks.
When it comes to finding the perfect shoulder armor, there are many things to consider, such as protection, mobility, comfort, durability, cost, and style. By considering all of these when making your selection, you can be sure to find the piece that is perfect for you. With the right shoulder armor, you can rest assured knowing that you are well-protected in any situation.

Benefits of Making Shoulder Armor
If you’re interested in cosplaying or want to create a unique piece to complement your outfit, making shoulder armor may be just your project. Shoulder armor can elevate a costume and add authenticity to your character’s look. Not only does it enhance the overall aesthetic, but it also protects against any accidental bumps or falls.
Creating shoulder armor can be a fun and rewarding experience, allowing you to flex your crafting skills and create something unique. Plus, you can customize it to your liking – adding spikes and studs or painting it in your favorite colors. So, whether you’re a seasoned crafter or just starting, making shoulder armor is worth considering!
Some Common Mistakes People Make When Trying to Make Shoulder Armor
When creating cosplay armor, shoulder armor is often a crucial element that can make or break your costume. However, creating perfect shoulder armor is easier said than done, and many people tend to make some common mistakes along the way.
For instance, some may skimp on the necessary measurements or materials, leading to poorly fitting or flimsy armor that falls apart or hinders mobility. Others may forget to properly reinforce the shoulder armor with padding or hard materials, causing discomfort or injury.
With some careful planning, research, and practice, however, you can avoid these mistakes and create amazing shoulder armor that looks incredible and is also comfortable to wear.
Conclusion
Shoulder armor can transform any costume. With these seven easy steps on how to make shoulder armor, you can now create an impressive and unique accessory to wear with your costume. Just remember to take your time, be careful, and have fun. Now, go ahead and create your unique shoulder armor!
