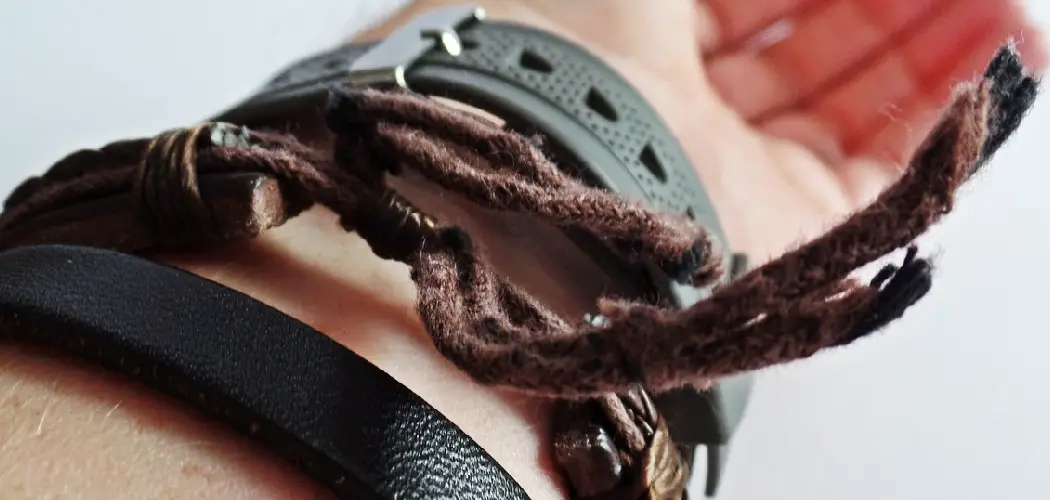
Leather bracelets are a beautiful fashion accessory, but if they don’t fit correctly they can distract from your outfit. Whether you purchased a bracelet that doesn’t quite fit or one that has simply stretched out over time, it’s possible to shrink most leather bracelets back to their original size. With the right tools and techniques, shrinking a leather bracelet is an easy task.
In this blog post, we’ll be exploring how to Shrink Leather Bracelet without any damage. You’ll learn what materials you need, how to measure for the perfect fit each time, and other essential tips that will have your leather jewelry looking just like new in no time!

Tools and Materials You Will Need to Shrink Leather Bracelet
- Leather bracelet
- Water
- Pot for boiling water
- Paperclip or safety pin
- Kitchen spatula or spoon
- Towel
- Pen/marker (optional)
Step-by-Step Guidelines on How to Shrink Leather Bracelet
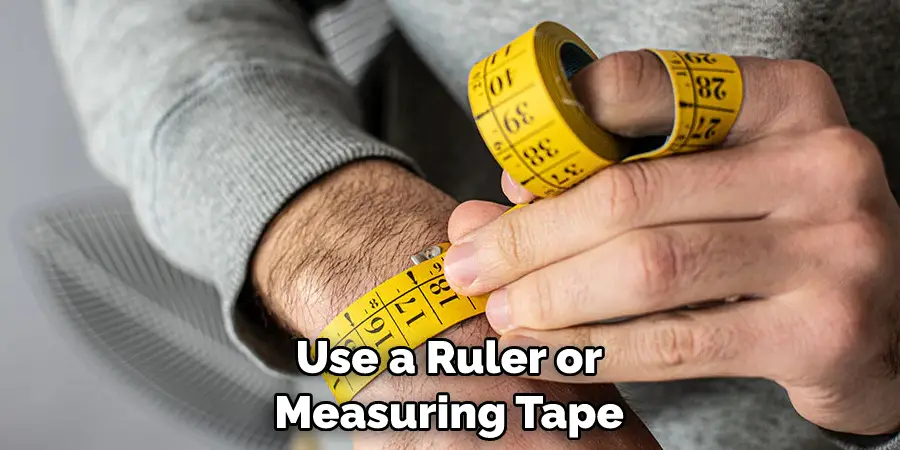
Step 1: Measure the Length of Your Leather Bracelet
Before you begin shrinking your leather bracelet, it’s important to measure its length. To do this, use a ruler or measuring tape and make sure to note down the measurement. This will help you determine how much shorter you need to shrink the bracelet in order for it to fit. Measuring will also help you assess the size of your bracelet accurately after shrinking.
Step 2: Boil Water in a Pot and Submerse Bracelet
Once you have measured the length of the bracelet, it’s time to boil some water in a pot or pan. When boiling is complete, use a kitchen spatula or spoon to carefully submerge the bracelet into the hot water. Make sure that the entire length of the bracelet is submerged in order for it to shrink evenly.
Step 3: Secure the Bracelet with a Paperclip or Safety Pin
Once your leather bracelet has been fully submerged in boiling water, it’s time to secure it with a paperclip or safety pin. This will help the bracelet maintain its shape while it shrinks. Secure the paperclip to a flat surface such as a countertop so that your bracelet doesn’t move around in the boiling water.
Step 4: Remove the Bracelet from Boiling Water and Towel Dry
When your bracelet has reached the desired length, it’s time to remove it from boiling water. Carefully lift the bracelet out of the pot using a kitchen spatula or spoon and place it on a towel to dry. Once the bracelet is completely dry, you can move on to the next step. Before going next step, you can also mark the length with a pen or marker so that you know when to stop shrinking.
Step 5: Mark Your Bracelet with Pen or Marker
Now that your bracelet has been shrunk to its desired size, it’s important to mark the end of the leather with a pen or marker. This will help you remember its new length and make sure that it stays at the same length after wearing. While marking, make sure to be precise and accurate so that your bracelet fits perfectly.
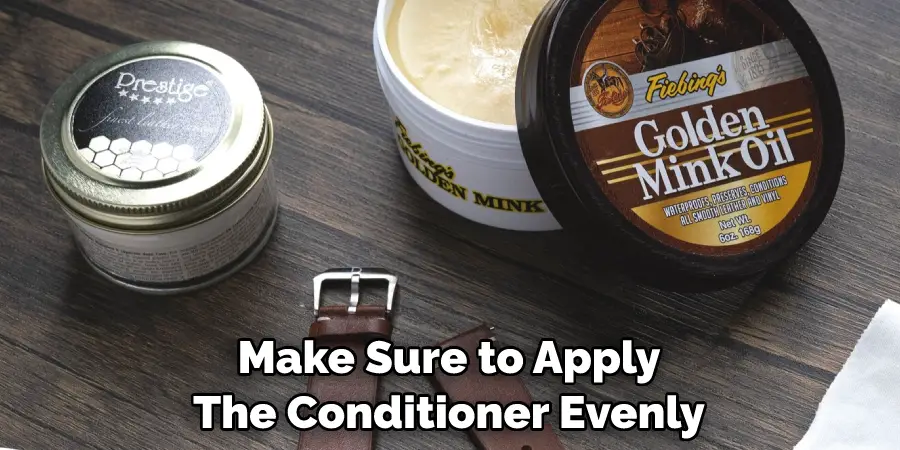
Step 6: Finish the Bracelet with Leather Conditioner
Once you have marked the length of your leather bracelet, it’s time to finish it off with a leather conditioner. This will help protect your bracelet from scratches and fading. Make sure to apply the conditioner evenly and let it dry before wearing your bracelet.
And there you have it, a step-by-step guide on how to shrink leather bracelets! With these guidelines, you can easily make sure that your leather jewelry fits perfectly every time. So what are you waiting for? Get out there and start shrinking those bracelets! Have fun!
Additional Tips and Tricks to Shrink Leather Bracelet
1. Make sure to use the right amount of water. Too much will result in a soggy leather bracelet, while too little won’t properly shrink the material.
2. When soaking your leather bracelet, use lukewarm water instead of hot or cold water. This will help prevent any damage from extreme temperatures and make it easier to stretch the leather after shrinking.
3. If you are shrinking a vintage or antique leather bracelet, make sure to use extra caution when soaking and drying the material. The age of the material may mean that it is more delicate and can be easily damaged in the process.
4. When stretching your leather bracelet, be sure to do it gently and slowly. This will ensure that the leather does not become overstretched or torn.
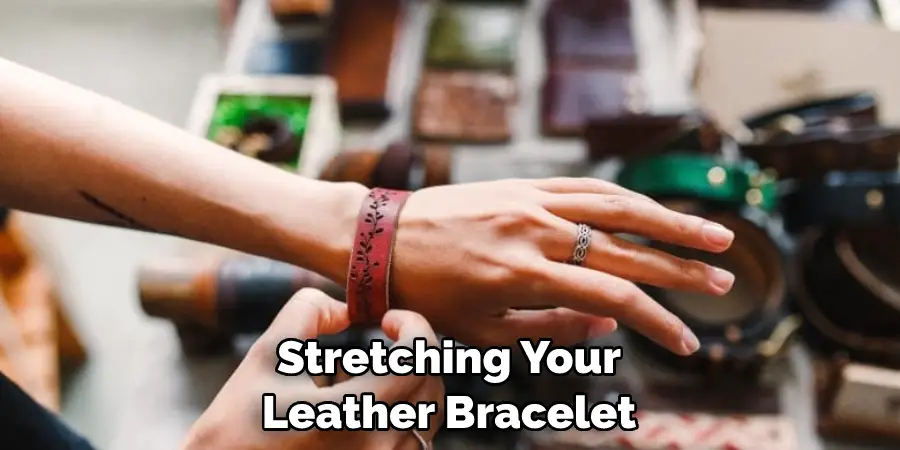
5. After stretching your leather bracelet, let it air-dry overnight before wearing it again. This will help keep its shape and prevent any damage from excessive moisture.
6. If you still find that your leather bracelet is too big, consider using a leather hole punch to make smaller holes that can help shrink the size of the bracelet.
7. If you are having trouble shrinking your leather bracelet, consider taking it to a professional who specializes in leatherworking. They may be able to provide you with more specific advice or recommendations for how to properly shrink your bracelet.
Following these simple tips and tricks will help ensure that your leather bracelets shrink properly and stay in good condition for years to come. With the right care, you’ll be able to enjoy your leather accessories for many years to come!
Things You Should Consider to Shrink Leather Bracelet
1. Always use a genuine leather bracelet for the best results when attempting to shrink one. Synthetic materials may not react well to the shrinking process and may be damaged in the process.
2. Use a heat source that is appropriate for leather, such as an iron or hair straightener on the lowest setting. Do not let the heat source get too hot or it may damage the leather.
3. Place a thin piece of fabric between the bracelet and the heat source to prevent it from being scorched during shrinking. The fabric should be lightweight enough to remain in place while you shrink the bracelet, but thick enough that it won’t burn easily.
4. Move the heat source in a circular motion around the bracelet to ensure that it shrinks evenly. It’s important to move quickly so as not to heat one area of the leather too much.
5. Test the bracelet with your fingers occasionally as you shrink it, and stop when it is close to the size you want. Leather will continue to shrink after it cools, so allow for a bit of additional shrinking when deciding how much to reduce the bracelet’s size.
6. Allow the leather to completely cool before attempting to wear it or make any further adjustments. This will ensure that the size remains consistent and that the bracelet does not shrink further.
By following these tips, you can successfully shrink a leather bracelet to the desired size. Remember to always exercise caution when working with heat and leather, as both can be damaged if handled improperly. With patience and care, you should have no trouble shrinking your leather bracelet!
Precautions Need to Follow for Shrinking Leather Bracelet
1. It is important to make sure that the leather band you are using to shrink can actually be shrunk. Some types of leather cannot handle heat or water and will not shrink properly. Check the material label on the leather before beginning the shrinking process.
2. Before shrinking your bracelet, test it first on a small piece of scrap leather or a scrap piece of fabric to ensure that it will shrink the way you want it to.
3. Wear protective eyewear and gloves when applying heat or other chemicals during the shrinking process as this can be dangerous.
4. If you are using a blow dryer, make sure you maintain some distance between the blow dryer and the leather so that it does not burn.
5. If you are applying any chemicals to shrink your bracelet, make sure they do not come in contact with skin, carpets, or furniture as some of them can be very corrosive.
6. Make sure you are working in a well-ventilated area when using any chemicals.
7. Take breaks in between shrinking sessions to allow the leather and any chemicals used to cool down, as this can help prevent damage caused by overheating.
8. After your bracelet is shrunk, be sure to condition it with a leather cleaner or oil so that it stays soft and flexible. This will also help protect it from any further damage.
Following these precautions will ensure that you can shrink your leather bracelet successfully and safely. With the right knowledge and care, you can make sure your bracelet looks great for years to come!
Conclusion
Knowing how to shrink leather bracelet is a great way to customize your jewelry. With a few simple steps, you can resize existing bracelets or create new ones from scratch. If you have leather scraps lying around, use them to create unique and stylish accessories that will last for years. Experiment with dying and stamping the leather to make it stand out even more. Above all, enjoy the creative process and have fun making your own personalized jewelry.
When you’re finished, the shrunken bracelet should fit perfectly and be as unique as you are! With a few simple steps, you can turn any piece of plain leather into something special that will draw attention wherever it goes. So grab some leather scraps and start creating something beautiful.