Molding leather is a process that can be used to create new shapes and designs for your leather projects. Several methods can be used, each with its own benefits and drawbacks. This blog post will show you how to mold leather using some simple tricks and techniques. With just a bit of effort, you can create gorgeous pieces that are uniquely your own. So let’s get started!

What Causes Molding?
There are a few different factors that can cause the leather to mold. The most common is humidity. When the air is humid, the leather can absorb moisture from the air and swell. This can cause the leather to change shape, warp, or even rot. Another common cause is heat. When leather gets too hot, it can dry out and become brittle. This can cause the leather to crack or break.
Additionally, certain chemicals can cause the leather to mold. These include cleaners, oils, and dyes. You can damage your leather by using the wrong products if you’re not careful. The other thing that can cause the leather to mold simply age.
As leather ages, it can become dry and brittle. This can cause it to crack and break down over time. Lastly, poor storage can cause the leather to mold. It can absorb moisture and swell if stored in a damp or humid environment. It can become brittle and crack if stored in a dry environment.
Why Its Important to Remove Mold
Mold can cause a lot of damage to the leather. It can make the leather crack, warp, or even rot. Additionally, it can make the leather absorb moisture and swell. If you don’t remove mold from your leather, it can cause irreparable damage.
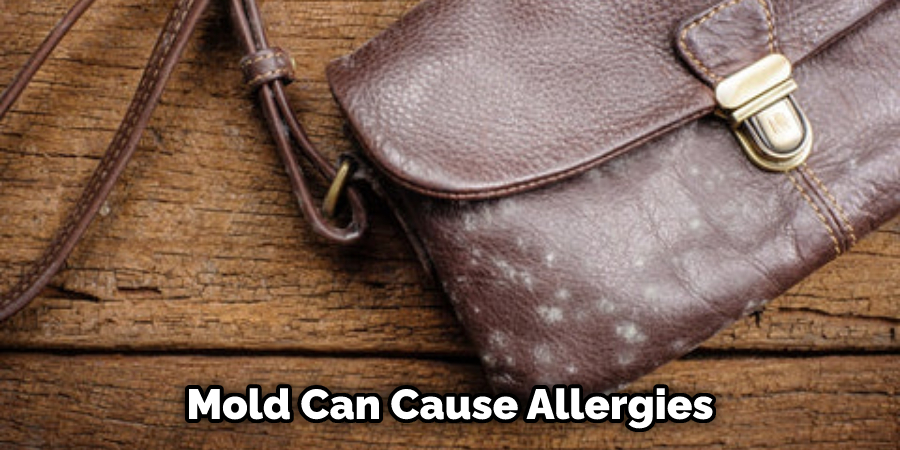
Another reason to remove mold is for health reasons. Mold can cause allergies and respiratory problems. It can also cause skin irritation. If you have mold on your leather, removing it as soon as possible is important.
Finally, mold can be unsightly. If you have guests over and they see mold on your leather, it cannot be very comfortable. No one wants to sit on a couch with mold on it. So it’s important to remove mold for aesthetic reasons as well.
Some Effective Ways How to Mold Leather:
1. Wet the Leather
The first step is to wet the leather. You can do this by misting it with water or using a damp cloth. Just make sure the leather is evenly wet. If the leather is too dry, it won’t mold properly. If it’s too wet, it can cause the color to bleed.
To wet the leather, first, make sure it’s clean. If there’s any dirt or debris on the surface, it will prevent the water from penetrating the leather. Once the surface is clean, mist the leather with water or use a damp cloth to wet it evenly. Avoid soaking the leather, as this can cause the color to bleed.
2. Use a Hairdryer
If you want to mold the leather quickly, you can use a hairdryer. This method is best for small areas or projects. To use a hairdryer, first, make sure the leather is wet. Then, hold the hairdryer about six inches away from the leather and turn it on to the high setting.
Next, move the hairdryer back and forth over the leather until it’s dry. Be careful not to hold the hairdryer in one spot for too long, as this can cause the leather to warp.
3. Use a Heat Gun
If you’re working with larger areas or projects, a heat gun is better than a hairdryer. A heat gun can get the leather much hotter than a hairdryer, so it’s important to be careful not to burn the leather.
First, test the heat gun on a scrap piece of leather to get a feel for how hot it gets the leather. Then, hold the heat gun about 6 inches away from the leather and move it around, so you don’t overheat any one spot. After a minute or so, you should start to see the leather soften.
4. Use Your Hands
Once the leather is soft, you can start to mold it with your hands. Start by working the leather in small circles, then move on to larger motions. If you’re trying to mold a specific shape, use your hands to push and pull the leather until it takes that shape.
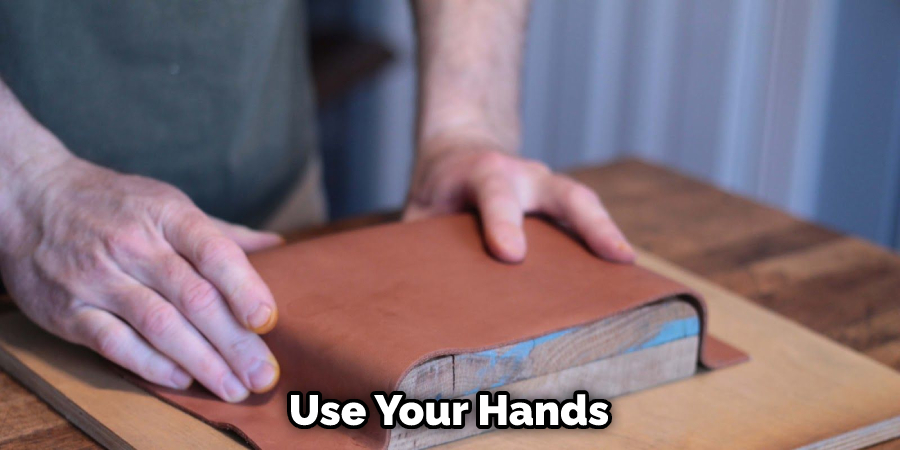
You can also use tools to help mold the leather, such as a rolling pin or mallet. Just be careful not to damage the leather while you’re working with it. Avoid stretching or pulling the leather too hard, as this can cause it to tear.
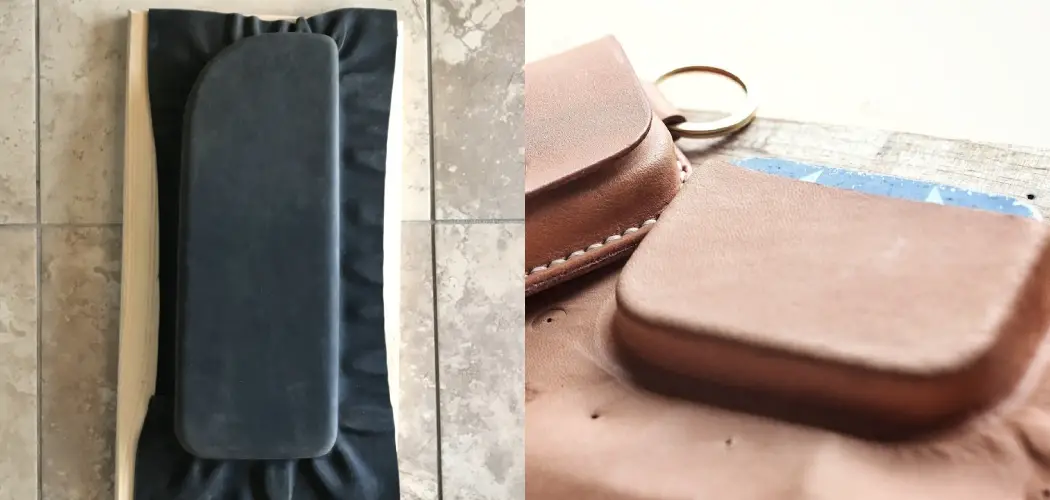
5. Use a Wooden Mold
You can use a wooden mold if you’re trying to mold the leather into a specific shape. This is especially helpful if you’re trying to make something like a holster or a sheath for a knife. Start by tracing the outline of the mold onto the leather. Then, cut out the shape with a sharp knife.
Next, wet the leather and apply it to the mold. Use a strap or some other tool to hold the leather in place while it dries. Once it’s dry, please remove it from the mold, and you’re done! Try different woods to see which one gives you the best results. Avoid using softwoods like pine, as they can leave marks on the leather.
6. Use a Weight
If you’re trying to mold the leather into a specific shape, you can use a weight to help hold it in place. First, wet the leather with a damp cloth. Then, place the leather on top of the weight and let it dry. The weight will help to hold the leather in place while it dries.
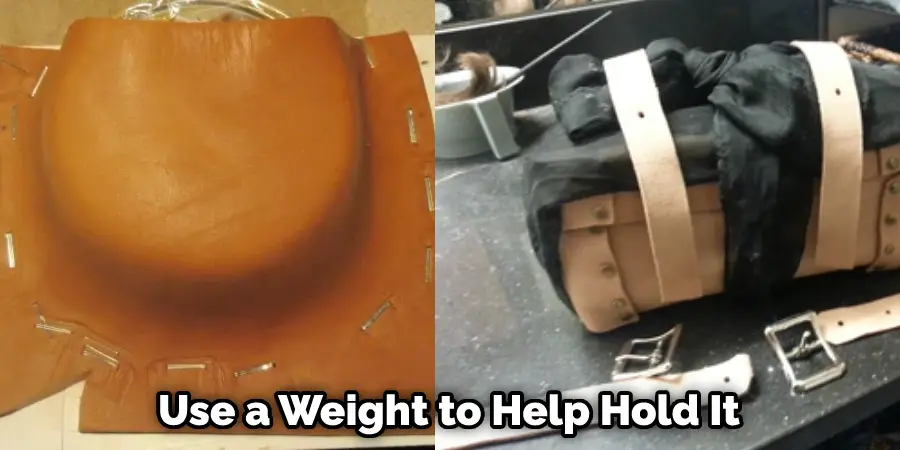
If you’re having trouble molding the leather into the desired shape, you can try using a hairdryer to help soften it. Avoid using too much heat, as this can damage the leather.
7. Use Clamps
If you’re trying to mold the leather into a specific shape, you can use clamps to help hold it in place. This is especially helpful if you’re trying to mold a complex shape. First, dampen the leather with water so that it’s slightly pliable.
Then, put the leather into the desired shape and clamp it in place. Allow the leather to dry in the clamps overnight. If necessary, you can reapply water and clamp the leather again until it dries completely.
8. Stretch the Leather
If you want to mold the leather into a specific shape, you can try stretching it. This is especially helpful if you’re trying to make a three-dimensional shape, like a belt or a bag. To do this, soak the leather in water for about 15 minutes so that it’s pliable.
Then, please put it on a stretching frame and use your hands to pull and stretch the leather into the desired shape. Let it dry overnight before removing it from the frame. If you’re unhappy with the results, you can always try again. Avoid over-stretching the leather, as this can cause it to tear.
9. Carve the Leather
Carving is the way to go if you’re looking to add extra mold to your leather project. With the right tools and a bit of patience, you can create beautifully carved leather designs. First, sketch your design onto the leather with a pen or pencil. Then, use a sharp knife or rotary tool to cut along the lines of your sketch.
To add depth to your carving, use a leather awl or chisel to make indentations in the leather. Finally, use a leather strop or burnishing tool to smooth out the carving and give it a polished look.
10. Hire a Professional
You can always hire a professional if you’re not confident in your ability to mold leather. There are plenty of talented leatherworkers out there who would be happy to help you with your project.
Just do a quick search online or in your local Yellow Pages, and you’re sure to find someone who can help. Be sure to ask around for recommendations before hiring anyone, and always get a few quotes so that you can compare prices.
You Can Check It Out To Prevent Faux Leather From Peeling
Tips and Warnings on How to Mold Leather:
Tips:
- Pick the right leather. There are many different types of leather, and each one responds differently to molding. For this project, you’ll want to use a softer, more pliable type of leather.
- Start with a clean piece of leather. Make sure to remove any dirt or debris from your leather before you begin molding it.
- Wet the leather. This will help to make it more pliable and easier to work with.
- Apply heat to the leather. This will further help to soften and mold the leather. You can use a hair dryer, heat lamp, or even a warm oven to apply heat.
Warnings
- Don’t overdo it. Too much heat can damage the leather.
- Don’t use too much water. This can also damage the leather.
- Be careful not to burn yourself. Apply the heat carefully and evenly to avoid any accidents.
Frequently Asked Questions
How Long Do You Soak Leather Before Molding?
Leather can be soaked in water or a solution of lye and water for a period of time before it is molded. The soaking time will determine the degree of softness the leather will have after it is molded. Generally, leather that has been soaked for a period of 48 hours will be softer than leather that has been soaked for a period of 72 hours.
Can You Use Vinegar on Leather for Mould?
Yes, vinegar can be used on leather for mould. Vinegar is a strong acid that can destroy the proteins in leather that are responsible for creating the natural moulding properties of the leather. This can prevent mould from forming and damaging the leather, making it an effective way to treat leather for mould.
What Kills Mold Permanently?
The kill method necessary for mold removal will vary depending on the type of mold, the severity of the mold problem, and the environment in which it is growing. However, some common methods used to kill mold permanently include:
1. Fungicides: Fungicides are chemicals that kill fungus by disrupting their cell membrane. Mold growth is often associated with fungal growth, so fungicides can be effective in killing both mold and fungus.
2. Acetic Acid: Acetic acid is a strong organic acid that can be used to kill mold by causing damage to its cell membranes. It is also effective at destroying other organic materials, such as wood and paper, which can help remove any potential sources of moisture for mold growth.
3. Chlorine: Chlorine can be used to disinfect surfaces and areas where mold is suspected or found. It can also be used to destroy any existing mold colonies.
4. Inorganic Compounds: Inorganic compounds, such as chlorine dioxide and sodium bicarbonate, can be used to neutralize and remove environmental contaminants, including mold spores. These compounds are also effective at killing fungi and other bacteria.
How Do You Shape and Mold Leather?
Shaping and molding leather is a complex process that requires a great deal of skill and experience. Here are some steps involved in shaping and molding leather:
1. Mark the outline of the desired shape with a pencil or other temporary drawing tool.
2. Cut the leather to the desired shape using a razor or other sharp instrument.
3. Apply a thin layer of bonding agent to the surface of the leather and then press it into the shape you have drawn with your temporary drawing tool.
4. Use a hot metal roller or an air-powered press to smooth out the surface, forming the desired shape and texture.
5. Repeat steps 3-4 as necessary to achieve the desired finish and texture.
6. Protect the finished product with a coat of wax or sealant to prevent water and dirt from damaging it over time.
Conclusion
So there you have it! Now you know how to mold leather into any shape you desire. Follow these tips, and you’ll surely achieve the perfect results. With a little practice, you’ll be a pro in no time. Of course, if you’re still not confident in your abilities, you can always hire a professional to help you out. Good luck!
