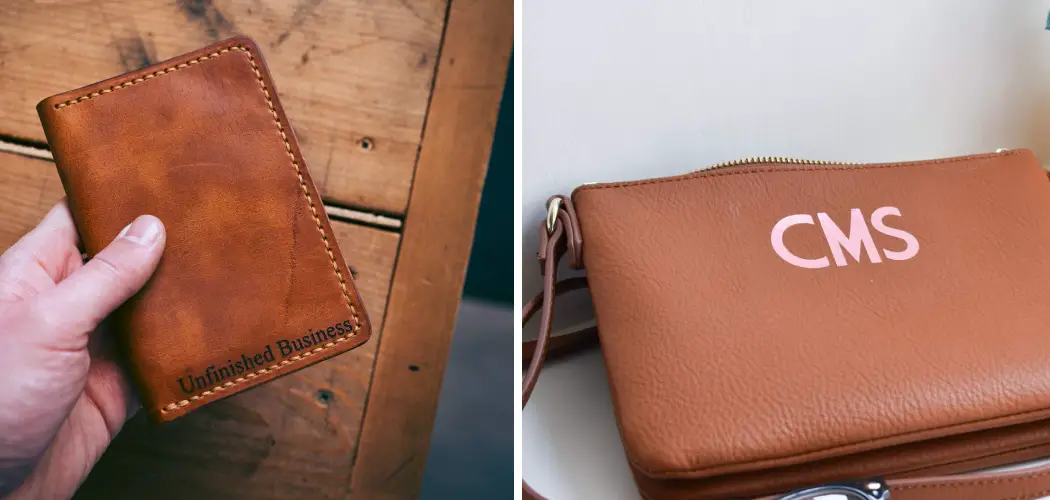
Do you have leather accents in your home that you want to take to the next level? Personalizing leather, like anything else, can help make it more meaningful and unique. Whether you’re upcycling an old jacket or adding a special touch to your favorite purse, personalized details can make all the difference.

In this blog post on how to personalize leather, we’ll provide step-by-step instructions on how to truly put your stamp on any piece of leather — from tools and techniques for stamping and dying leather to tips on embellishing finished items with beads and charms. With a bit of perseverance (and maybe some improvisation), even novice crafters can turn out personalized pieces they’ll enjoy for years!
Benefits of Personalizing Leather
First, why personalize leather goods? Unlike store-bought or mass-produced items, personalized leather products are unique and hold sentimental value. They make great gifts for friends and family, as well as one-of-a-kind keepsakes for yourself. Moreover, personalization allows you to express your creativity and individuality through DIY projects.
You can choose the design, font, and color that best represents your personality or that of the recipient. In addition, personalizing leather goods adds character to otherwise plain items and sets them apart from others.
Tools Needed for Personalizing Leather
Before starting any leather project, make sure you have the necessary tools. Below is a list of basic tools you will need to personalize leather:
- Leather Stamp Set or Individual Stamps
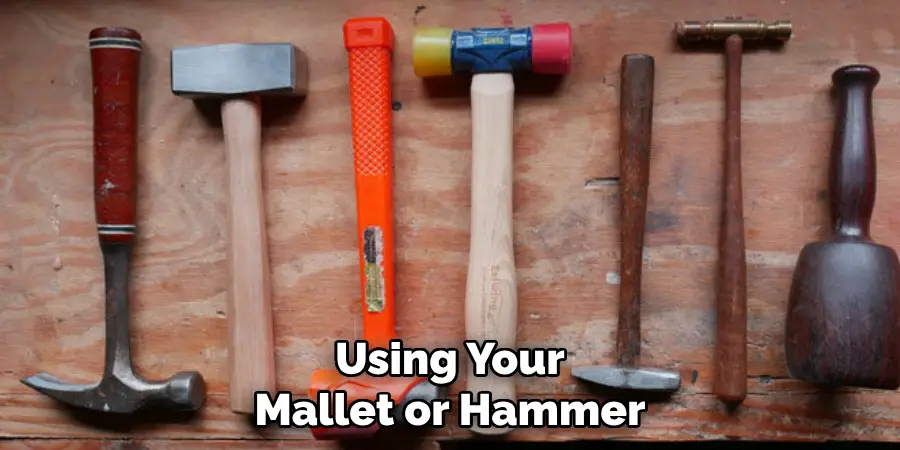
- Mallet or Hammer
- Leather Dye or Paint (Optional)
- Stencil (if Using Paint)
- Beads, Charms, and Other Embellishments
10 Step-by-step Guidelines on How to Personalize Leather
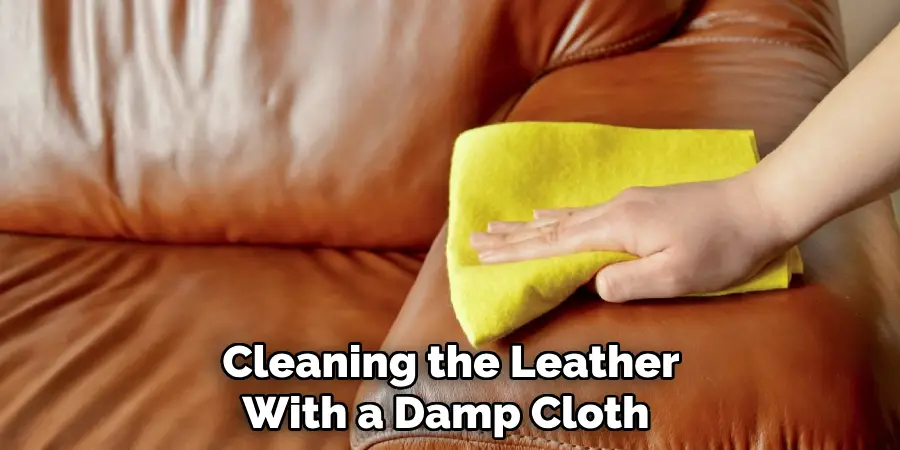
Step 1: Prepare the Leather
Start by cleaning the leather with a damp cloth and let it dry completely. Next, place the leather on a flat surface that you don’t mind getting dirty or damaged. It’s also a good idea to protect your work surface with a cutting mat or newspaper. But keep in mind that some dyes or paints may bleed through, so be cautious. This step is crucial because any dirt or stains on the leather can affect the final outcome.
Step 2: Decide on a Design
To personalize leather, you’ll need a design to follow. You can either create your own design or use pre-made stamps or stencils. If you’re using stamps, lay them out before stamping so that they align properly and are evenly spaced.
Alternatively, you can draw the design directly on the leather with a pencil or chalk. And if you’re using paint instead of stamps, use a stencil to create your desired design. But remember, practice makes perfect, so don’t be afraid to experiment! It may take a few attempts to get the design just right.
Step 3: Prepare the Stamps
If you’re using individual stamps, first soak them in warm water for a few minutes. This will soften the rubber or metal and make it easier to work with. Then dry them with a cloth before use. But if you’re using a stamp set, make sure to align the letters or images in the desired order before attaching them to the handle.
This will save you time and prevent mistakes later on. It’s also helpful to use a stamping jig, which holds the stamps in place and prevents them from slipping.
Step 4: Stamp or Paint the Design
Once you have your design and stamps ready, it’s time to start personalizing! Place the leather on a solid surface with something soft, like a cutting board or mouse pad, underneath. This will help create a clear impression without damaging the leather.
Then, using your mallet or hammer (or finger if using paint), hit the stamp with firm but controlled blows. Make sure to hold the stamp steady and straight to avoid smudging the design. You may need to hit the stamp more than once to get a clear impression. If you’re using paint, carefully fill in the stencil with a small brush and let it dry before moving on.
Step 5: Add Color (Optional)
If you’ve chosen to dye or paint your leather project, now is the time to add color! Leather dyes are available in many colors and can be applied with a brush or sponge. Be sure to follow the instructions on the dye packaging carefully. For paint, choose high-quality acrylics designed for leather use and apply thin layers for better coverage. It’s also helpful to use a sealant or finisher to protect the paint and make it more durable.
Step 6: Add Embellishments
Now that your design is complete, it’s time to add some extra flair! Using beads, charms, or other embellishments, you can further personalize your leather project. You can attach these items with glue or by stitching them onto the leather. Be mindful of the placement and make sure they won’t get in the way of any functional aspects, such as zippers or pockets.
Step 7: Let it Dry
After you’ve finished personalizing your project, let it dry completely before handling it. This is especially important if you’ve used dye or paint, as it needs time to set and dry before use. But don’t rush the drying process, as this may cause your design to smudge or fade. You can speed up the drying process by using a hairdryer on low heat or placing it in front of a fan.
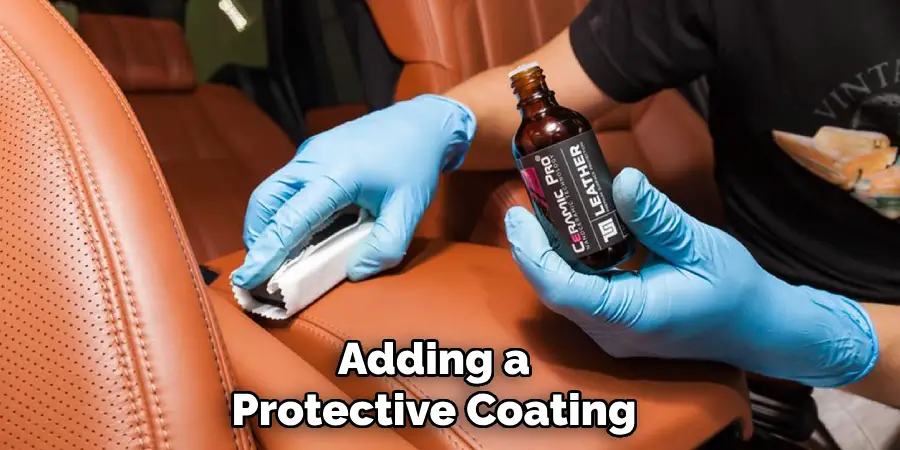
Step 8: Finishing Touches
Once your project is dry, you may want to add some finishing touches. This could include adding a protective coating, such as a leather conditioner or sealant, to make your project more durable and long-lasting. You can also trim any excess leather or thread and make sure all edges are neat and tidy.
Step 9: Use with Care
Now that your personalized leather project is complete, it’s ready to be used or gifted! However, keep in mind that leather requires special care to maintain its quality and appearance. Avoid exposing it to extreme temperatures, moisture, or sunlight for extended periods. It’s also a good idea to clean and condition the leather regularly to prevent it from drying out or developing cracks.
Step 10: Practice, Practice, Practice!
Personalizing leather takes time and practice, so don’t be discouraged if your first attempts are not perfect. Keep experimenting with different designs, techniques, and tools until you find what works best for you. And don’t forget to have fun and let your creativity shine through! With each project, you’ll become more confident in your skills and produce even more impressive personalized leather goods.
Following these step-by-step guidelines on how to personalize leather, you’ll be able to personalize any leather item with ease. From wallets and bags to jackets and shoes, the possibilities are endless when it comes to adding a personal touch to your leather goods.
So gather your tools, get creative, and start personalizing! So go ahead and make that special gift for a loved one or treat yourself to a one-of-a-kind accessory. With these techniques, you’ll be able to personalize leather like a pro in no time. Don’t forget to share your creations with us and inspire others to do the same! Happy personalizing!
Frequently Asked Questions
Q1: Can I Personalize Any Type of Leather?
A: Yes, you can personalize most types of leather, including cowhide, lambskin, suede, and more. Just keep in mind that different types of leather may require slightly different techniques or tools.
Q2: Do I Need Special Tools to Personalize Leather?
A: While there are specific tools designed for leather personalization, such as stamps and mallets, you can also use common household items like a hammer and needle. It’s important to choose the right tool for your desired design and the type of leather you’re working with.
Q3: Can I Personalize Leather with Paint?
A: Yes, you can use paint to personalize leather. Just make sure to use high-quality acrylics designed specifically for leather and follow the instructions on the packaging carefully. It’s also recommended to use a sealant or finisher to protect the paint and make it more durable.
Conclusion
In conclusion on how to personalize leather, personalizing leather is a great way to make a regular piece of apparel stand out. Whether you decide to use dye, fabric paint or even embroidery – the possibilities are practically endless!
It’s an easy way to make a fashion statement while also getting crafty and having fun with it. Take your pick from the list above and start creating something unique that will last for many years to come.
With minimal materials needed, why not get started today and unleash your creative spirit? After all, anyone can turn a simple leather item into something truly remarkable with just a few tools. So don’t wait any longer – now is the perfect time to bring out your inner artist and create something one-of-a-kind.