Leather is a luxurious material that can add a touch of sophistication to any outfit or accessory. If you’re looking for an alternative to the real thing, faux leather is a great option. It has a similar look and feel, but it’s cheaper and more environmentally friendly. This article will teach you how to print on faux leather using an inkjet printer. Let’s get started!

When printing on faux leather, you’ll need to use a particular type of ink. Most inks will not work on this material, so use ink designed explicitly for faux leather. There are a few different types of faux leather, so check the manufacturer’s instructions to make sure you’re using the right type of ink.
Things You’ll Need
- Printer
- Faux Leather Sheets
- Iron
- Paper towels
- Pressing cloth
- Design to be printed
- Inkjet printer cartridge or laser printer cartridge
How to Print on Faux Leather Step by Step Instructions
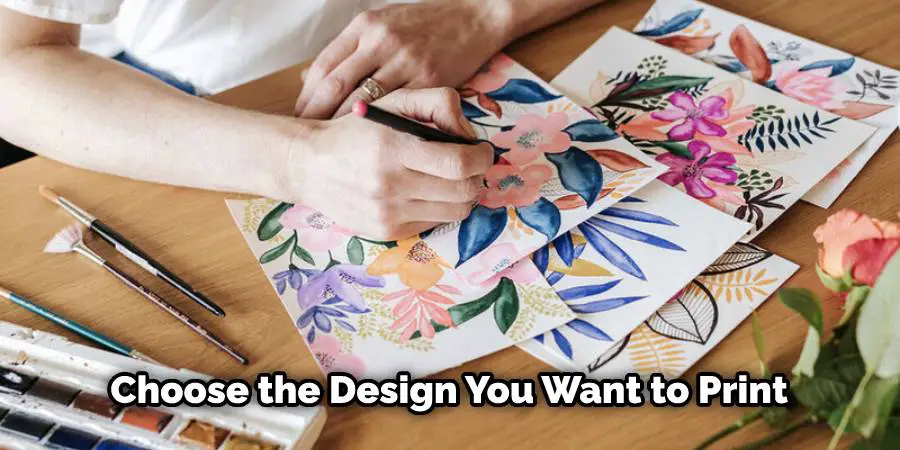
Step 1: Choose the Design
The first step is to choose the design you want to print on your faux leather. You can find a wide range of designs online, or you can create your own. If you’re creating your design, be sure to use a vector graphic program such as Adobe Illustrator so that the design will be high quality and easy to print.
Step 2: Print the Design
Once you’ve chosen the design, it’s time to print it. Use a laser printer rather than an inkjet printer, as laser printers produce higher quality prints. If you’re using a self-made design, make sure the printout is at least 300 dots per inch (DPI) to ensure good quality results.
If you’re using a pre-made design, print it out on regular paper and then trace the outline of the design onto the faux leather with a pencil. Once the outline is complete, use a sharpie to fill in the details of the design.
Be careful not to press too hard when tracing the design, as this can cause the faux leather to tear. If you make a mistake while tracing, erase it with a damp cloth and try again.
Step 3: Cut the Design Out
Once the design is complete, it’s time to cut it out. Use a sharp pair of scissors to cut around the outline of the design carefully. If you’re using a pre-made design, cut out all of the details to create a clean and finished look.
If you’re using self-made designs, be sure to leave an extra 1/4 inch of space around the edge of the design. This will allow enough room to attach the faux leather to the printer tray.
Step 4: Preparing the Faux Leather
Now that you have all of your materials together, it’s time to prepare the faux leather. The first step is to remove any dirt or dust from the material’s surface. You can do this by using a soft-bristled brush or a lint roller.
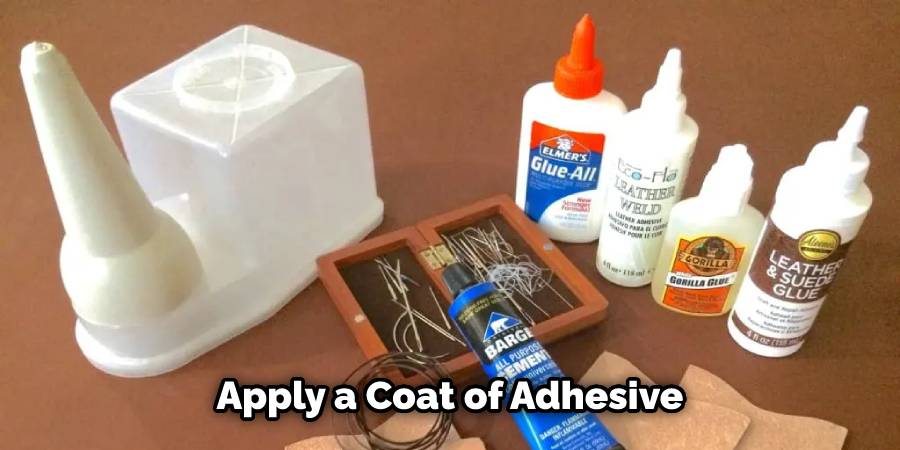
Next, you’ll need to apply a coat of adhesive to the material. We recommend using a spray adhesive for this step. Be sure to follow the manufacturer’s instructions carefully when applying the adhesive.
You Can Check It Out to Carve Leather
Once the adhesive has been applied, it’s time to print your design. Place your design in the desired location, and then use a pressing cloth to press down on top of it. You’ll want to use a lot of pressure when pressing down so that the design transfers to the faux leather. Allow the adhesive to dry completely before moving on to the next step.
Step 5: Ironing the Design
Now it’s time to heat that iron! Lay your faux leather piece out on a flat surface and place the iron over the design. Use a heavy cloth or paper towel between the iron and the leather to protect it from getting too hot. Apply pressure and hold for about 10 seconds. You’ll see the design start to melt into the leather. Check to make sure the ink is fully transferred, and then let it cool completely. Once it’s cooled, you’re all done!
Step 6: Finishing Up
Now that you have your design printed on the faux leather, it’s time to finish the project. First, use a craft knife to cut out the design. Be careful not to cut yourself!
Next, use a hot iron to attach the faux leather to your project. Place a piece of cloth over the top of the faux leather and iron it on high for about 30 seconds. You may need to do this a few times to ensure it’s attached well.
And that’s it! You’ve now created a beautiful piece of art with your own hands. These steps will help in how to print on faux leather.
Tips and Warnings
- Test the ink on a small faux leather piece before printing on the entire surface. This will help you ensure that the ink will not fade or run once it is applied.
- Do not use an inkjet printer to print on faux leather. The heat and moisture from the printer may cause the ink to run or fade.
- Use a laser printer to print on faux leather instead. The laser printer’s heat will help set the ink, and since it does not use any moisture, there is less of a chance for the ink to run or fade.
- Be sure to select the “leather” setting on your laser printer if one is available. This will help to ensure that the print will be crisp and clear.
- If you cannot find a “leather” setting on your laser printer, try printing the image in reverse. This will help create a more subtle print that is less likely to fade over time.
- Choose an image that has high contrast and sharp lines. Faded or blurry images may not look as good when printed on faux leather.
Frequently Asked Questions
Can I Print on Faux Leather With Inkjet Printer?
Yes, you can print on faux leather with an inkjet printer. To do so, you will need to first prepare the leather by conditioning it. This will help the inkjet printer to adhere to the surface more easily. After conditioning the leather, you can begin printing by using a light coating of ink and setting the printer to the right settings. Make sure to test your prints before going any further in order to avoid any mistakes.
Can I Print on Faux Leather With Cricut?
Yes, you can print on faux leather with a Cricut. The process is similar to printing on any other material – first, create your design in Adobe Draw or another vector software program and then send the file to your Cricut machine. You will need to choose the correct setting for your fabric and follow the instructions that come with your machine.
What Printer Will Print on Faux Leather?
If you’re looking for a printer that can print on faux leather, then the Canon PIXMA MG3520 may be a good option. This machine is designed to produce high-quality prints on numerous types of fabric, including faux leather. It offers automatic feeder adjustments and flexible media handling that ensures accurate printing results every time. Plus, it has an intuitive touchscreen interface that is easy to use.
What Ink Will Print on Leather?
Leather is a durable material that can be printed with just about any kind of ink. However, some inks are better than others for printing on leather. Specifically, water-based inks work best because they don’t fade or lose color over time. In addition to printability, these inks also protect the surface of the leather from dirt and wear and tear.
Inkjet inks are also popular for printing on leather because they provide high-quality images that look professional. They are oxidized (able to oxidize), which means that the image will not fade over time as laser prints do. However, care must be taken when using this type of ink as it can cause damage if applied incorrectly or mistreated afterward.
Conclusion
Printing on faux leather is a great way to add an extra flair to your designs. With the many colors and textures of faux leather available, you can create almost any look you want. Best of all, printing on faux leather is easy and affordable. We hope you have learned how to print on faux leather. So why not give it a try?
You may also read – How to remove stains from faux leather.
