Leather carving is a lost art that is slowly being rediscovered by a new generation of artisans. The process of carving leather is incredibly satisfying, and the results can be stunning. Whether you’re looking to carve a simple design or an intricate portrait, the following steps will show you how to carve leather.

Can You Carve Leather?
Carving leather is a popular way to add a personal touch to a belt, holster, or other item made of leather. While it may seem like a daunting task, carving leather is actually quite easy and can be done with just a few simple tools.
The first step is to determine the design that you want to carve. Once you have your design, use a sharp knife to trace the outline onto the leather. Next, use a chisel or another sharp tool to remove the excess leather around the design. Be careful not to cut too deeply, as you don’t want to damage the leather.
Finally, use a leather working tool to smooth out the edges of the carving. With some practice, you’ll be able to create beautiful carved designs on any piece of leather.
Why Should You Carve Leather?
Leather carving is an art form that dates back centuries. It was originally used to create functional items like belts and straps, but today it is also used to create beautiful works of art. Leather carving requires special tools and a steady hand, but the results can be truly stunning.
Leather is a very versatile material, and it can be carved into a variety of shapes and patterns. It can also be stained or dyed to create even more unique designs. When properly cared for, leather carving can last for many years, making it a great investment for any art lover.
How to Carve Leather in 6 Easy Steps
Step 1: Choose the Right Leather
The first step in carving leather is to choose the right piece of hide. You’ll want to find a piece of leather that is at least 2mm thick. Otherwise, it will be too difficult to carve.
Thinner leather is also more likely to tear when you’re carving, so it’s best to avoid it if possible. There are many different types of leather out there, so take some time to experiment until you find one that you like working with.
Step 2: Sketch Your Design
Once you have your piece of leather, it’s time to sketch out your design. This can be done freehand or with the help of a stencil. If you’re not confident in your ability to freehand an intricate design, then using a stencil can help you achieve the results you’re looking for.
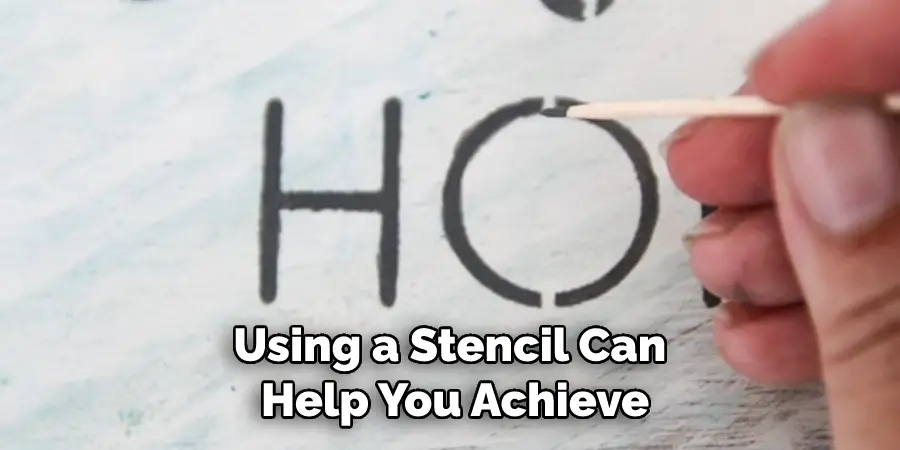
Just make sure that your stencil is made out of something that won’t tear the leather when you’re carving. Paper or thin cardstock are both good options.
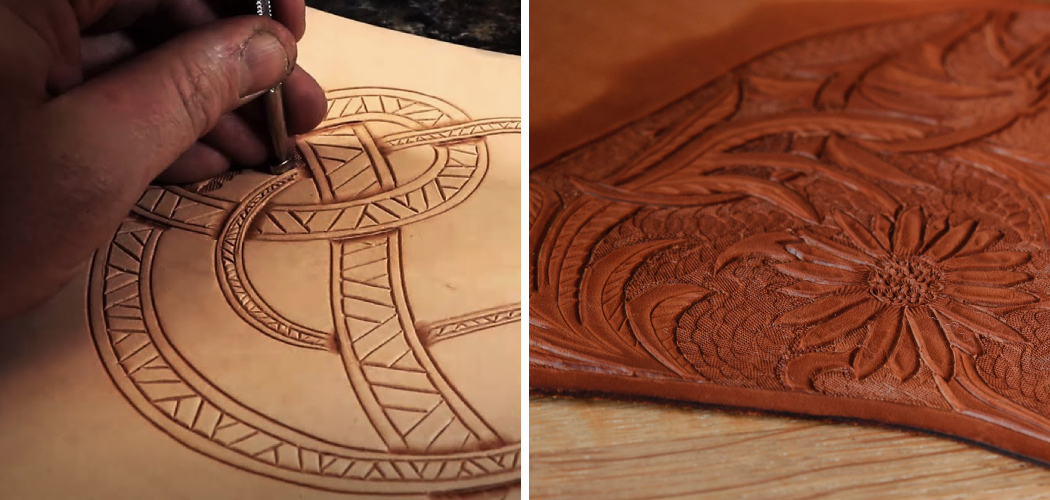
Step 3: Start Carving!
Now comes the fun part: actually carving the leather! To get started, use a sharp knife to outline your design on the leather. Once you have an outline, you can start carving away at the excess leather using either a chisel or a rotary tool fitted with a small bit.
Be careful not to remove too much leather at once; otherwise, you might end up ruining your design. Work slowly and steadily until you’ve achieved the desired result.
Step 4: Set the Design
Once you’re happy with how your design looks, it’s time to set it into the leather. This can be done by using a damp sponge and water or a special leather setting solution.
Apply the liquid evenly across the surface of the design to ensure that it will stay put. Allow it to dry for 12-24 hours before proceeding to the next step.
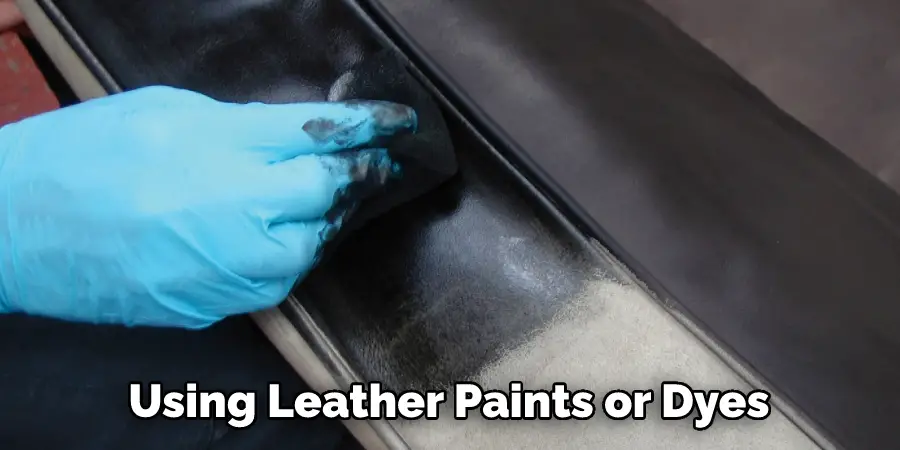
Step 5: Add Color
If you want, you can add a bit of color to your design by using leather paints or dyes. This is entirely optional, but it can help bring out certain details in your design and make it look even more impressive. Be sure to use high-quality leather paints or dyes to ensure that the color will stay put and won’t fade over time.
Step 6: Seal and Protect
The last step is to seal and protect your design. This can be done by using a leather conditioner, wax, or even a polyurethane spray. This will help keep your design looking great for years to come. Be sure to apply it evenly and allow it to dry before using the leather item again.
That’s it! You’ve now learned how to carve leather in 6 easy steps. With a little bit of practice, you’ll be able to create stunning designs that will last for years. Give it a try and see how beautiful your creations can be!
Things You Need to Know Before Carving Leather
Before carving leather, it is important to choose the right tools. A sharp knife is essential for making clean, precise cuts, and a wooden mallet can be used to stamp designs into the leather.
It is also important to choose the right type of leather. Vegetable-tanned leather is the best option for carving, as it is stiffer and less likely to stretch or tear.
Once you have the right tools and materials, you are ready to start carving! First, sketch your design onto the leather using a pencil or pen. Then, use your knife to carefully cut along the lines of your sketch.
Finally, use the wooden mallet to stamp any detailed designs into the leather. With a little practice, you will be able to create beautiful, customized pieces of leatherwork!
5 Benefits of Carving Leather
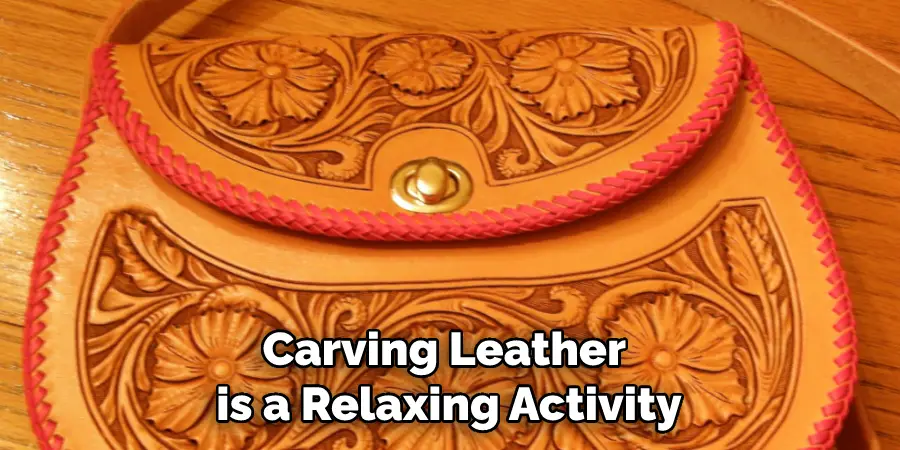
1. It’s a Relaxing Activity
Carving leather is a relaxing activity that can help to relieve stress and tension. The repetitive motions involved in carving can be therapeutic, and the finished product can be very satisfying.
2. It’s Inexpensive
Carving leather is a relatively inexpensive hobby, as leather is relatively cheap and you don’t need a lot of tools to get started. Additionally, you can often find scrap leather for free or at a very low cost.
3. It’s a Great Way to Express Your Creativity
Carving leather is a great way to express your creativity. You can carve all sorts of different designs into the leather, and you can even dye it or add other embellishments to really make it your own.
4. It’s Easy to Learn
Carving leather is an easy hobby to learn, and there are plenty of resources available to help you get started. You can find books, online tutorials, and even classes offered at local craft stores.
5. It’s Fun!
Most importantly, carving leather is just plain fun! It’s a great way to spend some time relaxing, and you’ll end up with a beautiful piece of art that you can use or display proudly.
Some Common Mistakes People Make When Trying to Carving Leather
Carving leather is a unique and challenging art form that requires a great deal of skill and patience. However, even the most experienced carvers can make mistakes from time to time. Here are some of the most common mistakes people make when trying to carving leather:
One of the most common mistakes is not using the proper tools. Leather carving tools are made specifically for carving leather, and they should be used whenever possible. Trying to use regular household knives or other sharp objects will often result in an uneven or jagged finish.
Another mistake people make is not taking the time to properly sketch out their design before they start carving. This often leads to inaccuracies and wasted effort. It’s important to take the time to plan out your design before you start carving, so that you know exactly what you want to carve and how you want it to look.
Finally, some people try to rush the carving process, and this often leads to mistakes as well. Carving leather takes time and patience, so it’s important to work slowly and carefully in order to create a beautiful and accurate finished product. Rushing through the process will likely result in an unfinished or flawed carving.
How to Personalize Your Carved Leather Pieces?
Carved leather is a beautiful and unique way to add a personal touch to your home décor. Whether you opt for a carved leather sofa or a hand-carved leather headboard, the possibilities are endless when it comes to personalization. Here are a few ideas to get you started:
One way to personalize your carved leather piece is to choose a design that reflects your personal style. If you’re a fan of nature, consider opting for a carving that features leaves or flowers.
For a more modern look, try a geometric pattern or abstract design. You can also choose a carving that represents your favorite hobby or interests, such as an animal for an animal lover or a sports team logo for a sports fan.
Another way to make your carved leather piece truly unique is to choose a color that complements your décor. Traditional brown leather will always be in style, but you could also experiment with other colors, such as black, cream, or even red. For an added personal touch, you could even dye the leather yourself using natural dyes like tea or coffee.
Finally, don’t forget the details! Adding fringe, tassels, or other embellishments can really make your carved leather piece pop. You can also have your initials carved into the leather for a truly one-of-a-kind piece. Whatever details you choose, be sure to consult with a professional carver to ensure that they are properly executed.
With these ideas in mind, you’re sure to create a carved leather piece that is uniquely yours.
Frequently Asked Questions
Do You Wet Leather Before Carving?
The answer to this question depends on the type of leather you are working with. If you are carving a piece of cowhide, then it is generally recommended to wet the leather before carving. This will help to prevent the leather from cracking and also make it more pliable. On the other hand, if you are carving a piece of goat or sheep skin, then it is not necessary to wet the leather before carving. If you do choose to wet the leather, make sure to do so before you carve.
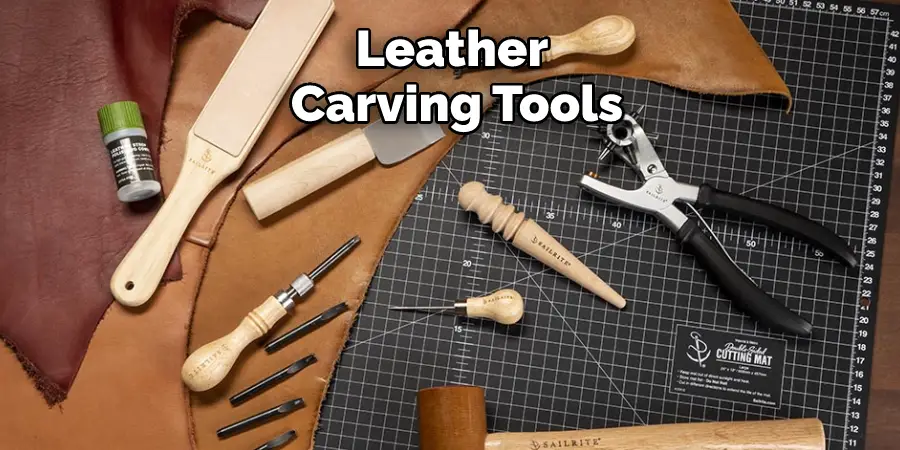
What Tools Do You Need to Carve Leather?
There are a few basic tools you will need to carve leather: a carving knife, a chisel, and a mallet. Other tools, such as a belt sander or file, may also be useful in the process.
To start carving, place the carving knife on the leather and align it so that the blade is perpendicular to the surface of the leather. Use light pressure to make initial cuts, then use the chisel to deepen the cuts. When you are finished cutting, use the mallet to tap the chisel and knife together to create the desired shape. Be sure to keep your hands and arms safe by wearing gloves and using protective gear (such as safety goggles) when carving.
Is Tooling Leather Difficult?
The difficulty of Tooling Leather depends on a variety of factors including the skill and experience of the tanners involved, the type and quality of leather being tooled, and the design and layout of the pattern. However, general tips for making Tooling Leather easier include:
1. Testing the leather in advance to make sure it is compatible with the particular tanning method being used.
2. Prepare the leather properly by conditioning and curing it before tanning.
3. Tanning the leather using a slow, consistent process to ensure an even finish and long-term durability.
4. Using high-quality pigments and dyes that are Specifically Formulated for Leather Tanning to achieve optimum results.
5. Using clean equipment and facilities that are free from harmful chemicals or fumes.
6. Maintaining a well-organized work area to avoid potential accidents or mistakes.
7. Staying calm and patient during the tannage process, as uneven or botched seams can be difficult to repair or fix.
8. Reducing or avoiding exposure to sunlight or other sources of UV light, can damage the leather surface over time.
9. Training your team members properly so that each person has consistent and accurate results
Can You Ruin Leather With Water?
Leather is a durable material that can withstand a lot of wear and tear. However, if it is accidentally wetted or spilled, it may be damaged beyond repair.
Water can damage leather in a number of ways. First, water can cause the leather to swell and become distorted. This swelling can make it difficult for the leather to breathe and protect it from further damage. Second, water can cause the leather to absorb water and oil, which can create a sticky surface that is difficult to clean and lead to dirt and bacteria build-up. Third, water can cause the surface of the leather to crack, which can eventually lead to its destruction. In general, it is best to avoid wetting or spilling anything on your leather goods – if something does happen, simply take care of the damage as soon as possible.
Conclusion
Leather carving is a truly satisfying experience that anyone can enjoy. By following these simple steps, you can create beautiful works of art that will last for generations.
So what are you waiting for? Pick up a piece of leather and start carving! Thanks for reading our post about how to carve leather.