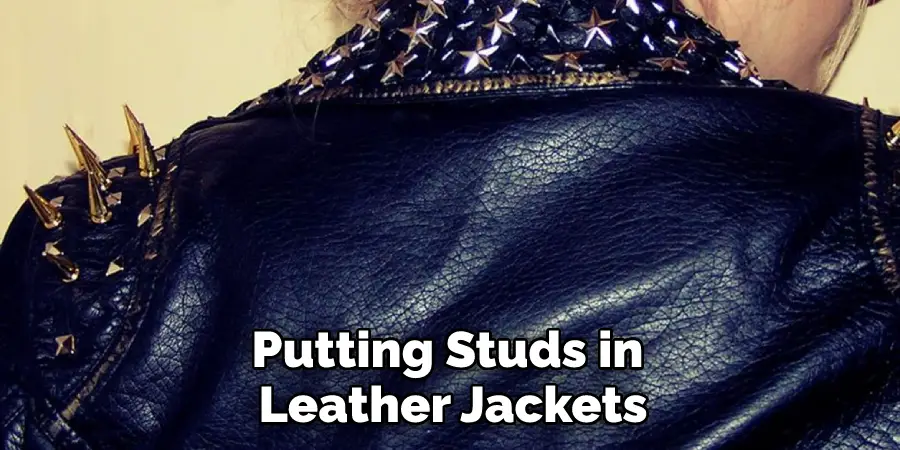
Whether you’re looking to add a little edge to your look or want to protect your leather shoes from scuffs and scrapes, studs are a great way to do it. But putting them on can be tricky, especially if you’ve never done it before. Fear not! We’re here to walk you through the process step by step. So please read on for our article on how to put studs on leather.

Many people shy away from adding studs to their leather because they think it’s too complicated. But with this easy guide, you’ll be able to add them like a pro in no time. Putting studs on leather is a great way to add some personality to your look, and it’s a lot simpler than you might think. Studs can be used on just about any leather, from shoes and belts to jackets and purses.
Summary: Placing studs on leather is a fairly straightforward process but it requires some precision. First, you will need to make sure that the studs and the leather are compatible; some metals may be too strong for certain types of leather and cause damage. Once you have the right materials, mark where you want each stud to go with a sharpie or other marking tool. Then, use an awl or leather punch to make small holes in each spot. Finally, insert the studs into the punched-out holes using either an awl or special tools like a plier set.
Kinds of Studs
Studs come in all shapes and sizes, but there are three main types that you’ll encounter when working with leather:
– Common studs: These are the most basic type of stud, and they’re the ones you’re likely to find in your local hardware store. They’re simple to use and relatively inexpensive, making them suitable for beginners.
– Decorative studs: As the name suggests, these studs are more about style than function. They come in a wide variety of colors, shapes, and sizes so that you can get creative with them.
– Magnetic studs: These studs have a small magnet embedded in the back, making them ideal for holding heavier pieces of leather in place. They’re also great for attaching to metal surfaces.
There are all sorts of studs that can be used to embellish leather. You can find them in various materials, including metal, plastic, and even jewels. When deciding which type of stud to use, it’s essential to consider the look you’re going for and the practicality of the chosen material.
For example, if you’re looking for a flashy, eye-catching design, then you might want to choose some shiny metal studs. However, if you need a stud that will hold up against wear and tear, then plastic or jewel-encrusted option might be more appropriate. No matter what type of stud you choose, ensure that the adhesive is strong enough to keep it in place on the leather.
Required Tools and Materials
- Studs
- Leather
- Hammer
- Nail clipper or pliers
- Ruler or measuring tape
Optional Tools and Materials
- Awl
- Chisel
- Sandpaper
How to Put Studs on Leather Step by Step Guide
Step 1: What to Stud
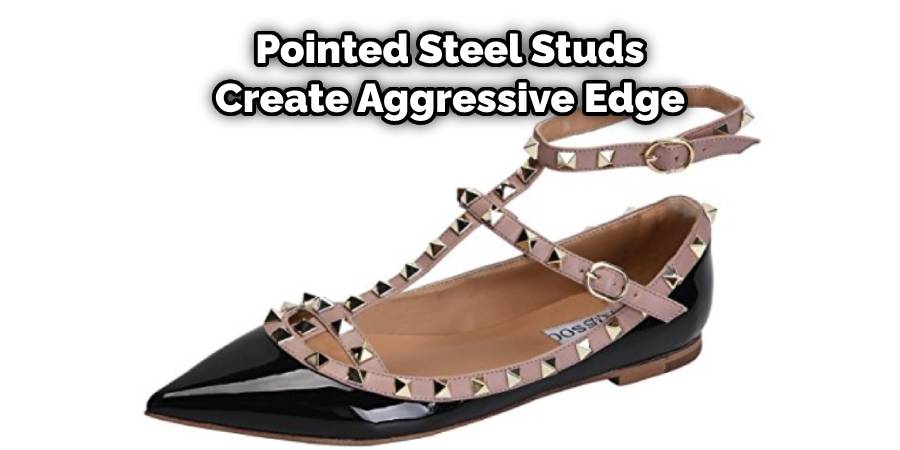
Leather can be studded with any metal stud, but the most popular are brass or steel. The size and shape of the studs will depend on the effect you’re going for. Round brass studs give a more classic look, while pointed steel studs create a more challenging and more aggressive edge.
Step 2: Design
The studs should be placed in the most visible areas and make the most impact. For example, if you’re putting them on clothing, consider where the seams are and how they’ll look when viewed from different angles. Also, think about how the studs will interact with the other materials used for bags or other accessories.
Step 3: How Many
The number of studs you use will depend on the size of the studded area and the effect you’re going for. A general rule of thumb is to use six studs per square inch. It’s also important to remember that too many studs can look tacky or cheap. So try to find a balance between enough and too many.
Step 4: Prep the Leather
The first step is to clean the leather. This will remove any dirt, grease, or grime that could prevent the studs from adhering correctly. Next, use a damp cloth to wipe down the area and let it dry completely before proceeding.

If you’re working with a thicker piece of leather, you may need to thin it out before studding. This can be done with a chisel or sandpaper. Be careful not to go too thin, or the studs may rip through the leather when you try to hammer them in.
Step 5: Mark the Stud Placement
Once you have the desired placement for your studs, use a pencil to mark the hole placement on the leather. You can then use a sharp awl or another sharp object to make a small hole in the leather at each of the markings. This will help guide your studs when you’re ready to put them in place.
Step 6: Attach the Studs
Start by inserting the studs into the leather where you’ve made your marks. If they’re too loose, you can use pliers or a nail clipper to tighten them.
Once all of the studs are in place, flip the leather over and use a hammer to secure them from the back. Be sure to use a smooth, even motion to avoid damaging the studs or leather.
Step 7: Secure the Studs
Once the studs are in place, you may want to use a sealant to help keep them from coming loose. You can find a variety of adhesives at most hardware stores. Just be sure to test it on a small, inconspicuous area first to ensure it doesn’t damage the leather.
Step 8: Finishing Up
If the holes from the studs are visible on the right side of the leather, you can use a pencil or pen to color them in. This will help blend them in and give the piece a more finished look.
You can also use sandpaper to smooth out any rough edges on the studs or leather. Just be sure not to sand too much, as this could damage the piece.
And that’s it! You now know how to put studs on leather like a pro. Just remember to take your time and have fun with it. There’s no wrong way to do it, so experiment until you find a look that you love.
Precautions
- Make sure the studs you purchase are the right size for your project. Trying to use a too-large or too-small stud can ruin your project.
- When putting studs on leather, always use a leather needle. This will help avoid tearing the leather.
- Use a strong adhesive to attach the studs to the leather. A weak adhesive can cause the studs to fall off over time.
Frequently Asked Questions
Can You Put Studs in Leather Jacket?
When it comes to putting studs in leather jackets, as different brands and styles of clothing will require different types of adhesives, however, a few simple Rules of Thumb may help you get started:
-Start by testing the adhesive on a small piece of fabric or paper first. This way, you can ensure that the adhesive is permanent and does not damage what it’s being applied to.
-Choose an adhesive that is low melting point so that it won’t melt your jacket’s delicate stitches. Additionally, make sure that the glue does not cause any distortion or discoloration in the jacket fibers.
-Try using double-sided tape or foam padding instead of studs if possible; this will minimize any irritation caused by metal against the skin.
What Are the Advantages of Studs?
There are many advantages to wearing studs, including the fact that they can add depth and personality to your outfit. They also make a great gift for any special occasion, such as Valentine’s Day or birthdays. When choosing earrings, be sure to consider how well they will match your overall look.
Finally, if you’re ever in need of an emergency repair on a pair of earrings, don’t hesitate to call a professional jeweler like Diamond Fixers! We have years of experience fixing jewelry and can help you get yours back up and running as quickly as possible.
Is Stud Necessary?
Stud riding is not necessary for most people to improve their Riding. Unless you are doing a very specific exercise, it is generally unnecessary and can even be detrimental. This type of training often focuses on the use of force instead of skill, which can lead to injuries and overuse problems in the horse’s joints.
Instead, focus your efforts on developing smooth movement patterns with minimal stress placed upon your horse’s body.
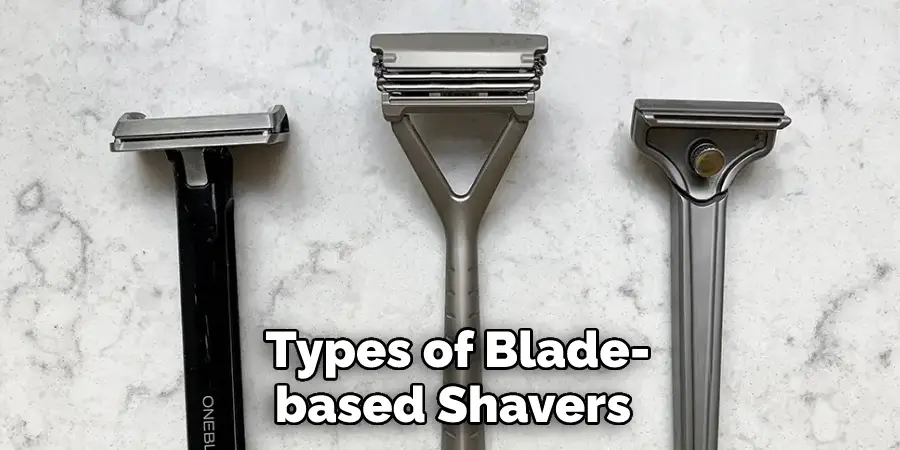
Are Studs Better Than Blades?
It depends on your personal grooming needs. If you are looking for precision in terms of cuts and edges, then studs may be better for you. However, if you’re more concerned about comfort or convenience when it comes to shaving, blades might be a better option.
There are pros and cons to both types of blade-based shavers; however, overall, most people prefer blades because they tend to provide less irritation than studs. Blades also last longer than studs due to their thicker razors and higher-quality construction. Plus, they often have removable heads that make them easy to clean.
Conclusion
Now that you know how to put studs on leather, it’s time to get creative! There are so many possibilities for what you can do with this new skill. So experiment and have fun with it! We can’t wait to see what unique creations you come up with.
You may also like – How to finish soft leather edges.