Leather dye is an important step in preserving and protecting the material. It not only helps to restore the color of faded leather but also provides a protective coating that can help prevent further damage from occurring in the future.
Sealing leather dye after the application is essential for keeping its color vibrant and preventing premature fading or cracking. Sealing your leather dye will also help to protect it from oils, dirt, and other contaminants that could cause discoloration or damage.
There are several advantages to sealing leather dye. First, it prevents further color transfer and abrasion that may occur when the material is touched or rubbed against another surface.
Additionally, sealing leather dye helps preserve the material’s original color for a longer period. Sealing also helps to protect against cracking and fading due to the elements. In this blog post, You will learn how to seal leather dye in detail.
Step by Step Processes for How to Seal Leather Dye
Step 1: Inspect the Leather
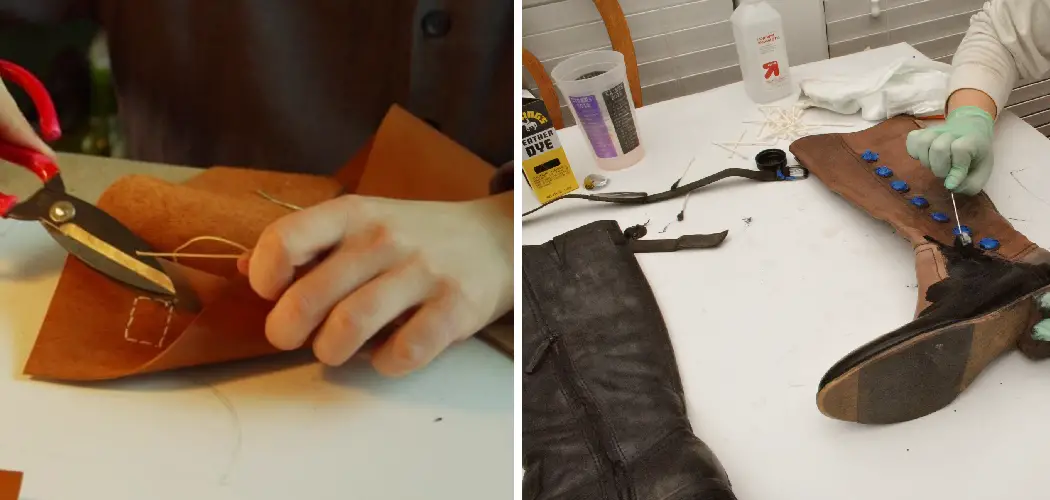
Before you begin working with the leather, it is important to inspect it for any signs of damage. This includes checking for cracks, scratches or weak points in the material. Once the leather has been inspected, it is time to prepare it for dyeing. This involves cleaning off dirt and debris as well as conditioning it with a suitable leather conditioner.
Step 2: Select the Dye
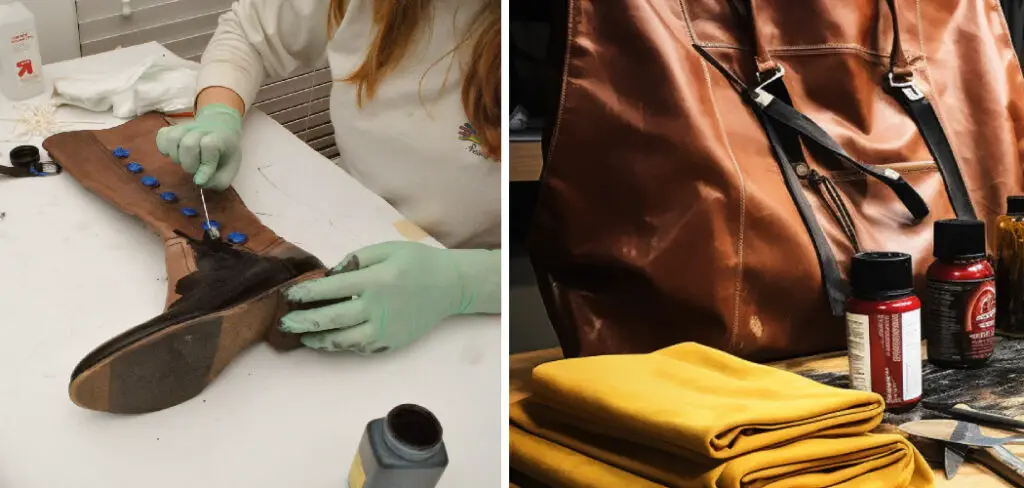
The next step is to select a dye that will give your leather the desired look and finish. Different types of dyes are available, so make sure you choose one that is appropriate for your type of leather. Once the dye has been selected, it is time to apply it to the leather. This can be done by brushing or spraying the dye with an applicator brush or spray bottle, depending on the dye used.

Step 3: Let Dry
After applying the dye, allow it to dry completely before proceeding further. This could take up to 24 hours. Once the dye is completely dry, apply a sealer to protect the leather and prevent fading. Different types of sealers are available, so make sure you select one that is appropriate for your type of leather.
Step 4: Let Dry Again
Allow the sealer to dry and cure completely before proceeding to the next step. Once the sealer has dried, buff the leather with a soft cloth. This will bring out some of the natural oils in the leather and give it an even look.
Step 5: Apply Additional Coatings (Optional)
If desired, you can apply additional layers of sealer and wax to the leather. This will provide extra protection against fading or cracking. Once all the steps have been completed, your leather dye should be sealed and ready for use.
The above processes are a great way to learn to seal leather dye.
Following these steps carefully can help you get the desired results and extend the life of your leather goods. Remember that different types of materials will require different processes, so read up on your specific type of leather before getting started.
Safety Tips for How to Seal Leather Dye
- Ensure you protect yourself by wearing safety glasses, long pants, and gloves when handling the leather dye or any materials used in sealing it.
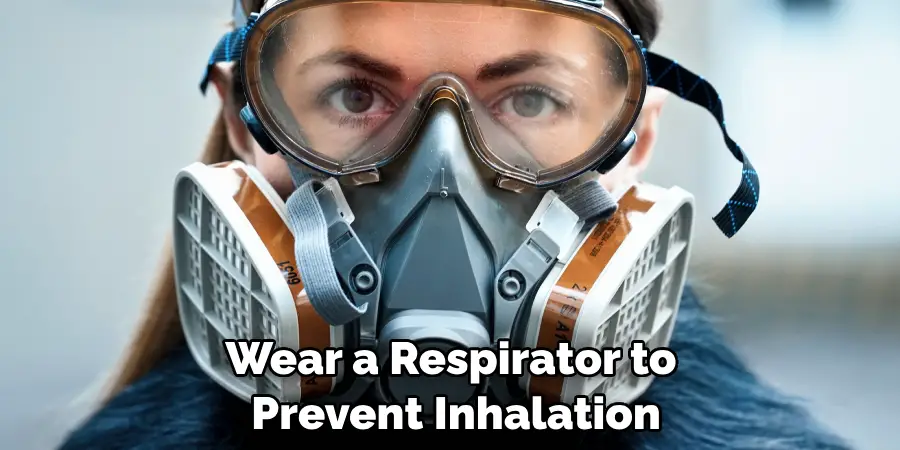
- Wear a respirator to prevent inhalation of harmful fumes from the leather dye.
- Test an inconspicuous area before applying the sealant to make sure that it will not cause any unintentional discoloration or staining.
- Ensure you work in a well-ventilated area and avoid directly breathing in the fumes from the sealant.
- Read all product instructions carefully before starting, including warnings and usage directions.
- Always use an approved and appropriate cleaning agent for leather when prepping the material before applying sealant.
- Store all materials safely and securely, away from children and pets. Be sure to properly dispose of any leftover substances so as not to cause harm to the environment.
By following these safety tips, you can ensure that the process of sealing leather dye is safe for yourself and others. It’s also important to remember that regular maintenance and care should be taken to ensure your leather projects last long without any issues.
Are There Any Risks Associated With Sealing Leather Dye?
When sealing leather dye, it is important to consider any potential risks associated with the process. For example, applying too much sealant can cause an uneven finish on the leather and could potentially darken or discolor the material.
It is also possible to over-seal the dye, resulting in a sticky surface that will attract dirt and debris. Additionally, some sealants can contain volatile organic compounds (VOCs) that can be hazardous to human health if inhaled or absorbed through the skin.
To minimize any potential risks associated with sealing leather dye, always use a sealant specifically designed for use on leather products. When applying the sealant, following the manufacturer’s instructions and using a light, even coat is important.
Make sure to wear protective gloves and a face mask when working with sealant in order to avoid any potential health risks. It is also important to ensure that the sealed area is well-ventilated.
How Long Does It Take for the Sealant to Dry?
Once the sealant has been applied to the leather dye, it typically takes 24 hours to dry completely. However, this time can vary depending on the type of sealant used and environmental factors such as humidity and temperature.
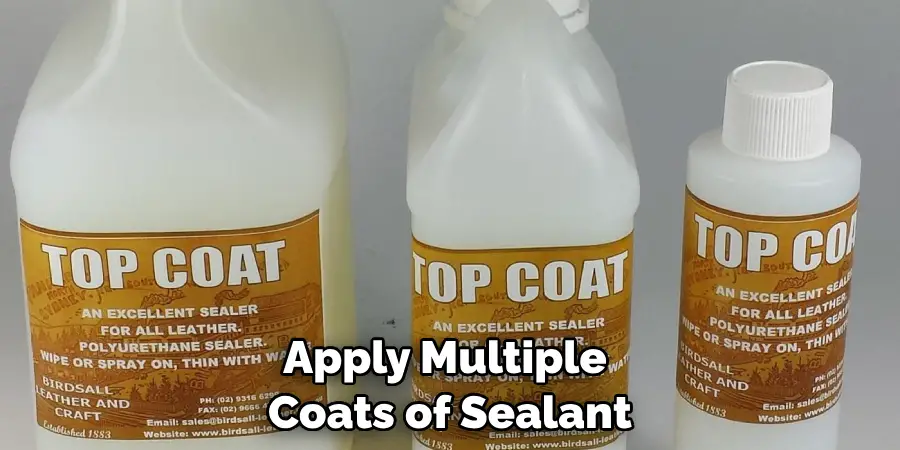
To ensure that the sealant is thoroughly dried, it may be best to wait at least 48 hours before using the item. Additionally, it may be necessary to apply multiple coats of sealant in order to achieve a more durable and long-lasting finish. After each coat is applied, it should be given time to dry completely before the next layer is added.
What is the Best Way to Clean an Area That Has Been Sealed With Leather Dye?
The best way to clean an area that has been sealed with leather dye is to first vacuum the surface of any dirt or other debris. Then, dampen a soft cloth with warm water and mild soap, such as dish soap, and lightly scrub the area.
If the dyed area is especially dirty, you may need to use a soft brush or a toothbrush to get into all the crevices. Once the area is cleaned, use another damp cloth to wipe away any soap residue and let it air dry completely before applying a leather conditioner or sealant.
This will help keep your dyed leather looking great for years to come. You can also use a leather protectant spray on top of the finished project if necessary. This will help protect your leather from dirt, water, and other environmental elements. With proper care and maintenance, your sealed leather dye should last for many years.
Is There Any Way to Test the Sealant to Make Sure It is Working Correctly?
Yes, you can test the sealant to ensure it works correctly. To do so, begin by cleaning the leather with a soft dry cloth. Then, apply a small amount of sealant onto a clean area of the leather and let it sit for several minutes.
After that time has passed, take a damp cloth and try to rub off the sealant. If the sealant remains on the leather, then it has been correctly applied and sealed. If some of it comes off or smudges, you may need to apply more sealant or try a different type of sealant.
It is important to always test the sealant before applying it in greater amounts, as this will ensure that you are getting the best deal possible. Overall, following these steps can help you to seal your leather dye and test it for effectiveness properly. With the correct application of a suitable sealant, you can ensure that your leather is well-protected from wear and tear and look its best for years to come.
What is the Best Way to Store the Sealant for Future Use?
Once you have sealed the leather dye, storing the sealant for future use is important. To do this, make sure to keep the container tightly sealed when not in use. This will prevent the sealant from drying out and becoming ineffective.
Additionally, store your sealant away from direct sunlight or extreme temperatures, as these can cause damage to the sealant and ultimately affect its ability to protect the leather dye. It is also important to ensure that your sealant does not come in contact with any water or moisture, as this can cause it to become ineffective.
Finally, it is recommended to read the label on the container of sealant for specific instructions regarding storage and shelf life. Following these instructions will help you ensure that your sealant remains effective for future use. By following the outlined steps and storing the sealant correctly, you can ensure it is ready for use. This will help keep your leather dye safe from harm and in perfect condition.
Conclusion
In conclusion, sealing leather dye is an important step to ensure that the color of your dyed leather stays vibrant and long-lasting. This can be done in two ways: with a top coat sealer or by applying heat. Both of these methods provide a protective layer over the dye, preventing it from fading or rubbing off due to wear and tear.
While it is more of a personal choice as to which method you decide to use, we recommend using a top-coat sealer for the best results. I hope this article has been beneficial in learning how to seal leather dye. Make Sure the precautionary measures are followed chronologically.
